Okay, time for a little catch-up.
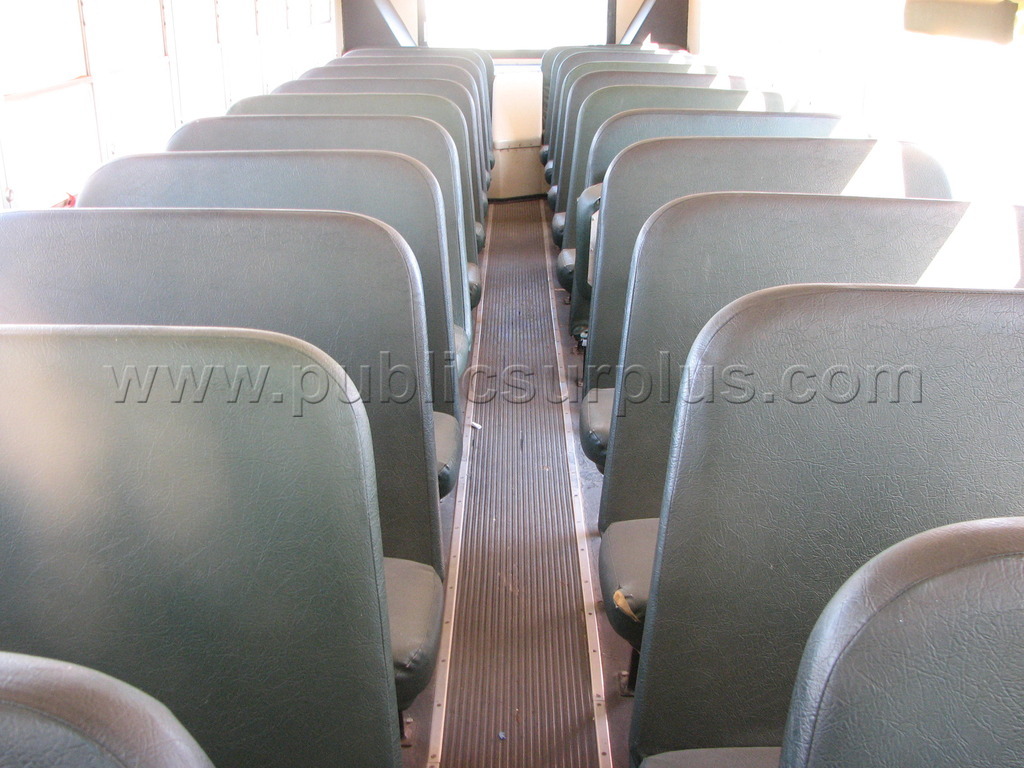
Bus-Seating for 84
In an earlier post I addressed removal of the seats. Perhaps just the beginning of the challenges I have been called to face during this project.
Seat Removal
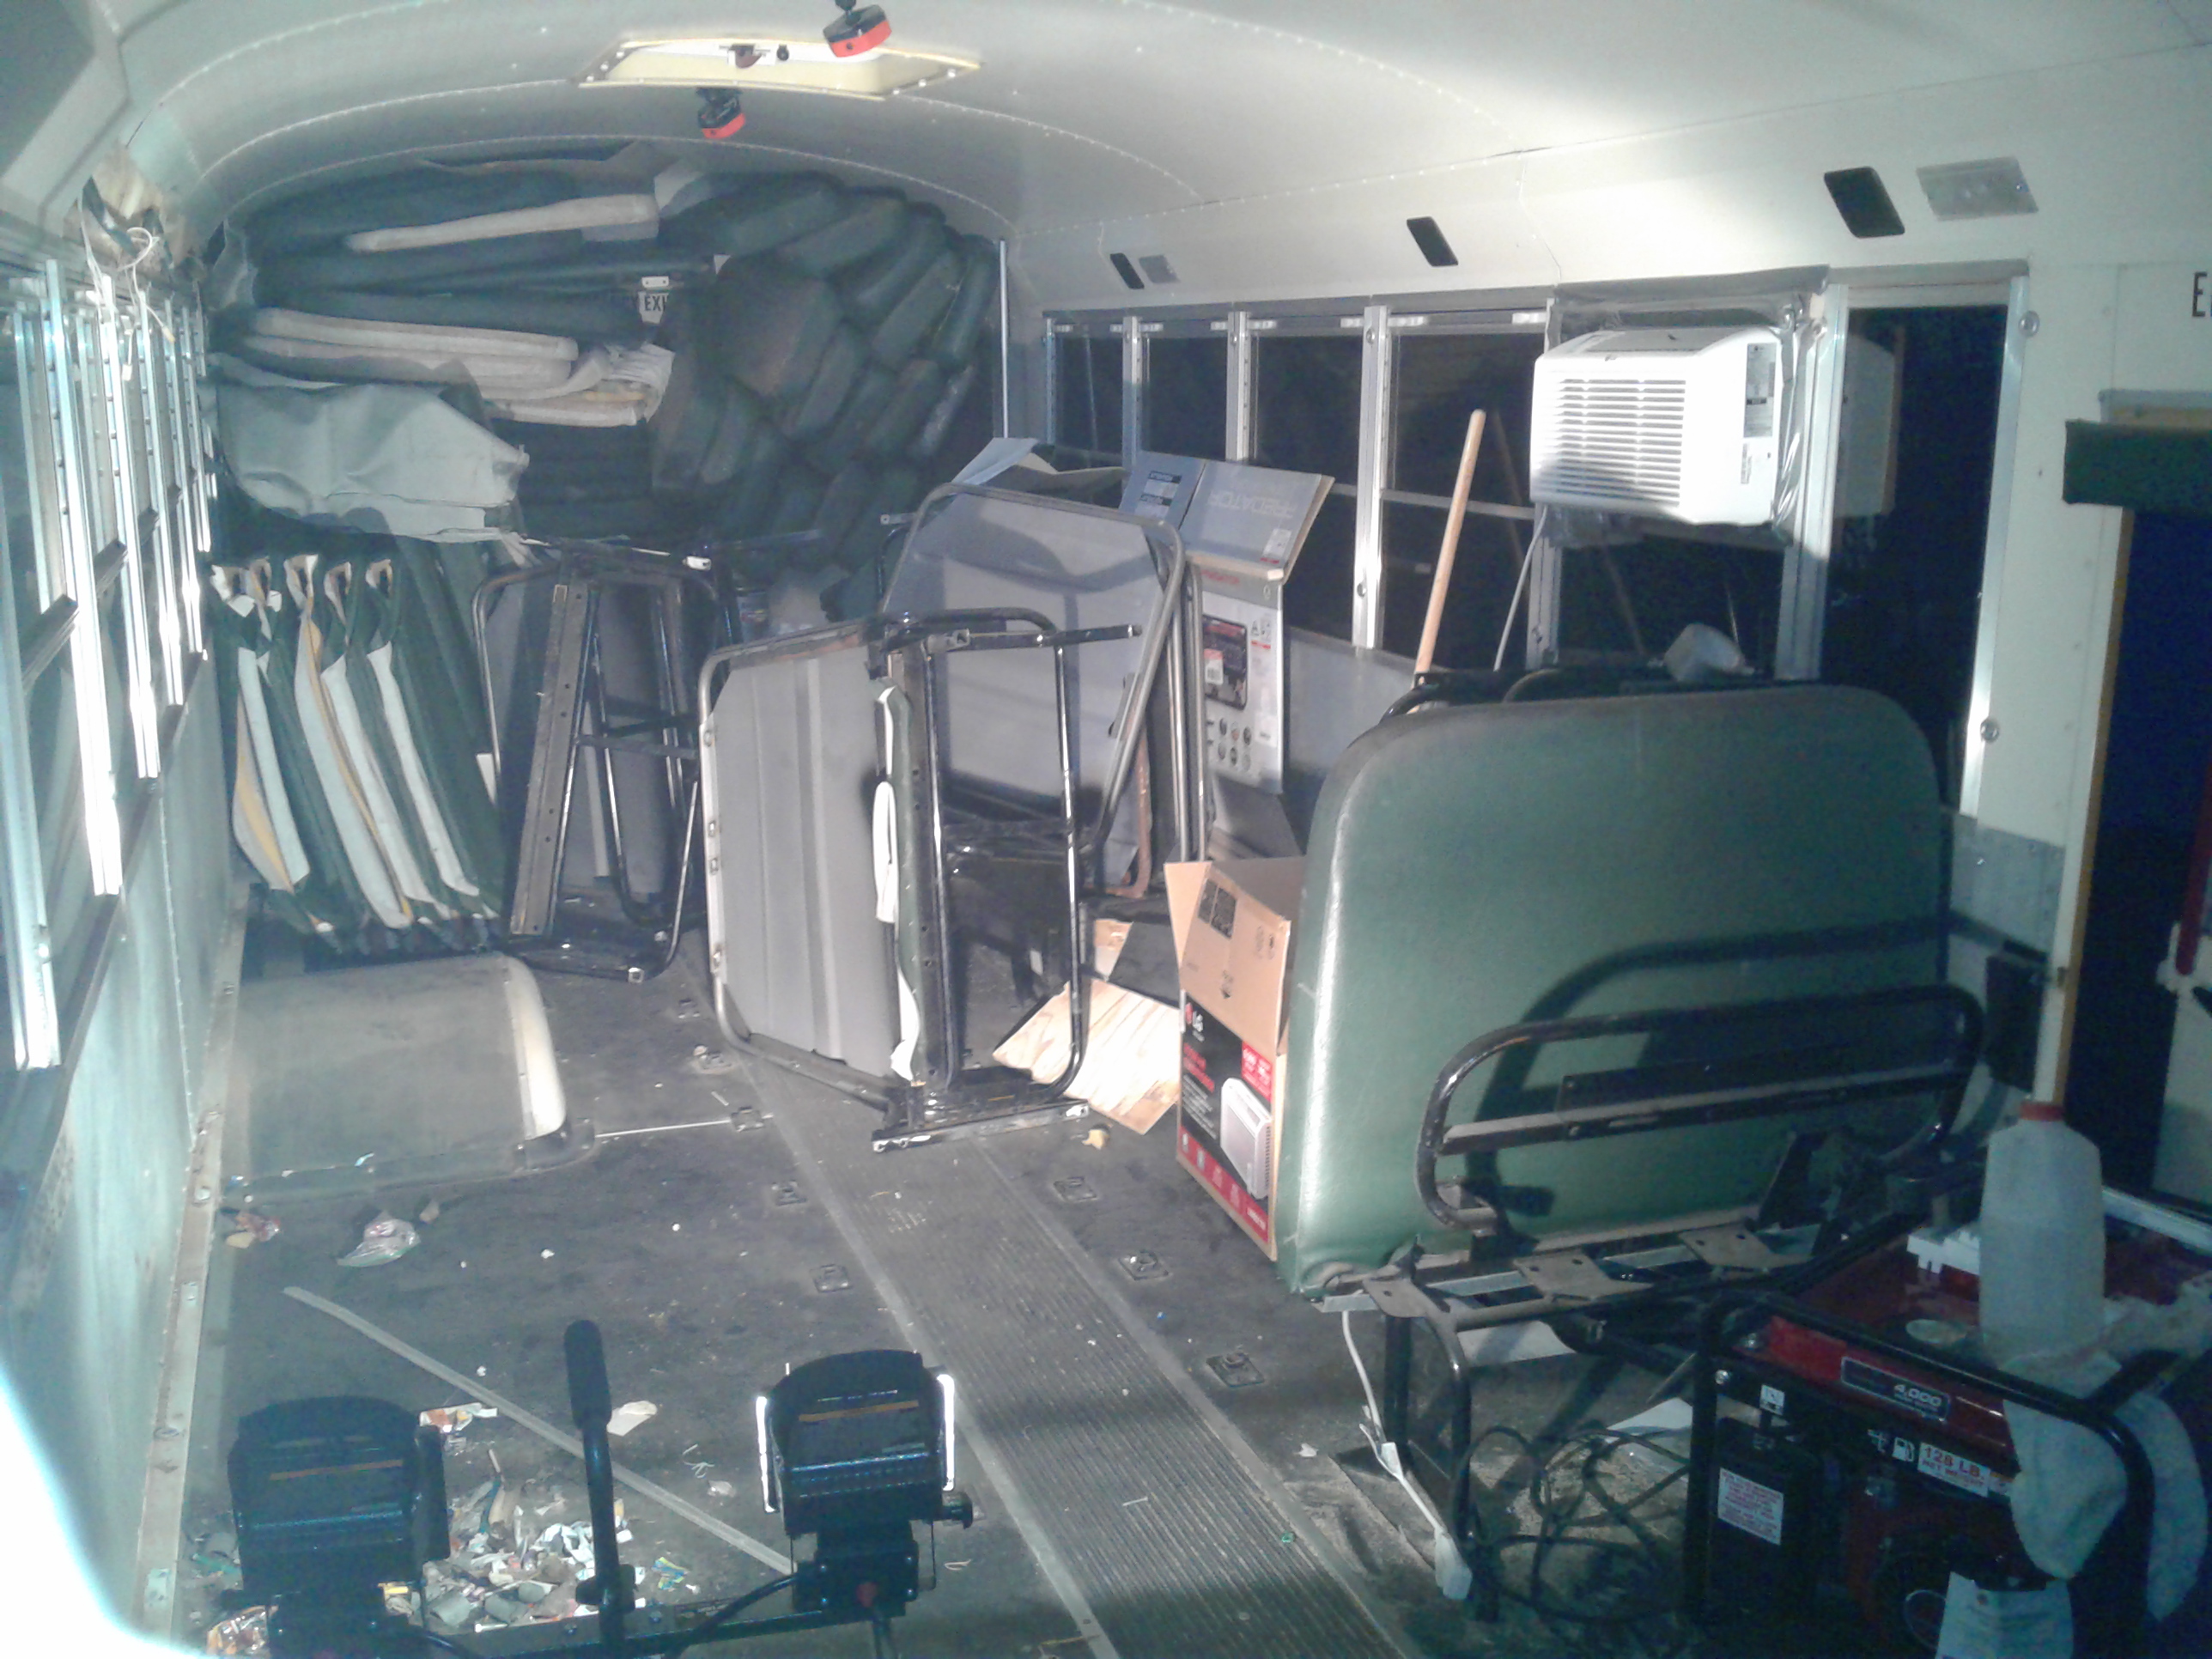
Of course, getting rid of the extraneous materials seemed a challenge, but my gracious host put an ad on Craigslist, and voila … only a couple weeks later, the mess was gone.
With the seats removed, I was then able to get the legal status changed to an Arizona Recreational Vehicle … just in time to avoid fines for parking in front of my host’s home.
Now, to reconfigure the temporary installations …
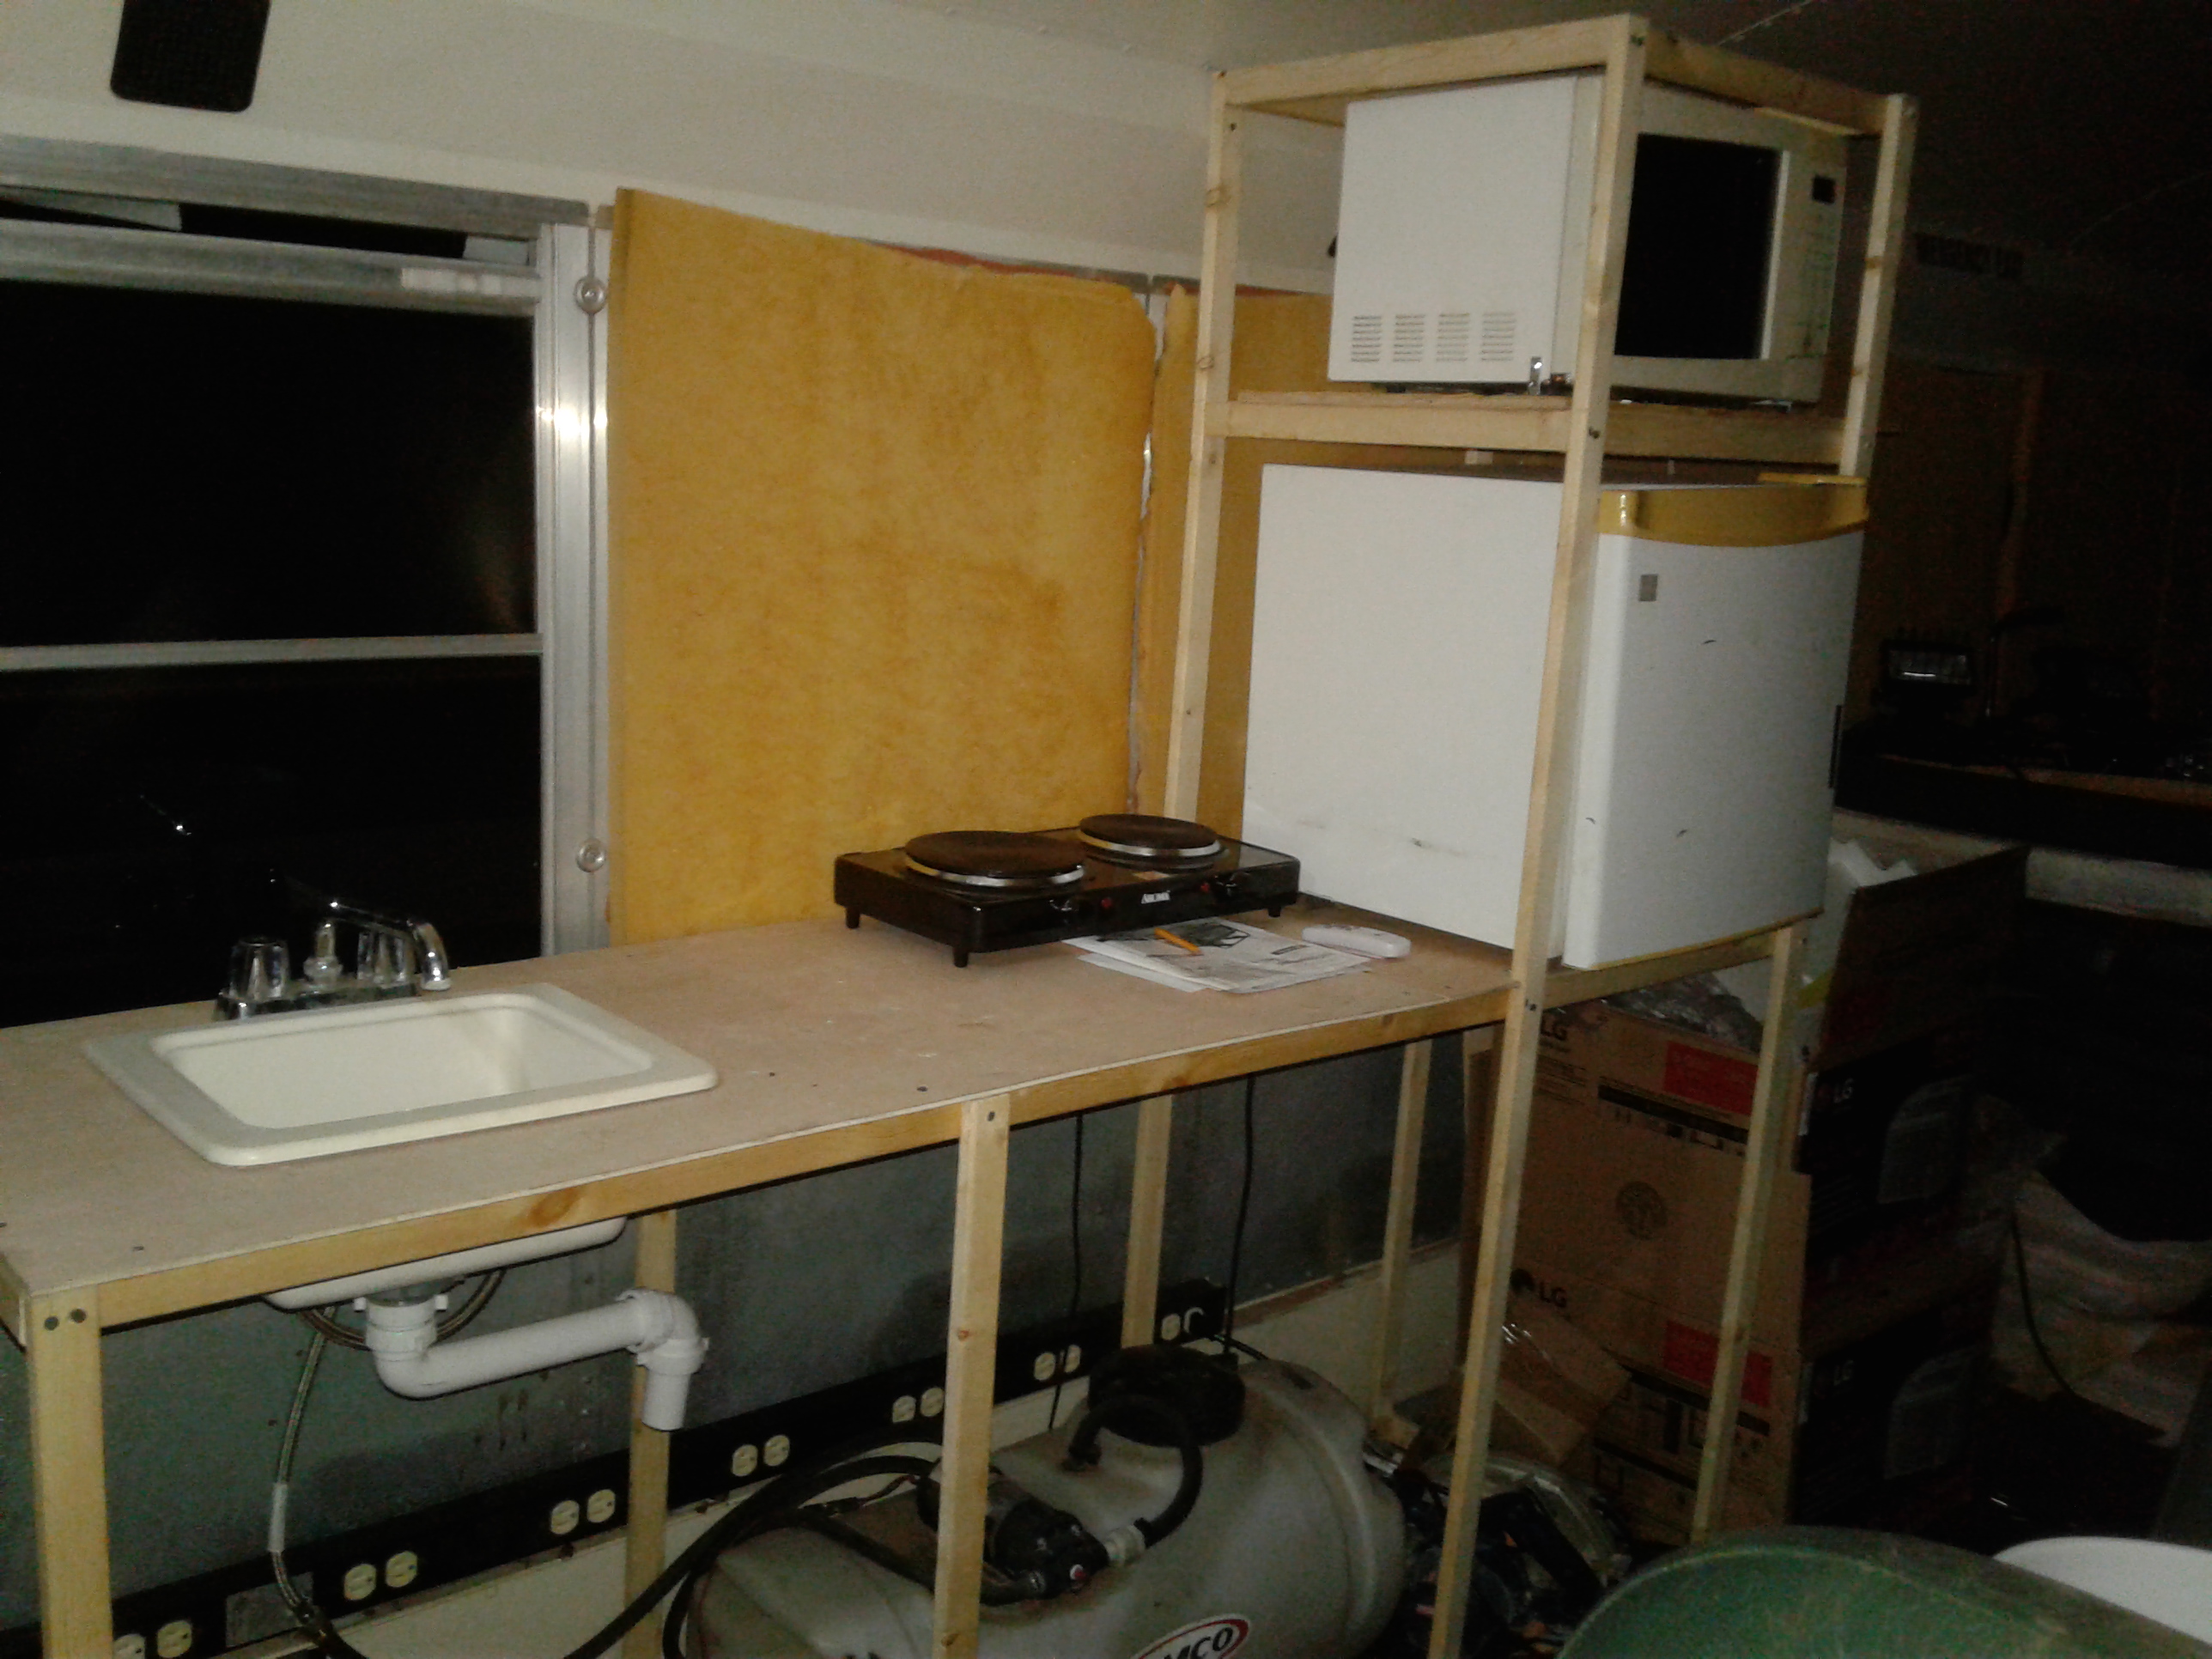 |
 |
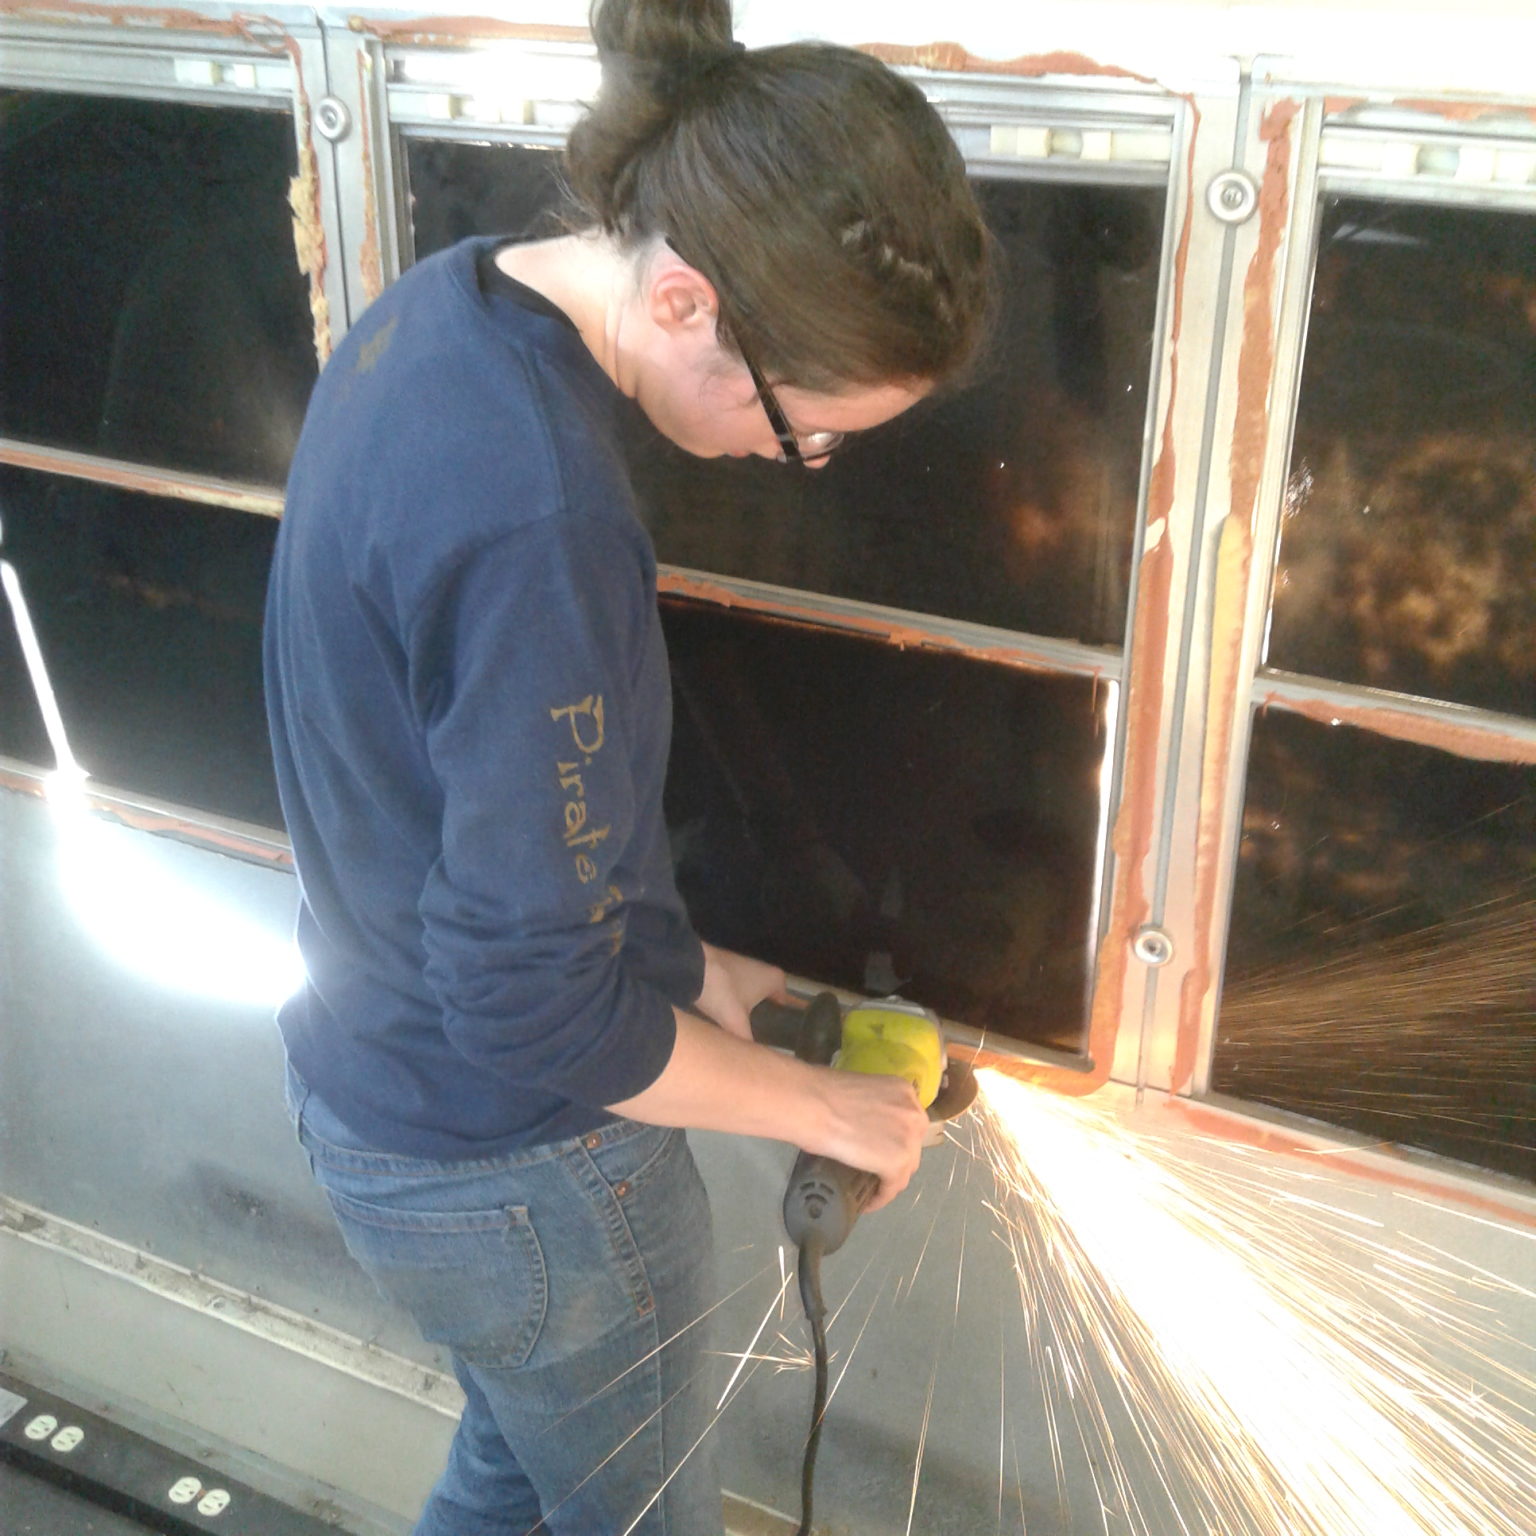
 … into more permanent ones. But before that can be done, the walls had to be opened up to remove the old insulation, and expose the framework. My daughter was gracious enough to lend a hand while visiting. The angle grinder was indispensable for cutting the panels out of the way.
And with the panels out of the way, removal of the old insulation could proceed. The process revealed all sorts of tiny cubbies where air leaks could form, that I needed to address and assure we could close up.
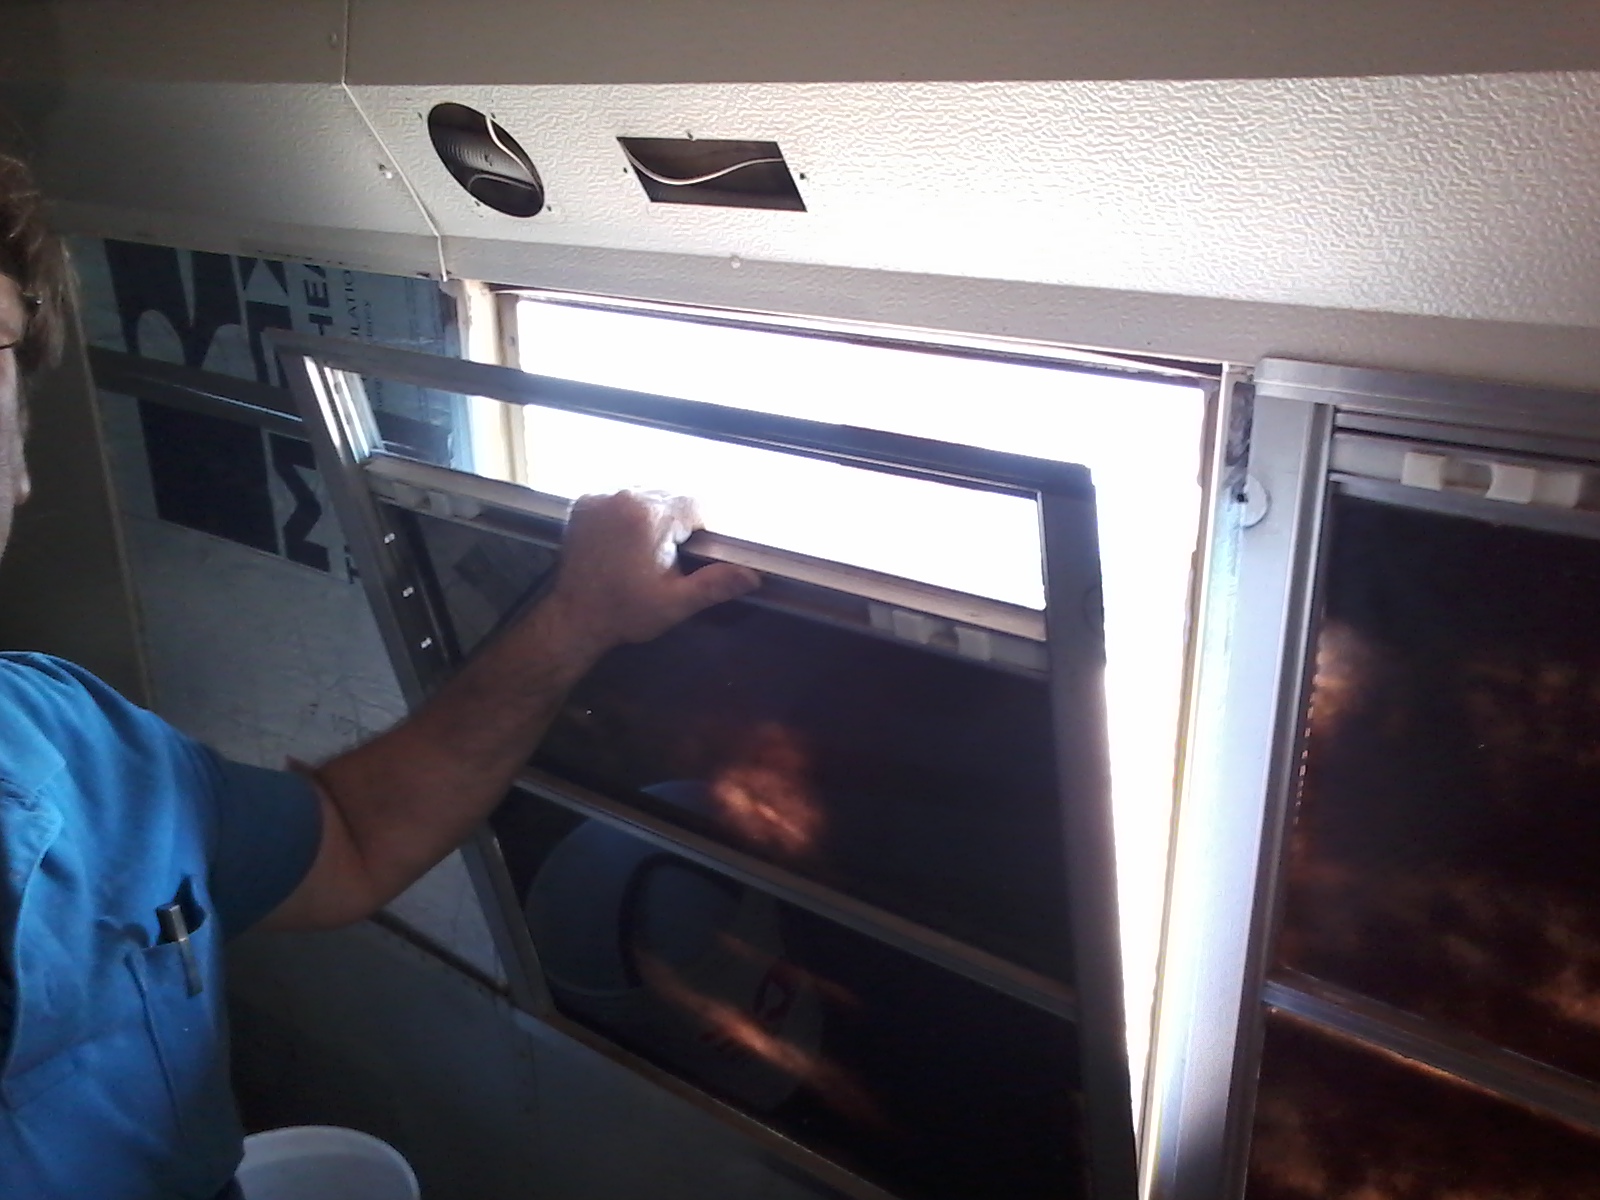
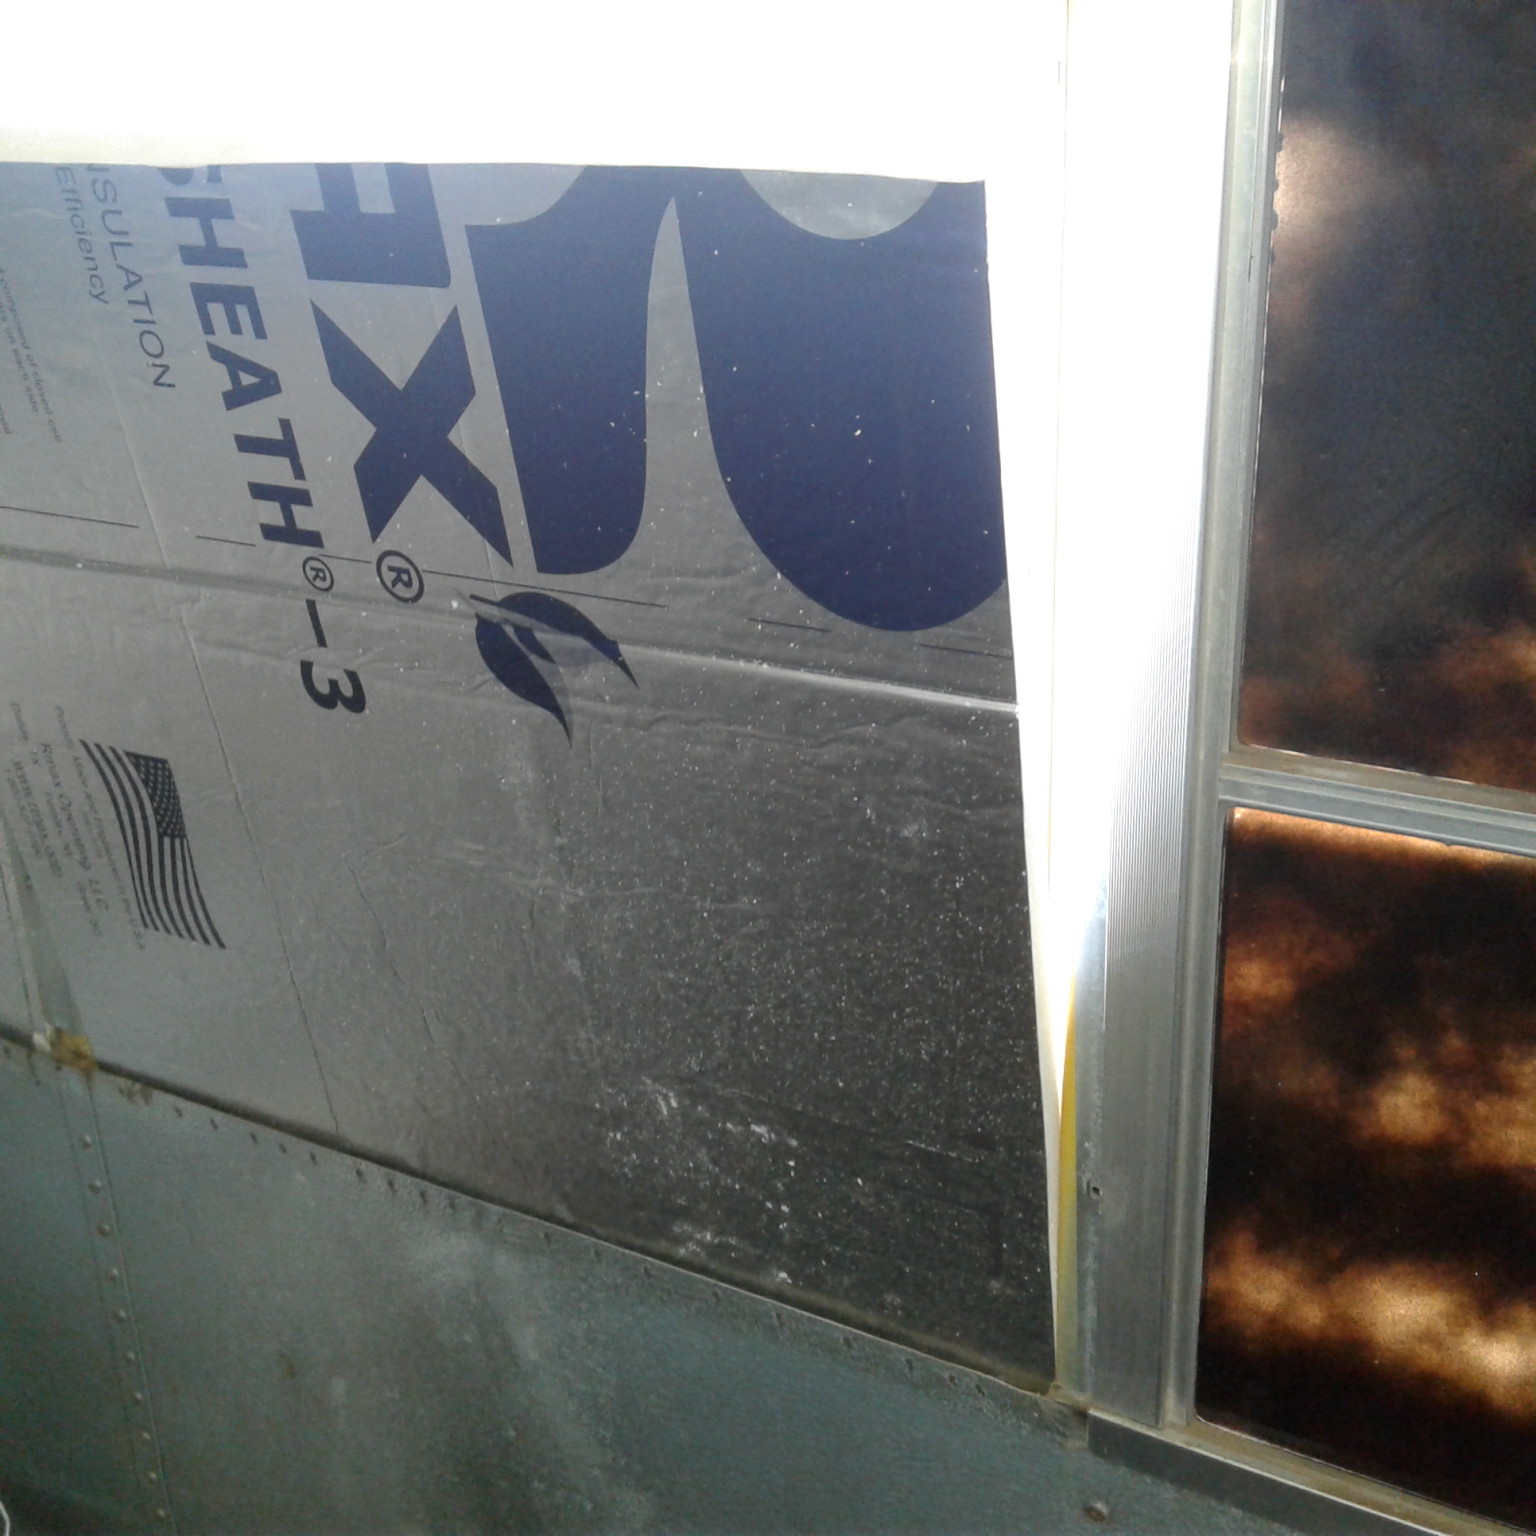 With the panels and old insulation removed, I could then remove all the side windows, and begin installing the first layer of foam board insulation panels. And, um, yes, I said first layer of insulation. This first layer fits between all the frame members, and receives spray foam in the joints to attempt to close as many cracks and crevices as is reasonable.
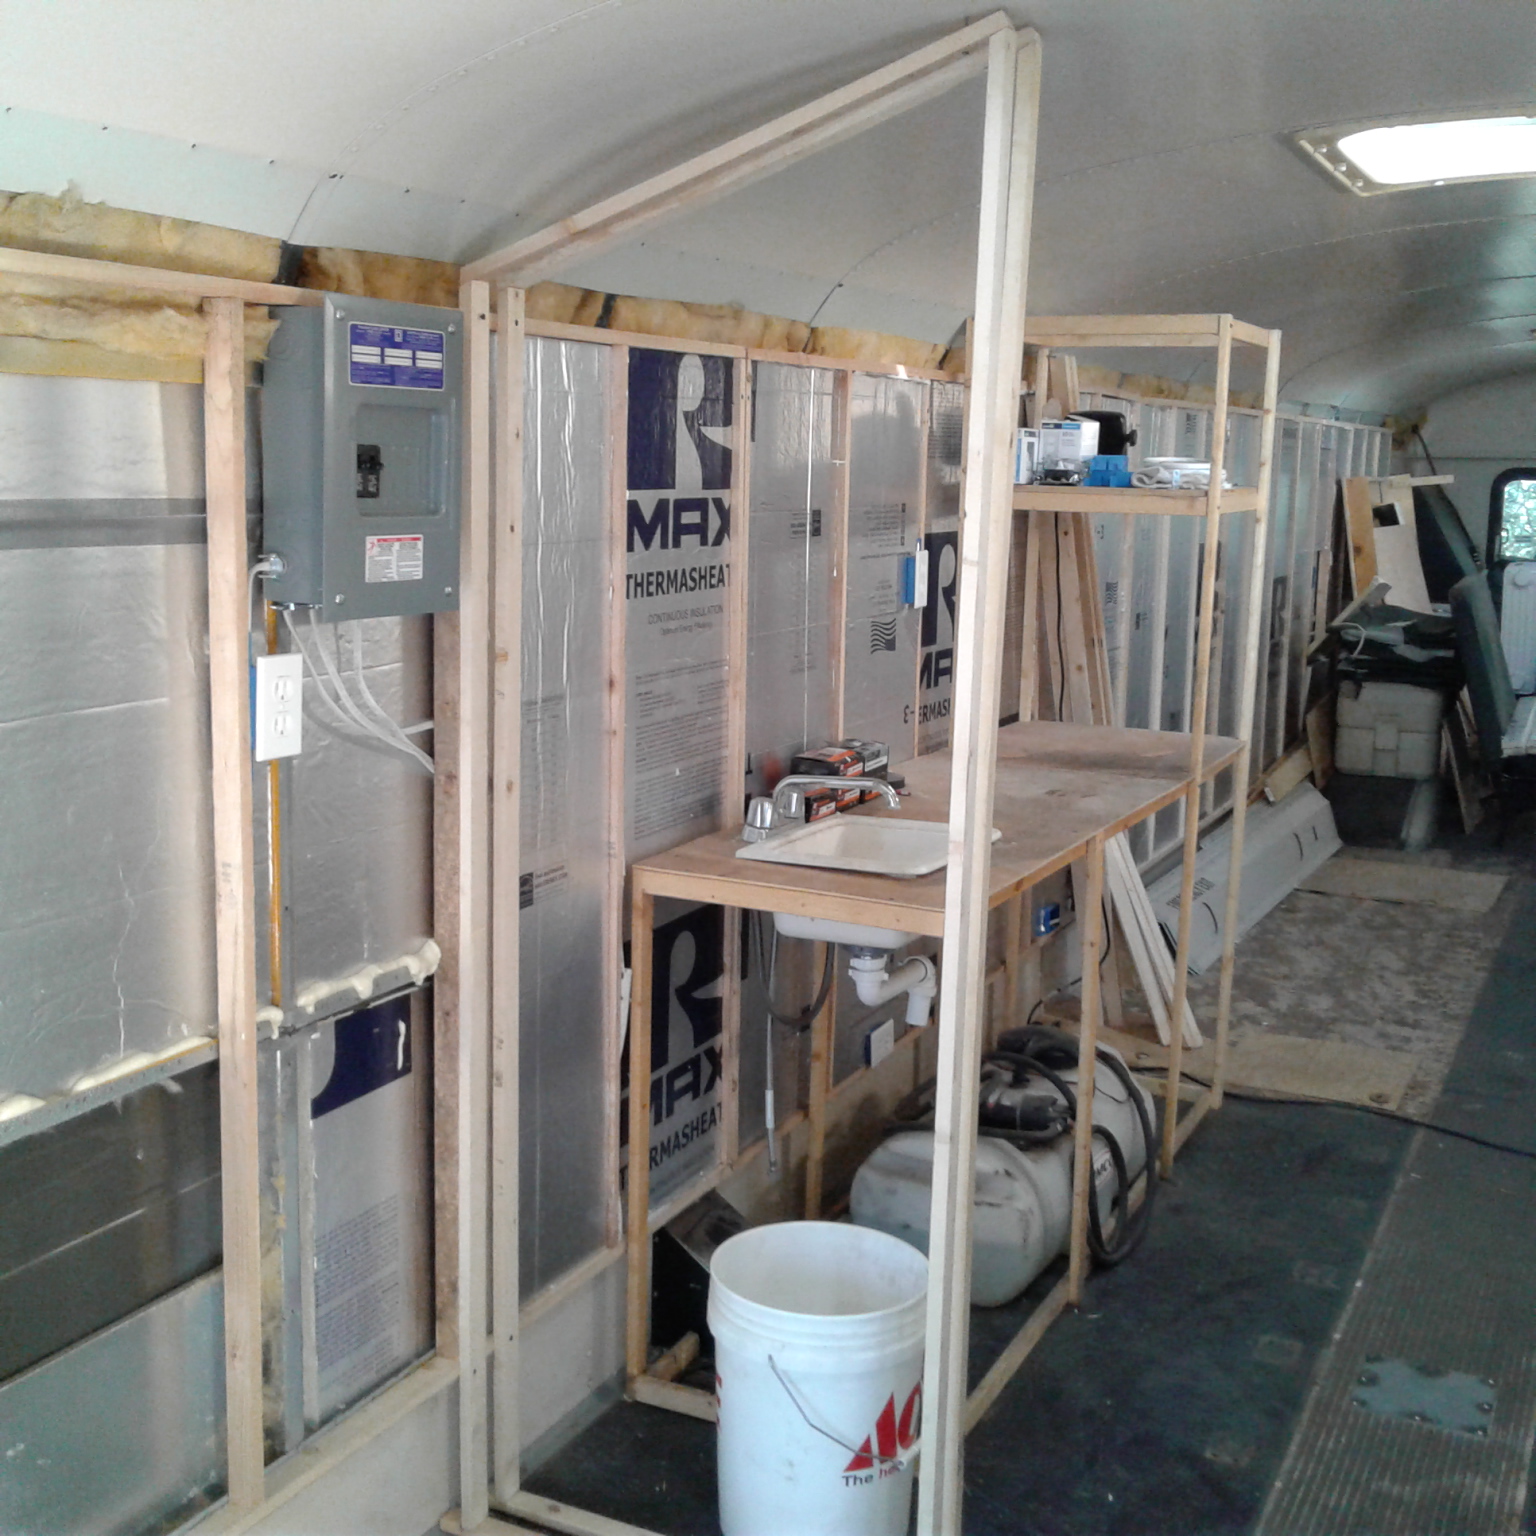 With the insulation installed in the walls, framing could then begin.
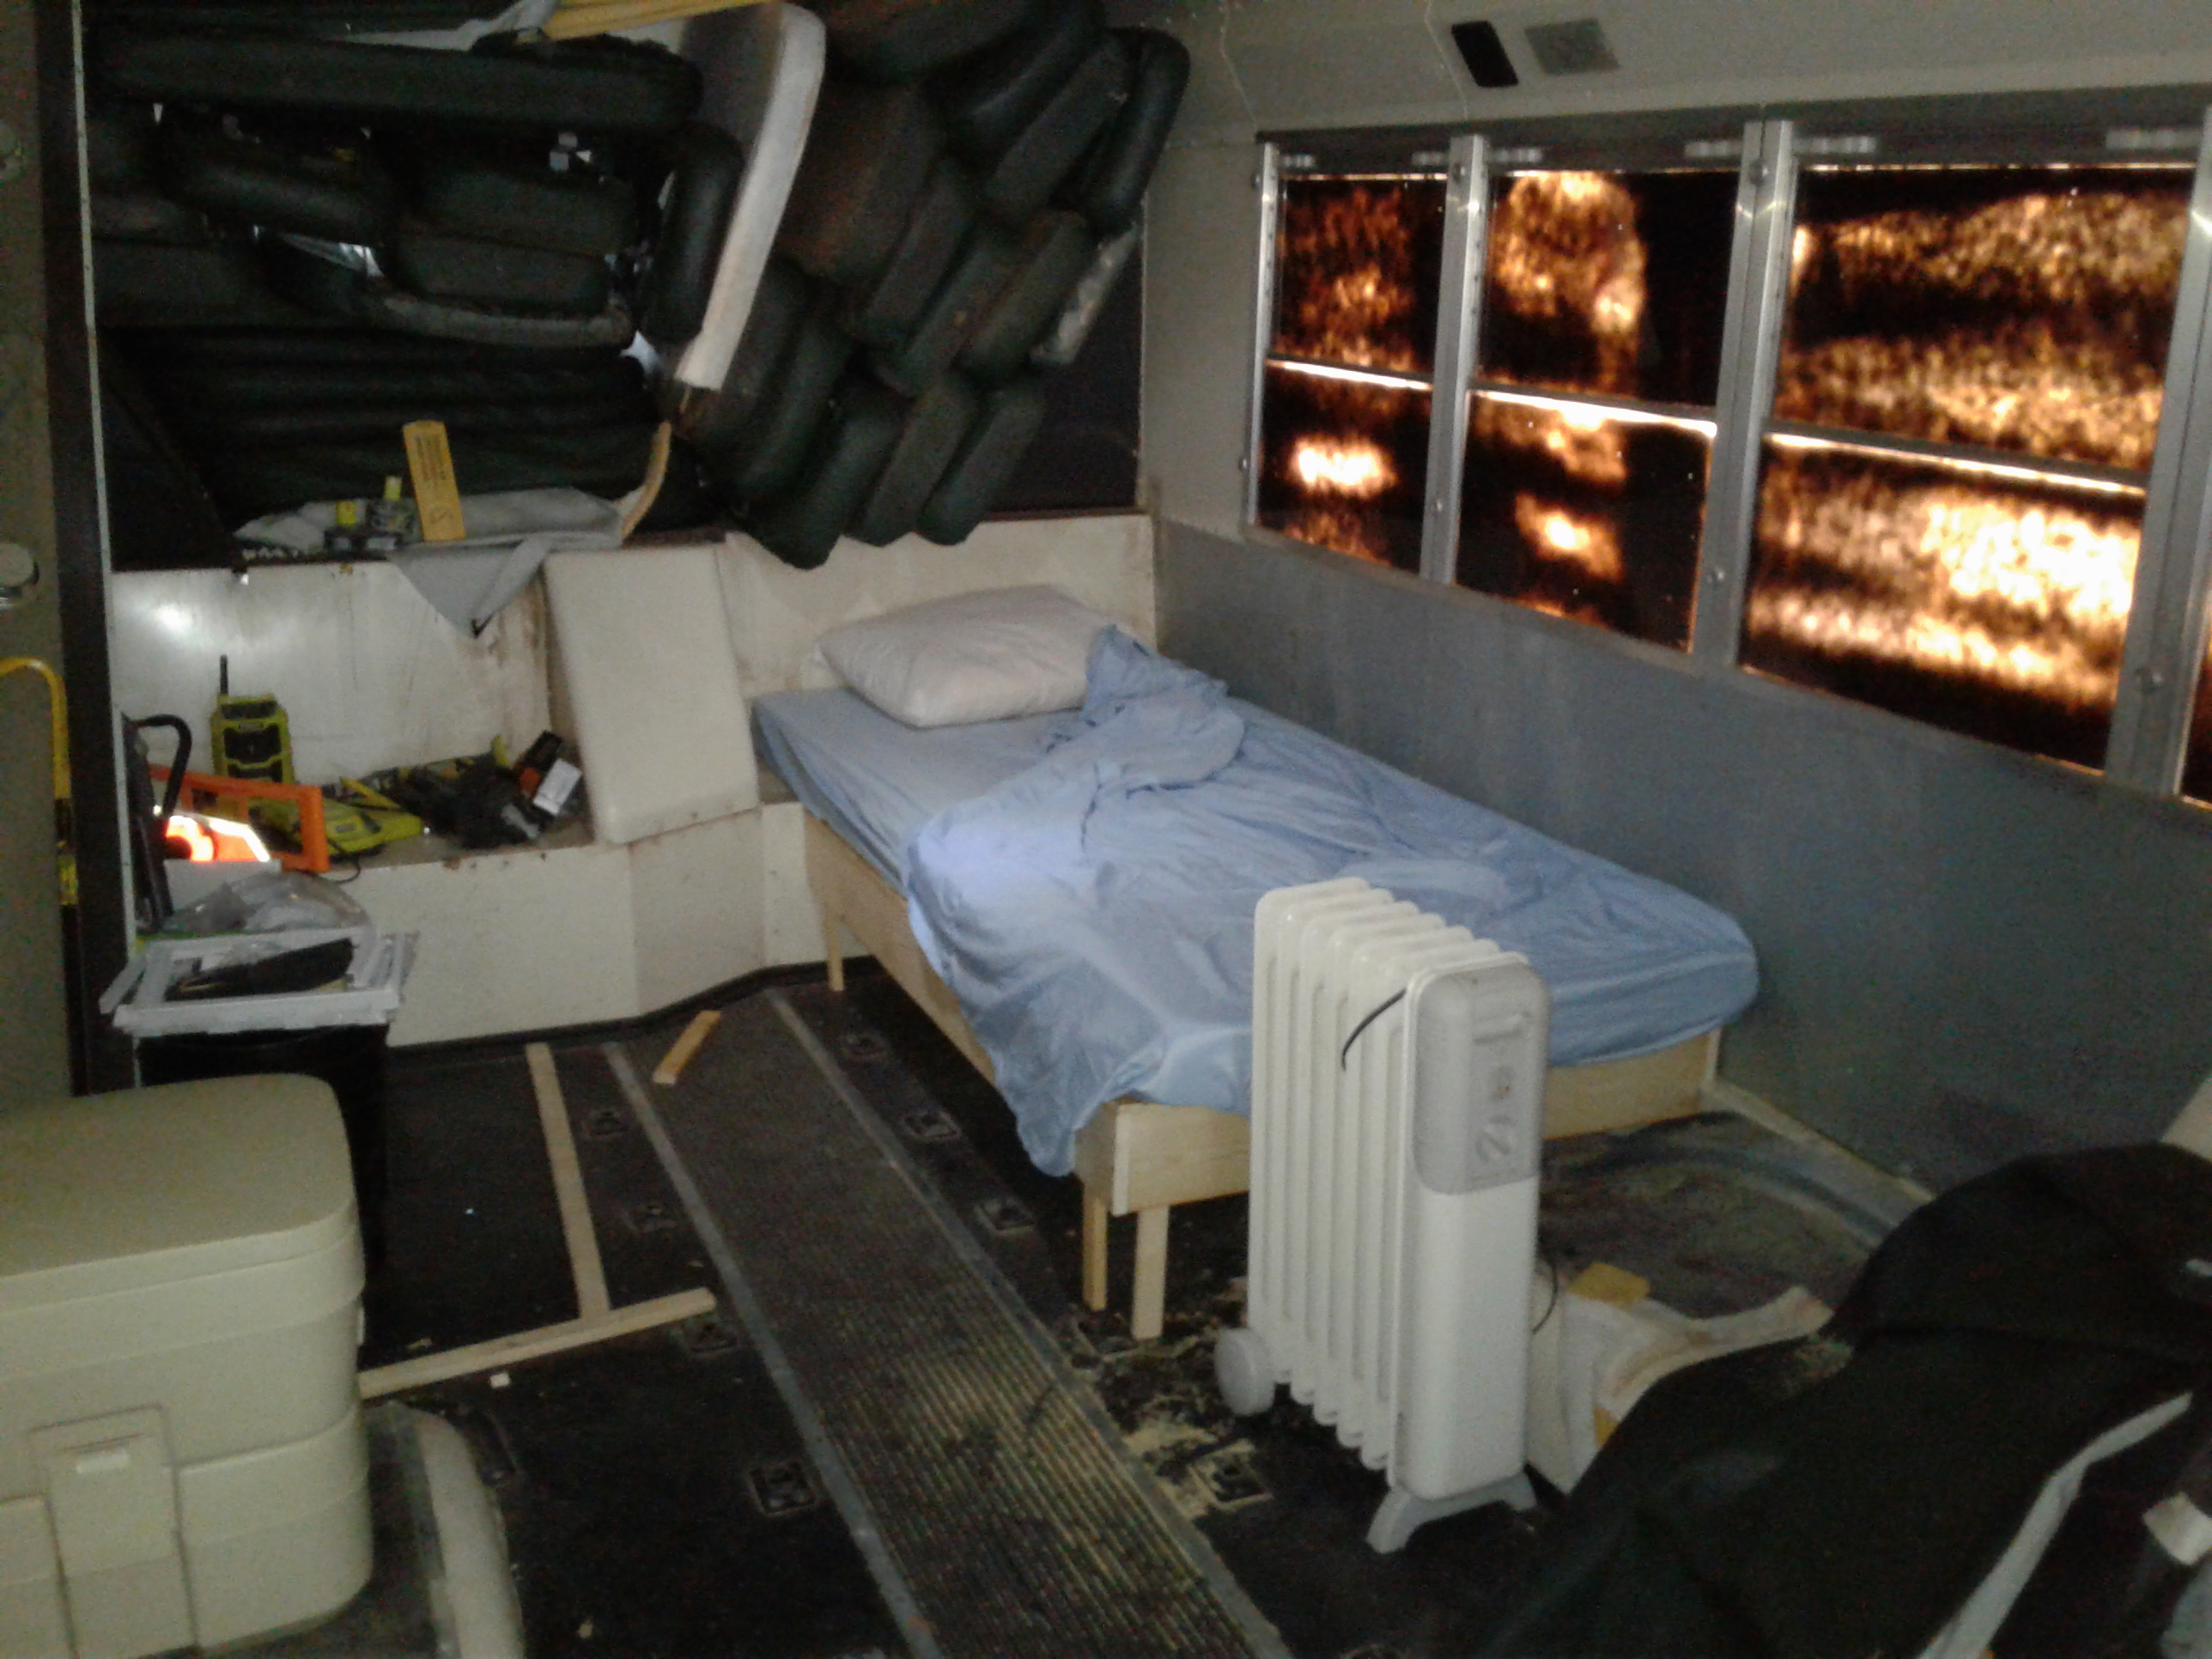
The floor space is to be divided into four “rooms”. The front area with the driver will be seating, a table, and act as a foyer for visitors. The second space will house the kitchen on the passenger side, and a workshop bench with tools on the driver side. Third will come the “life support”, housing 2 fish ponds, with gardens above them. And finally, the living quarters with three bunks, a shower, the toilet, and storage for personal belongings.
Things are really shaping up!