With the framing complete … or nearly, It was now time to add the second layer of insulation. Now why, might you ask am I putting a second layer? Well, quite frankly, it gets like an oven inside that bus, and I anticipate in colder climates, like a freezer. So, I selected the PolyIso Foam Board insulation purchased at Home Depot. Each layer uses 1″ thick board, and I have installed 2 layers, with overlapping seams. This has the potential to deliver up to R-13 thermal insulation based on the 2″ of board installed. Now, while I have my doubts I’ll achieve that, I fully expect to get close.
This was fairly straightforward, just slice and push between the studs …. oops! gotta put in the electrical wiring first. That meant positioning the boxes, running the romex from the panel outward, into each box, And connect the circuits.
 NOW, I can put in the next layer of insulation. AND, I can permanently install the window A/C units, cutting the insulation around them. With the generator connected, and running, I now had electricity running inside the bus, WOO HOO! I had to take a minute and sit down and luxuriate in this momentous occasion. Why, I could even fire up the A/c Units! Dang! real Up-Town!
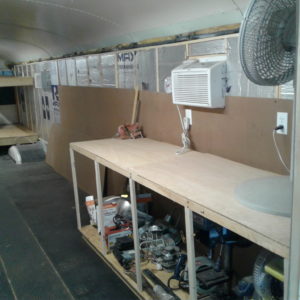
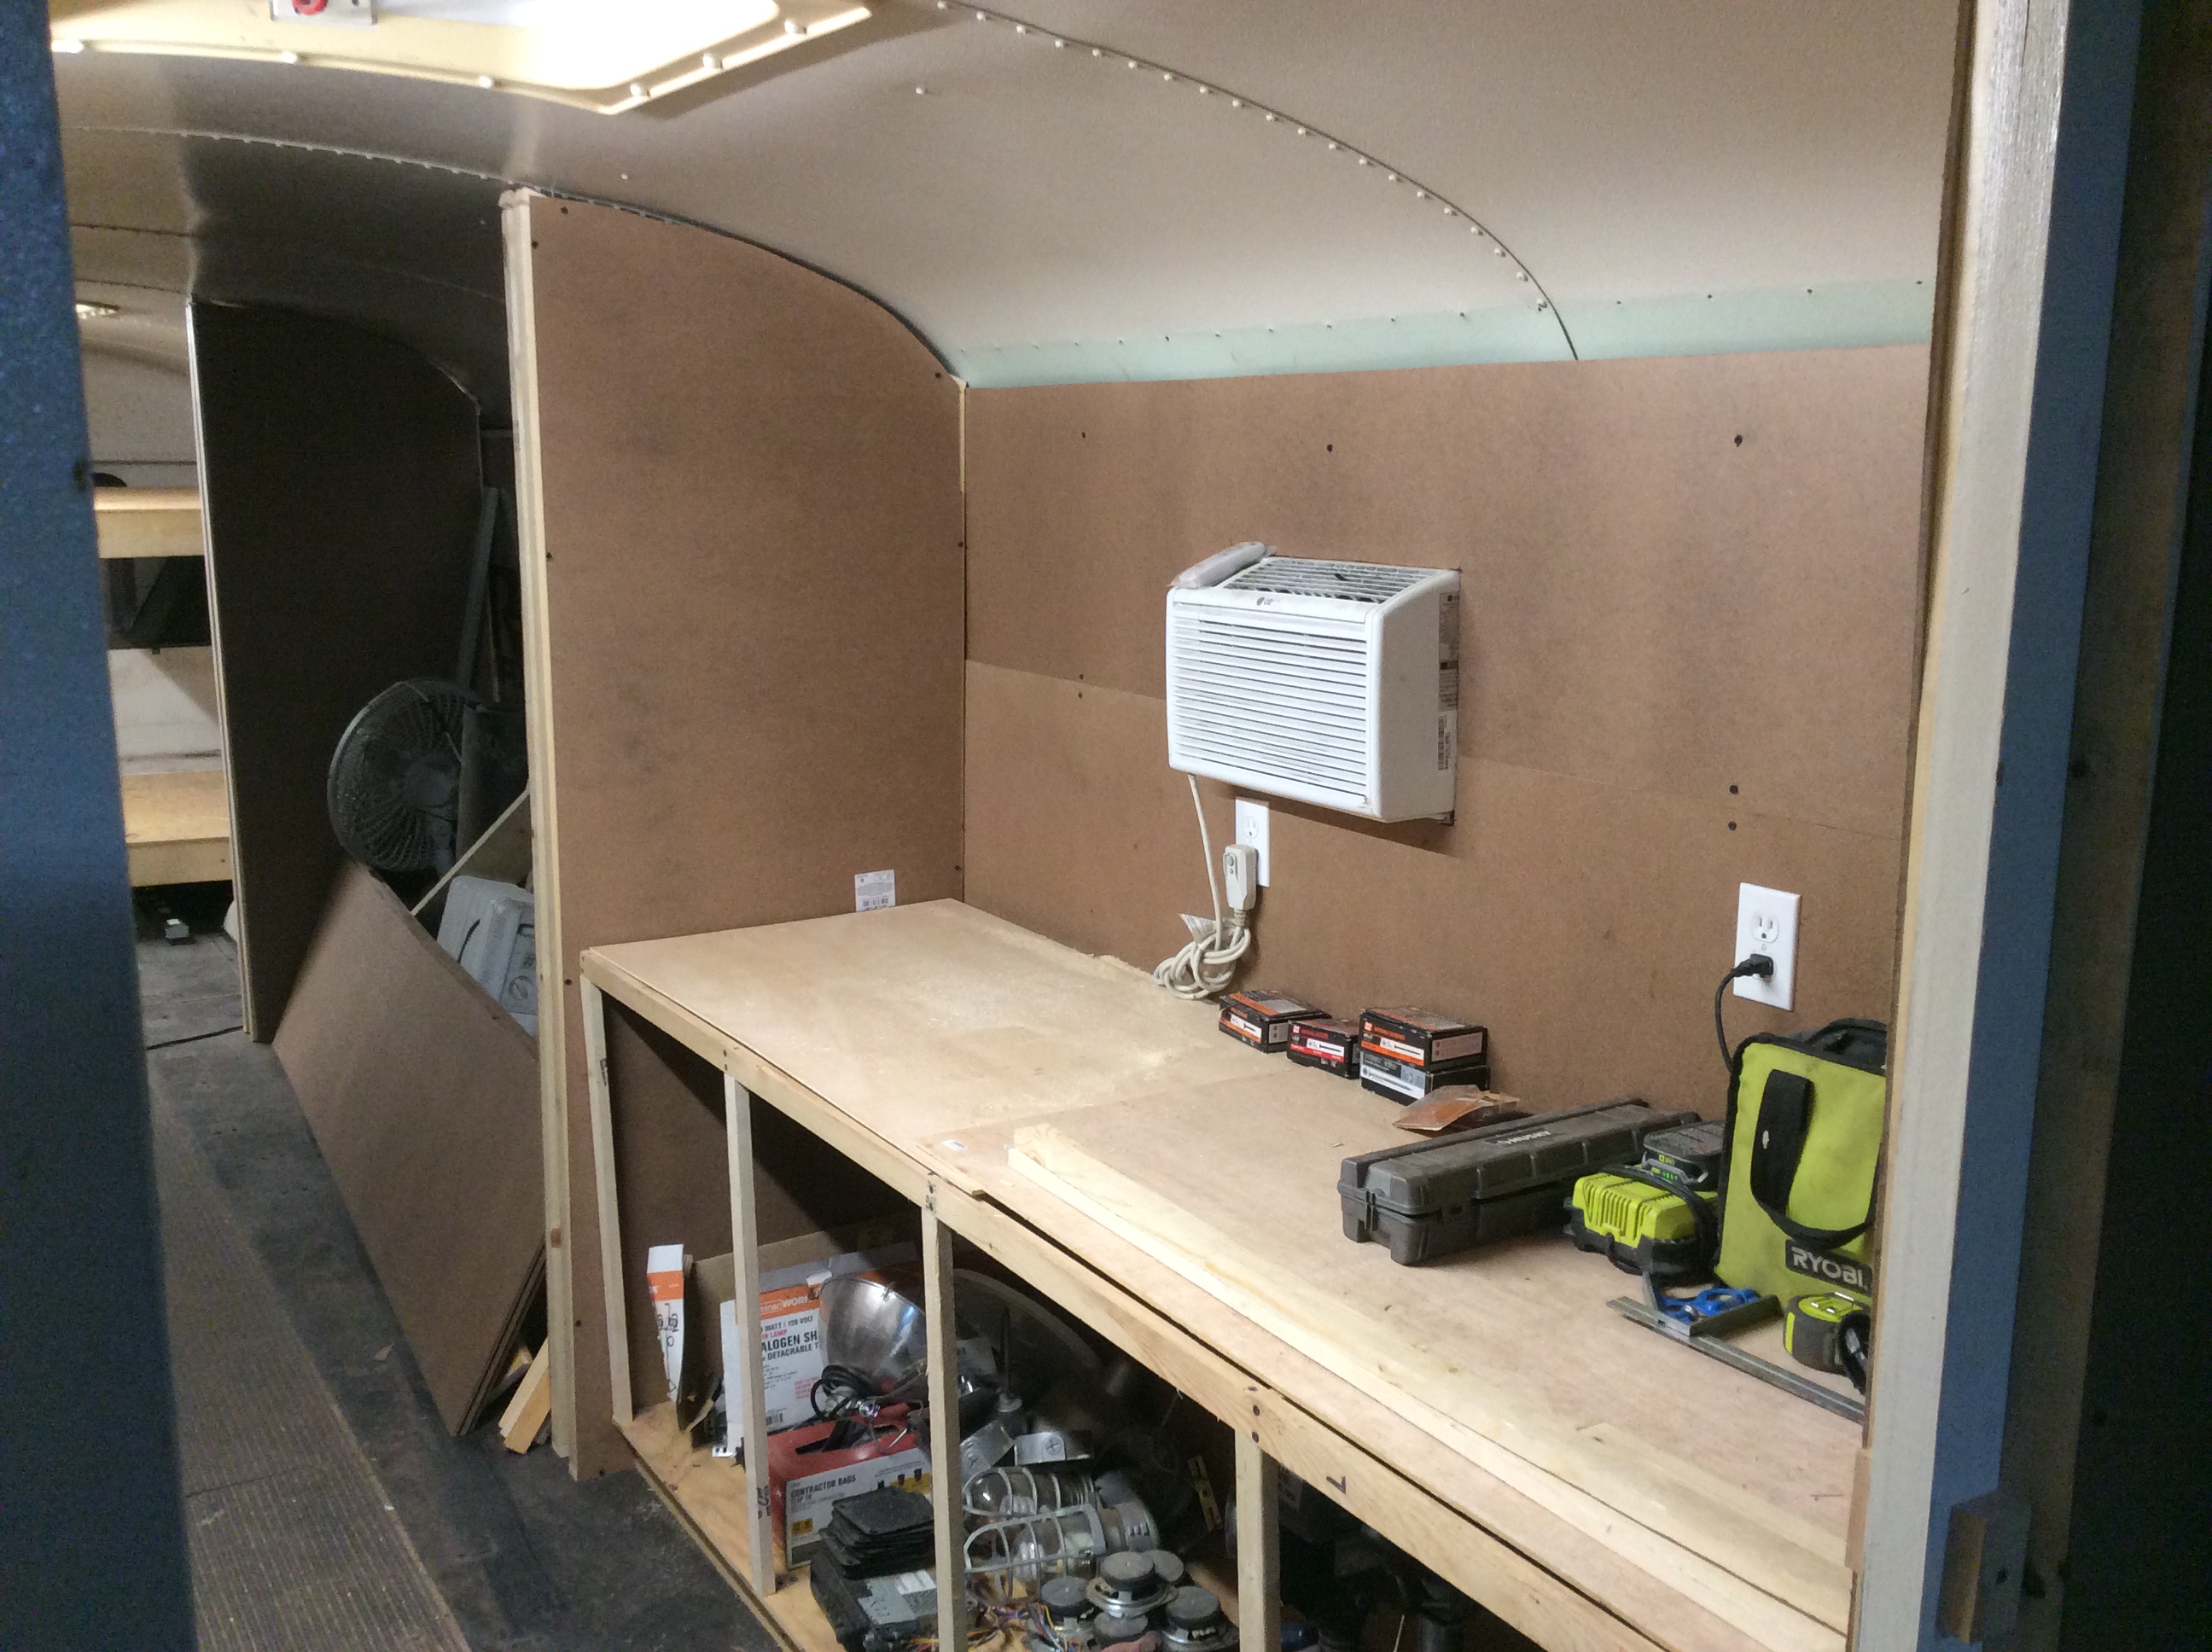
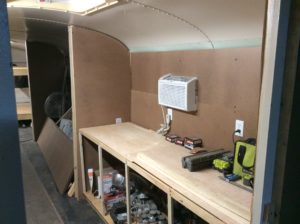
But as I looked around, I realized that things were getting cramped. So, I put up the wall board in the “Work Shop” space, and build the workbench so I would have a place to use the many tools, especially now that the work was becoming more detailed.
A word about a “Work Shop” in a motor home. Keep in mind that there is to be a fish pond and garden in the very next space, and my “habitat” will be a work space, as well as a living place. Whether laying out seedlings, or building a small project, the Work Shop will be indispensable, not only to me, but to the settlers who are on the moon or Mars!
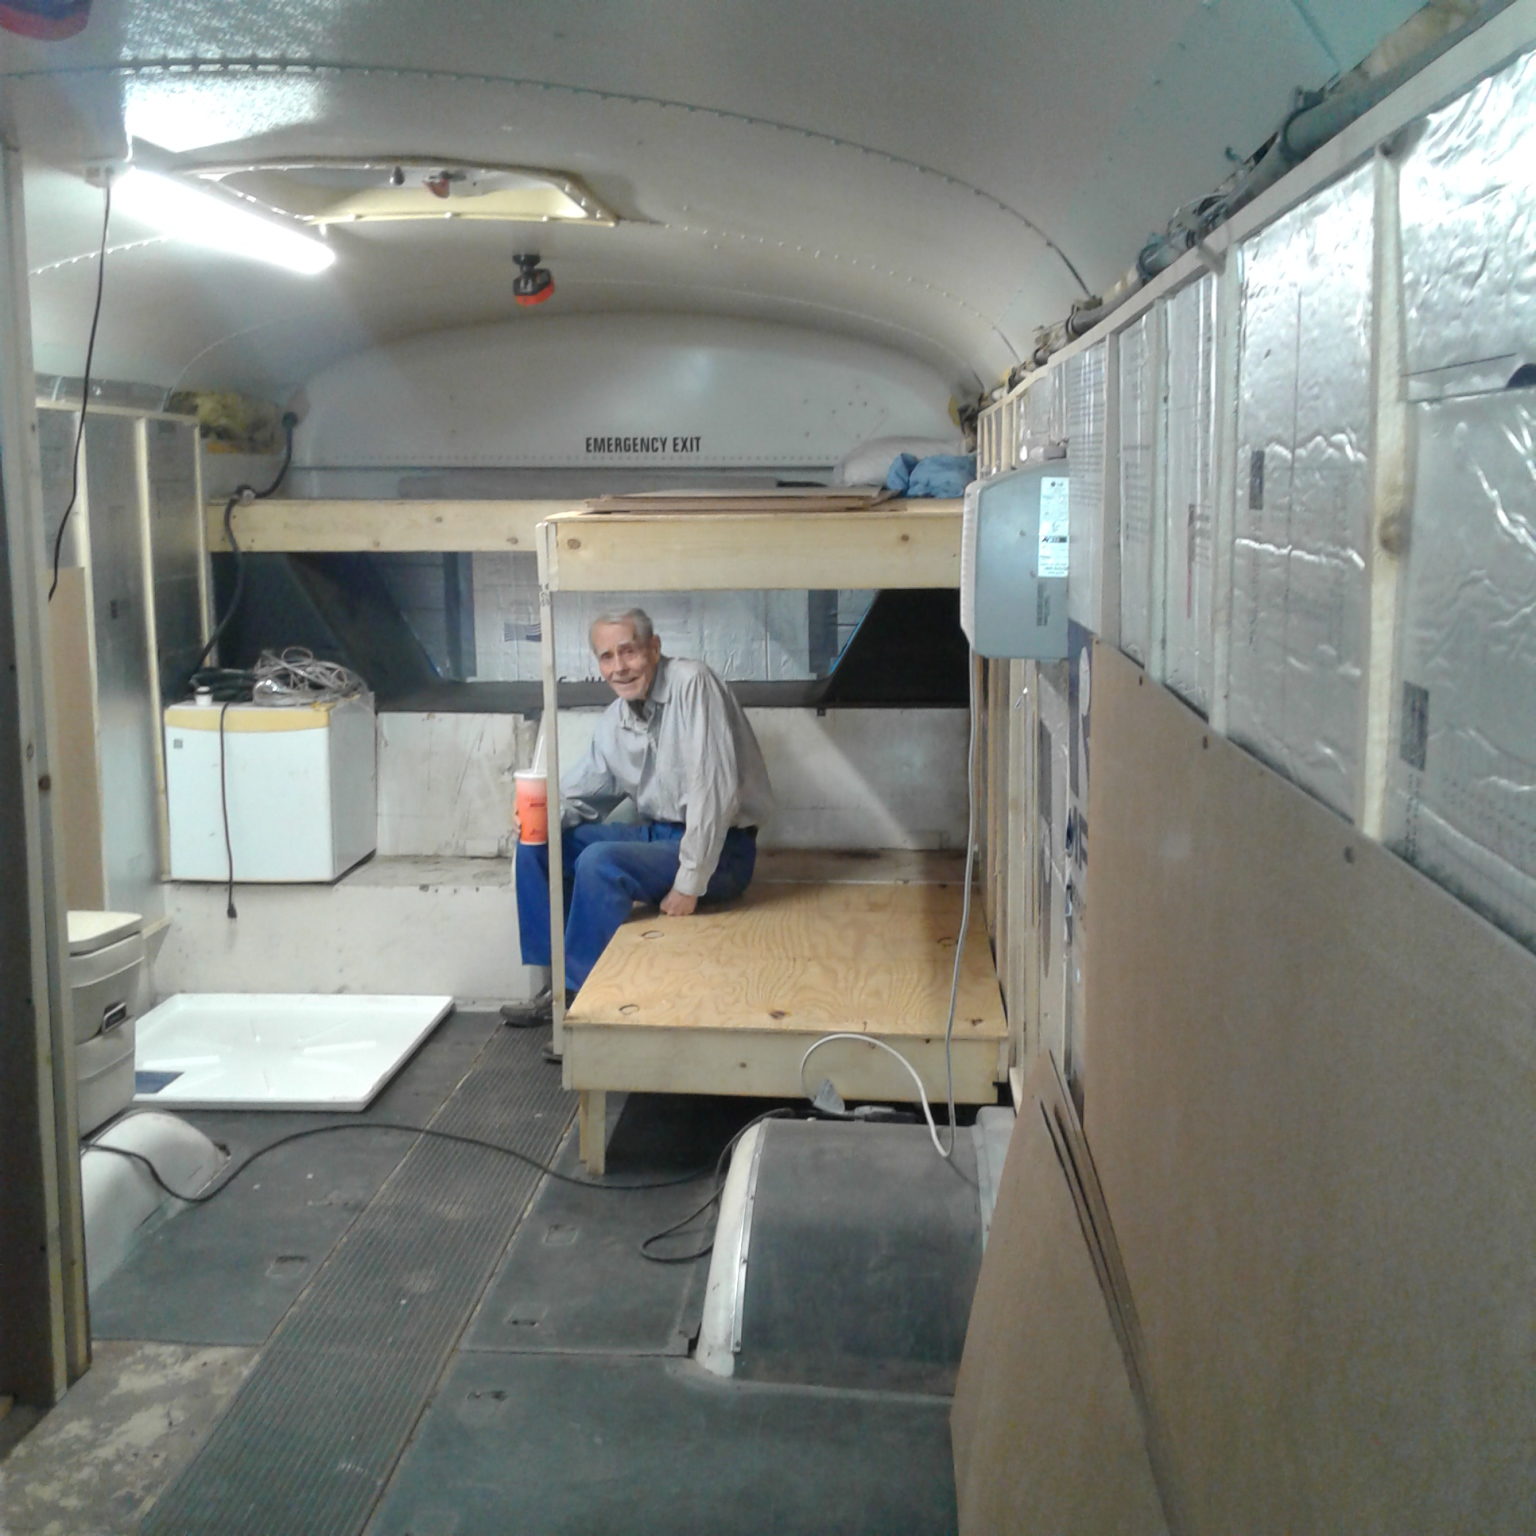 With the workbench in place, I continued on with the wall board, then realized that because of their bulk, I had better get the bunks up while I had the space to work in, and not close it in with divider walls just yet.
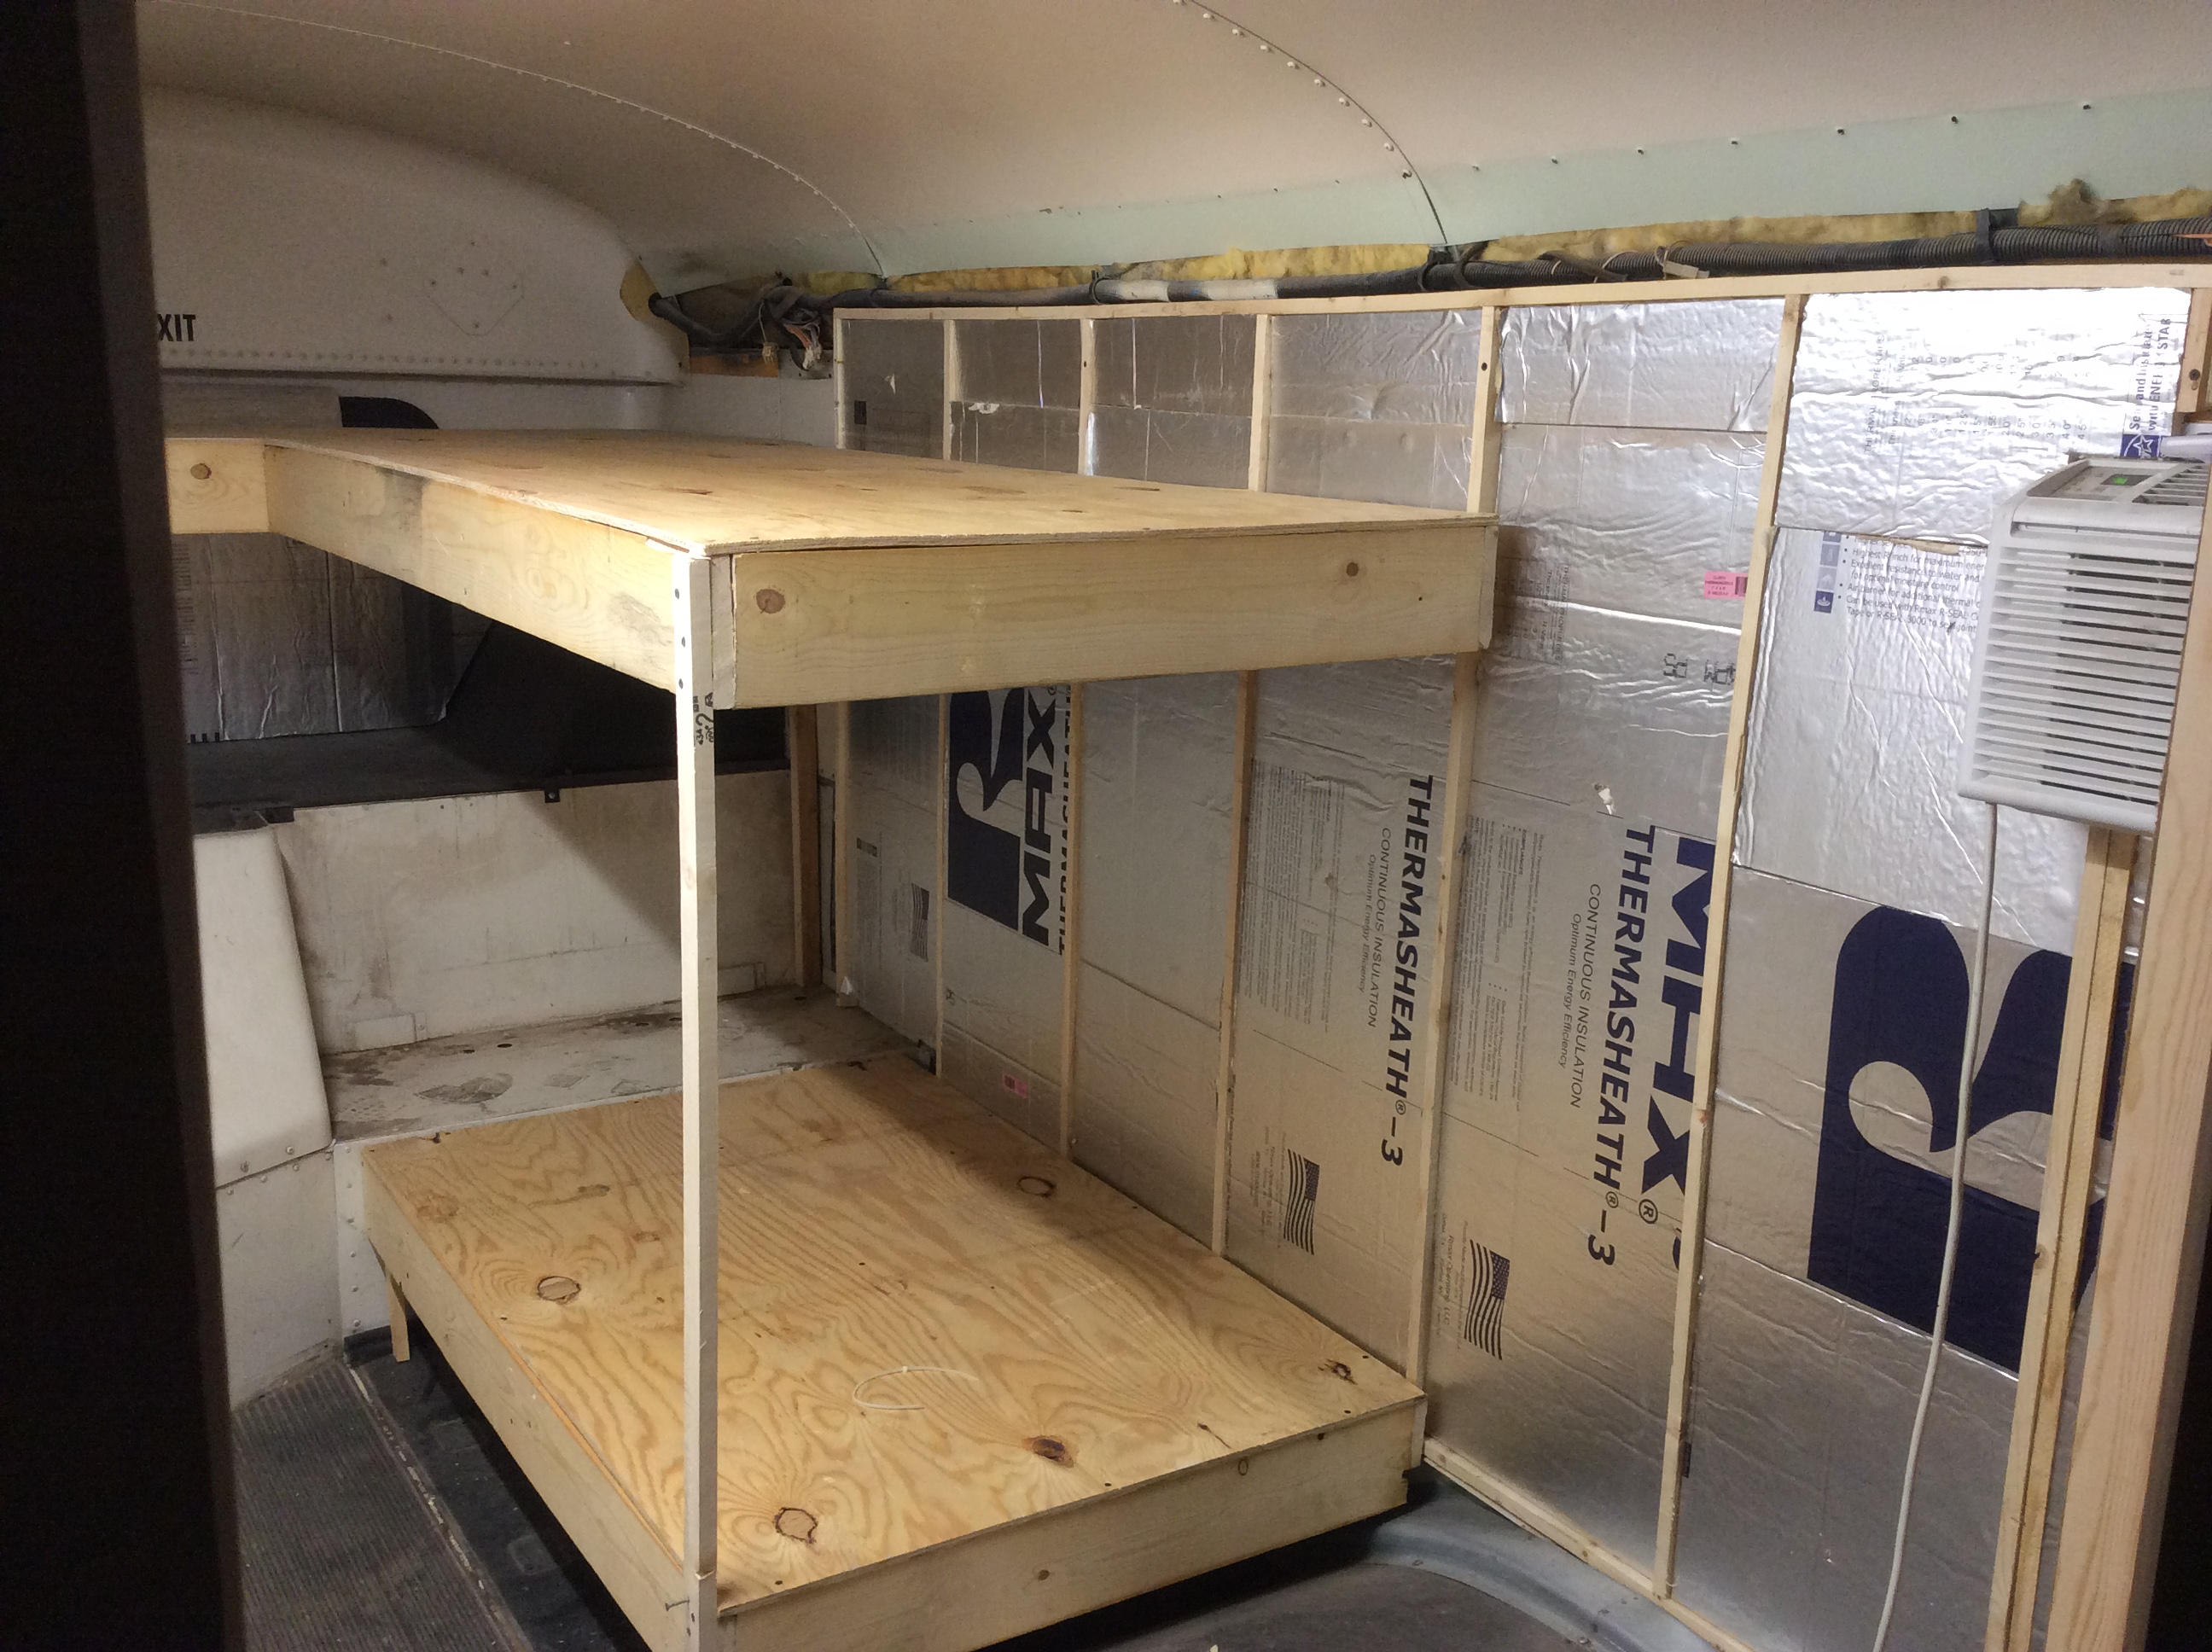
There are three bunks installed, two stacked along the driver’s side just behind the back wheel, and the third across the “pylons” over the engine side air grills. The bunks are constructed of 1/2″ plywood supported by 1×6 supports, quite sturdy.
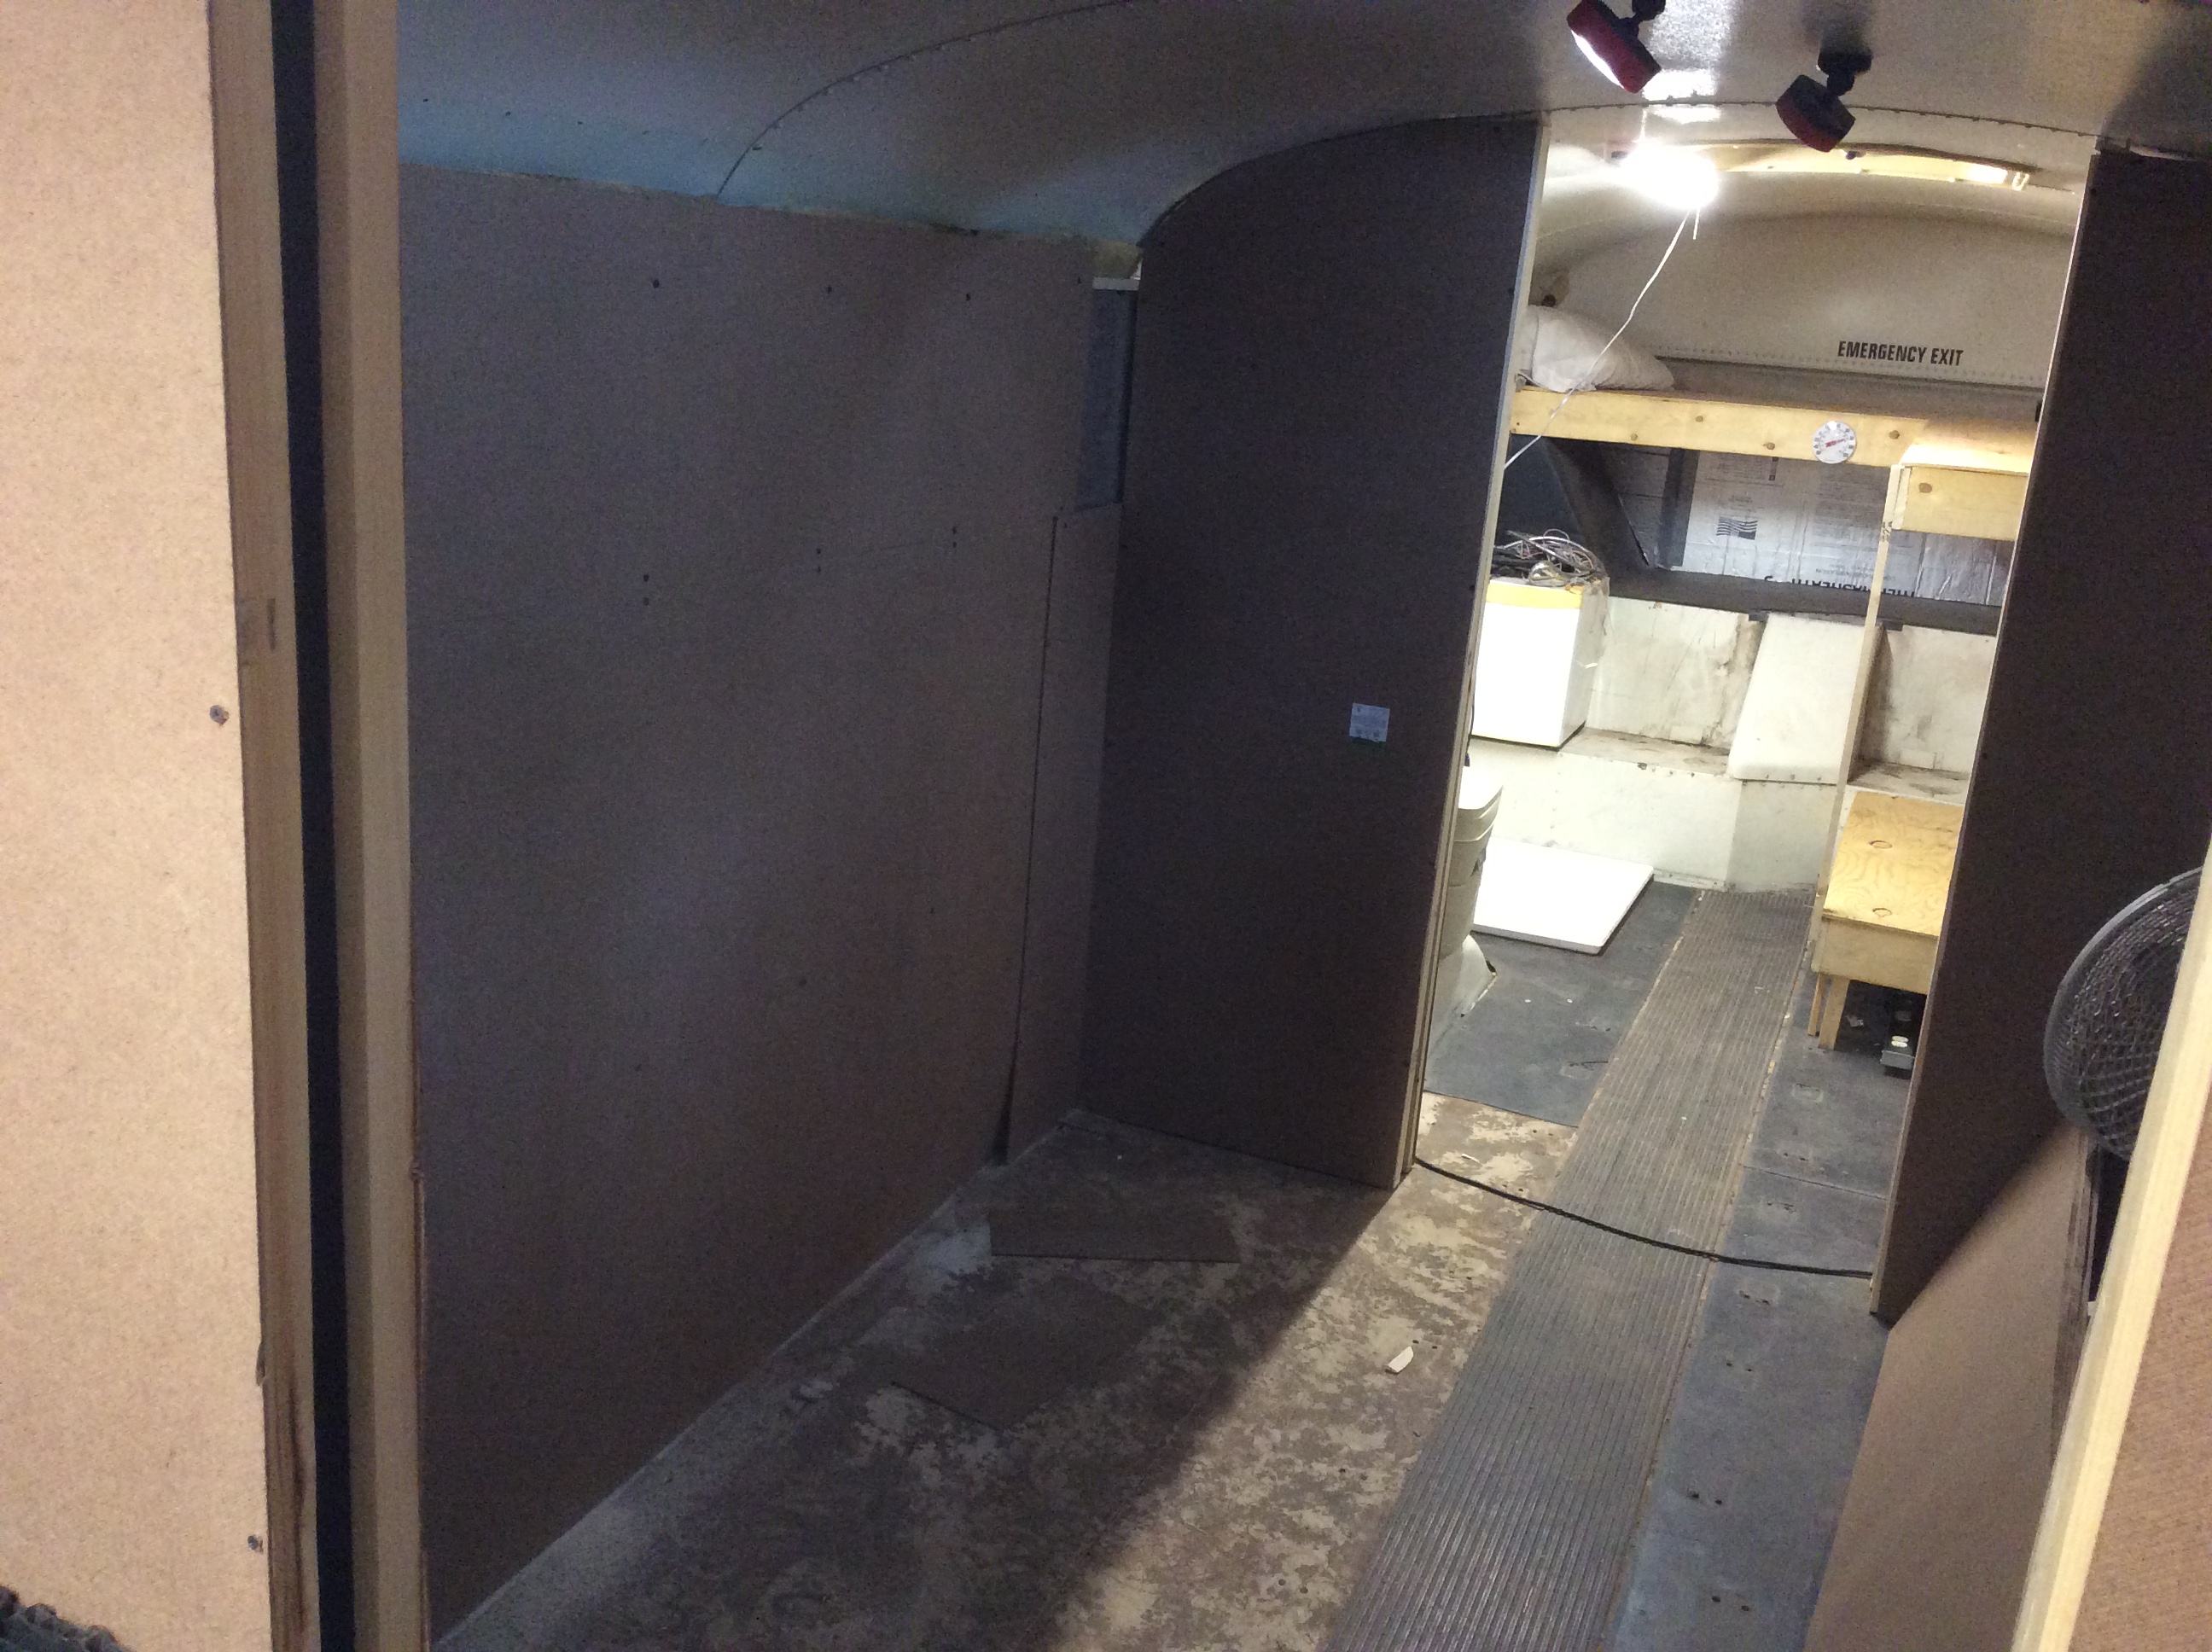
 With the bunks in, it was time to get the last divider walls up, and wall board. The four “rooms” are now defined, and setting up the first half of the fishpond and garden are next!
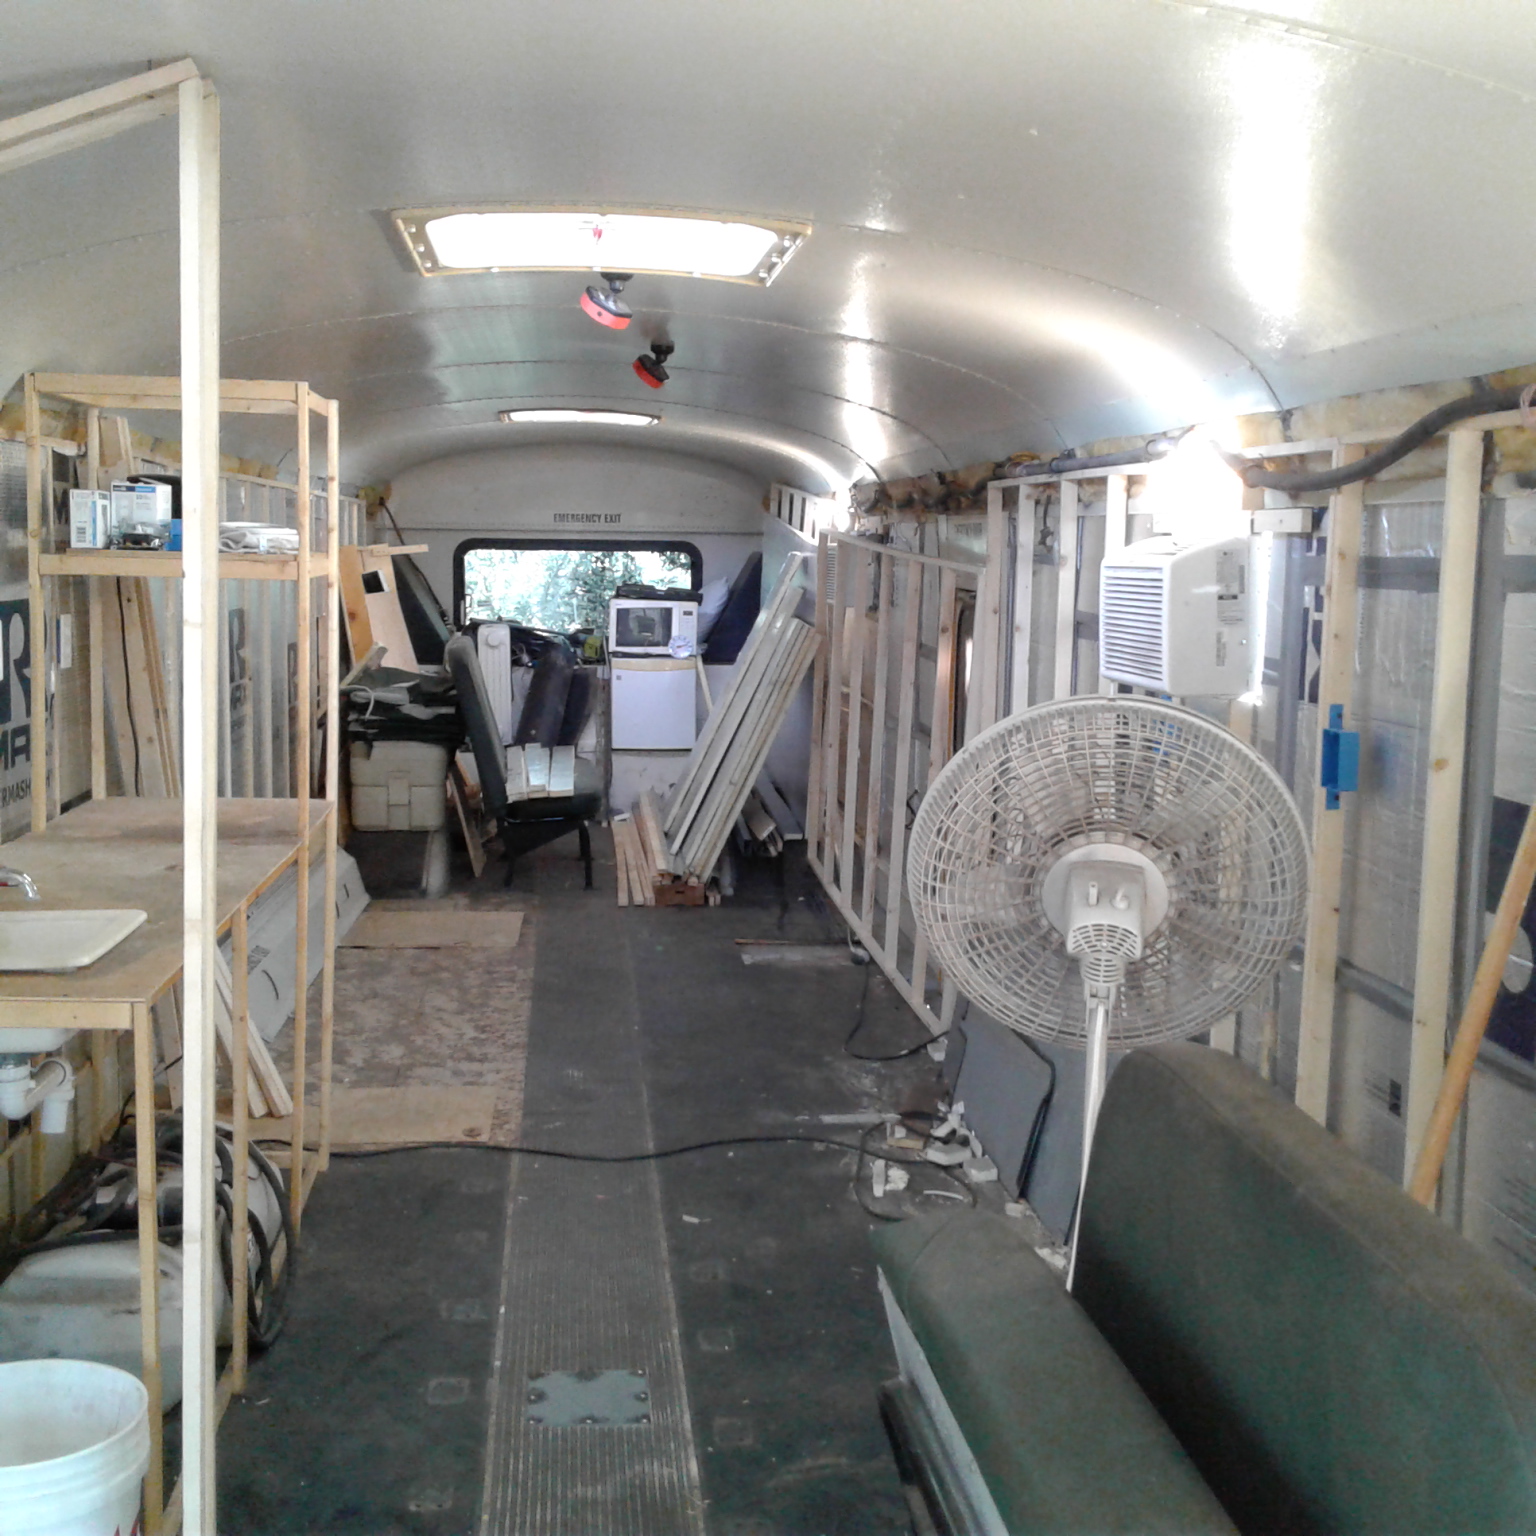
So, here’s a little tour of the Bus as she sits:
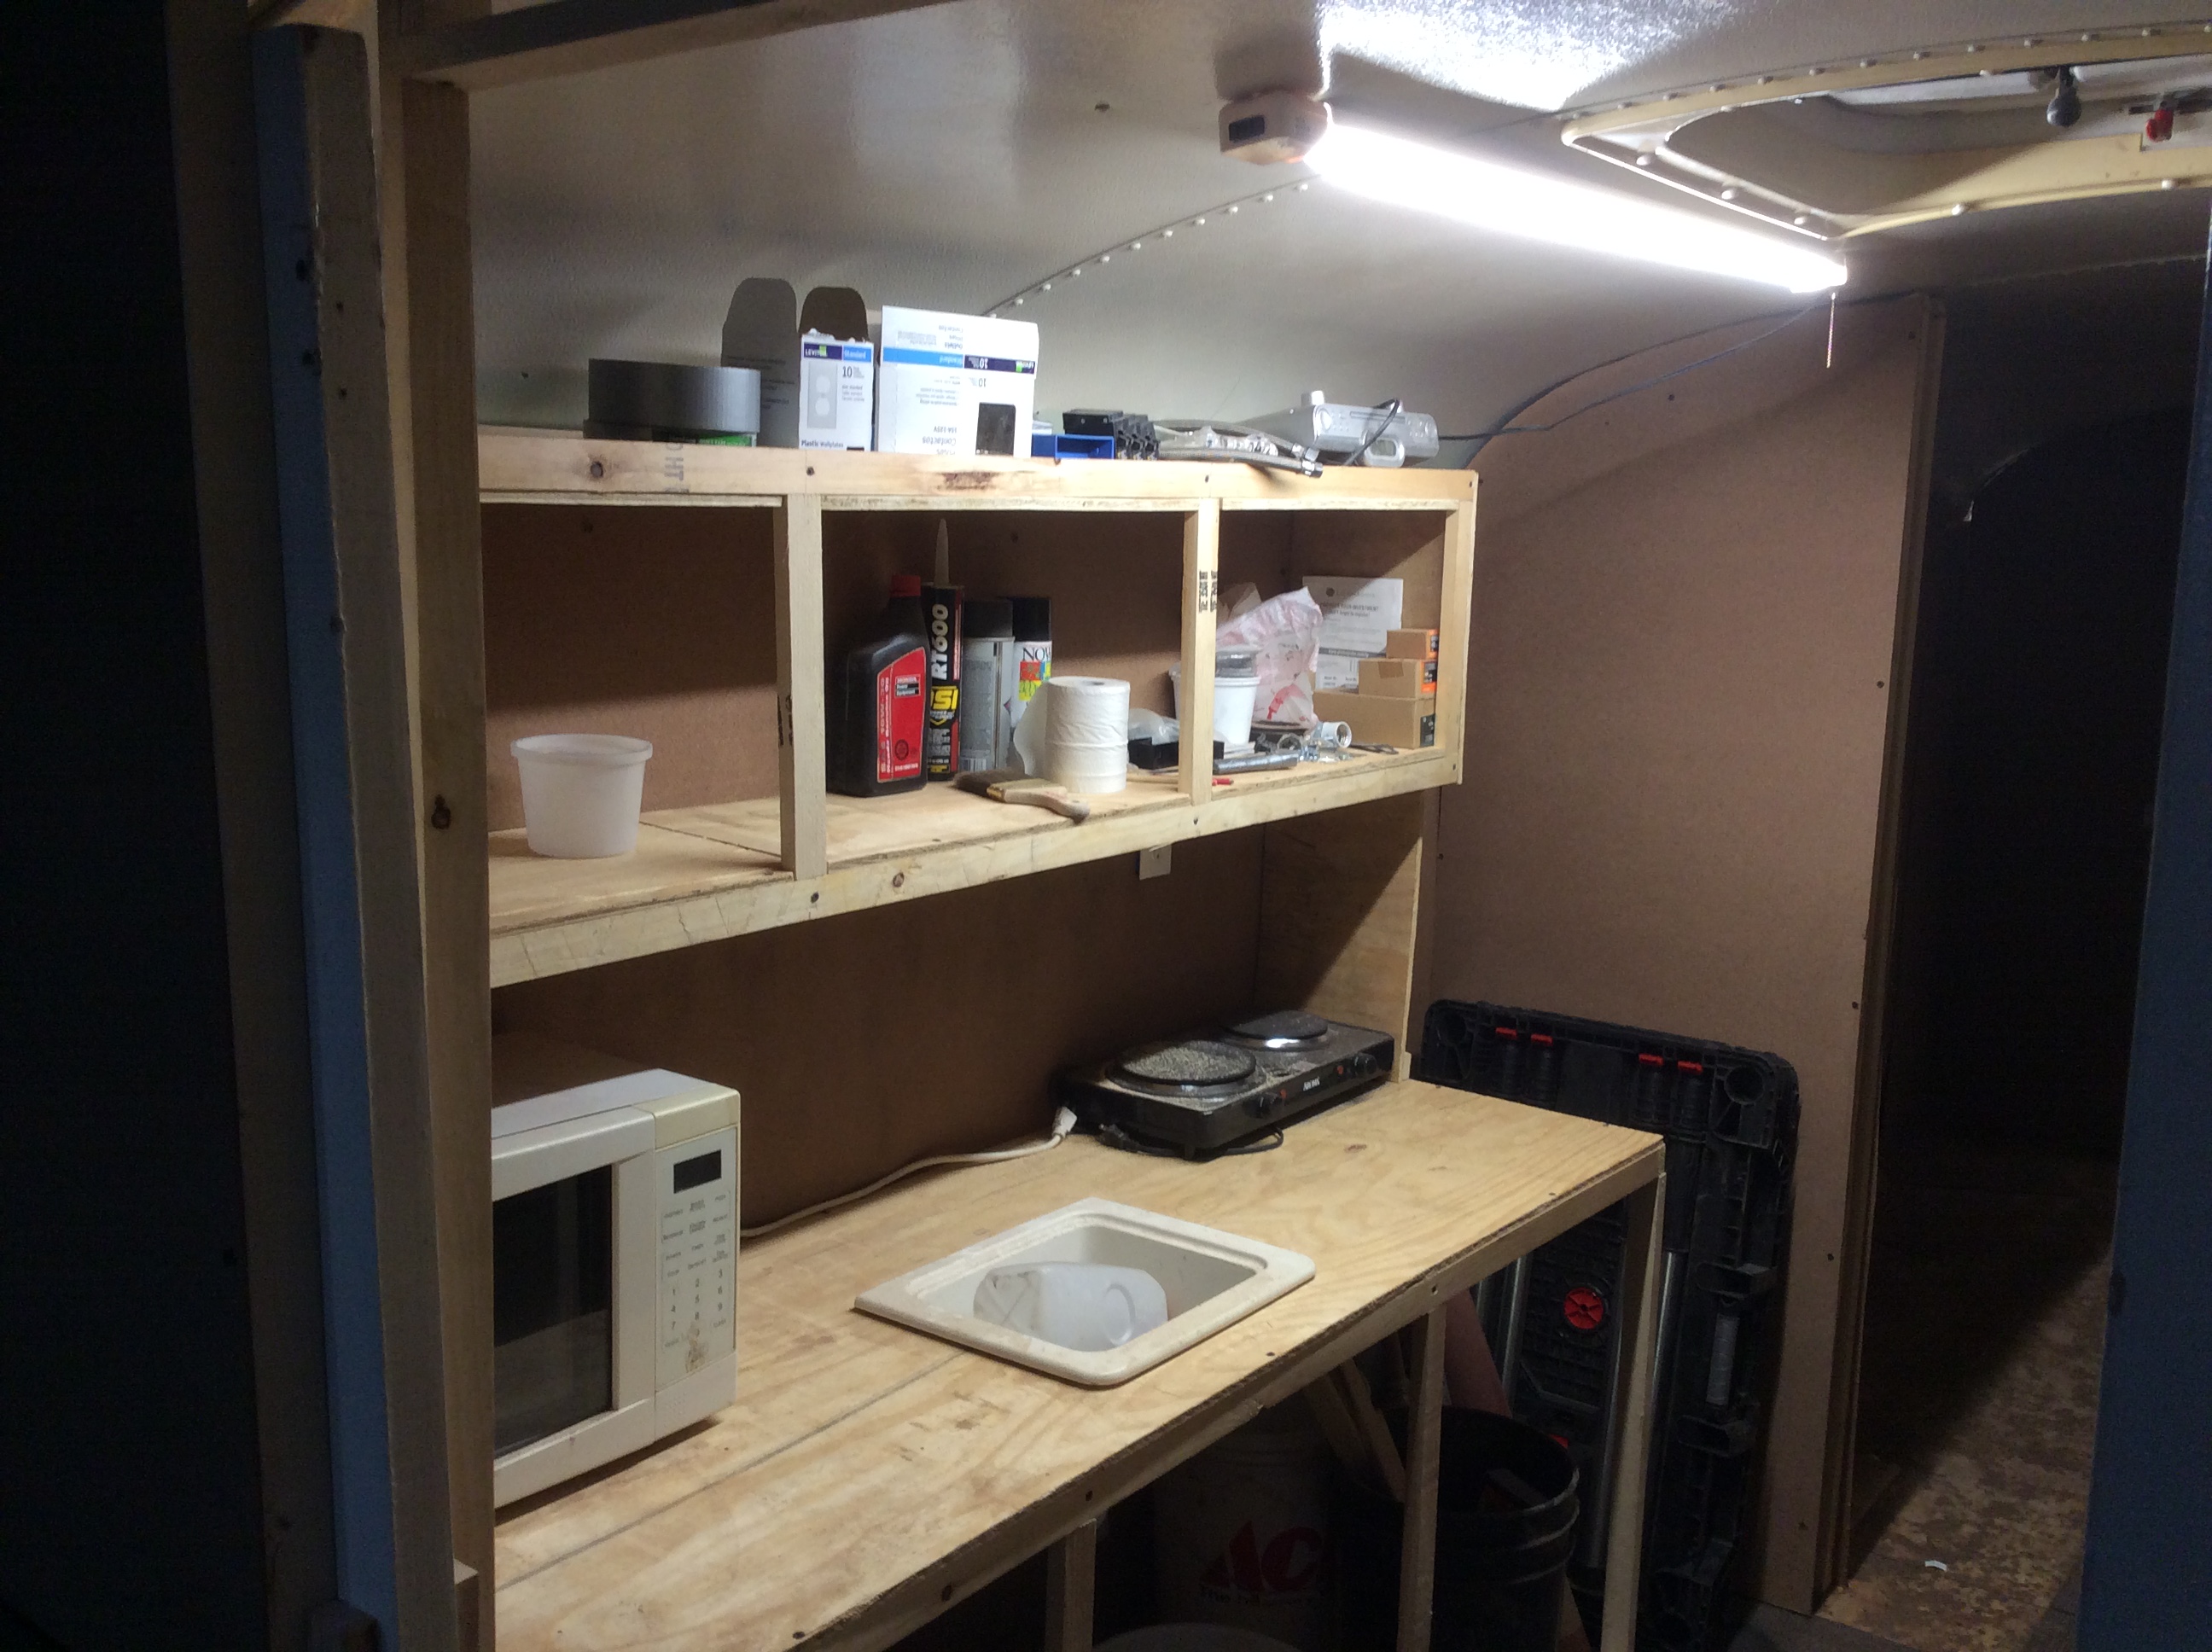 First the Kitchen,
And across the hall is the workshop
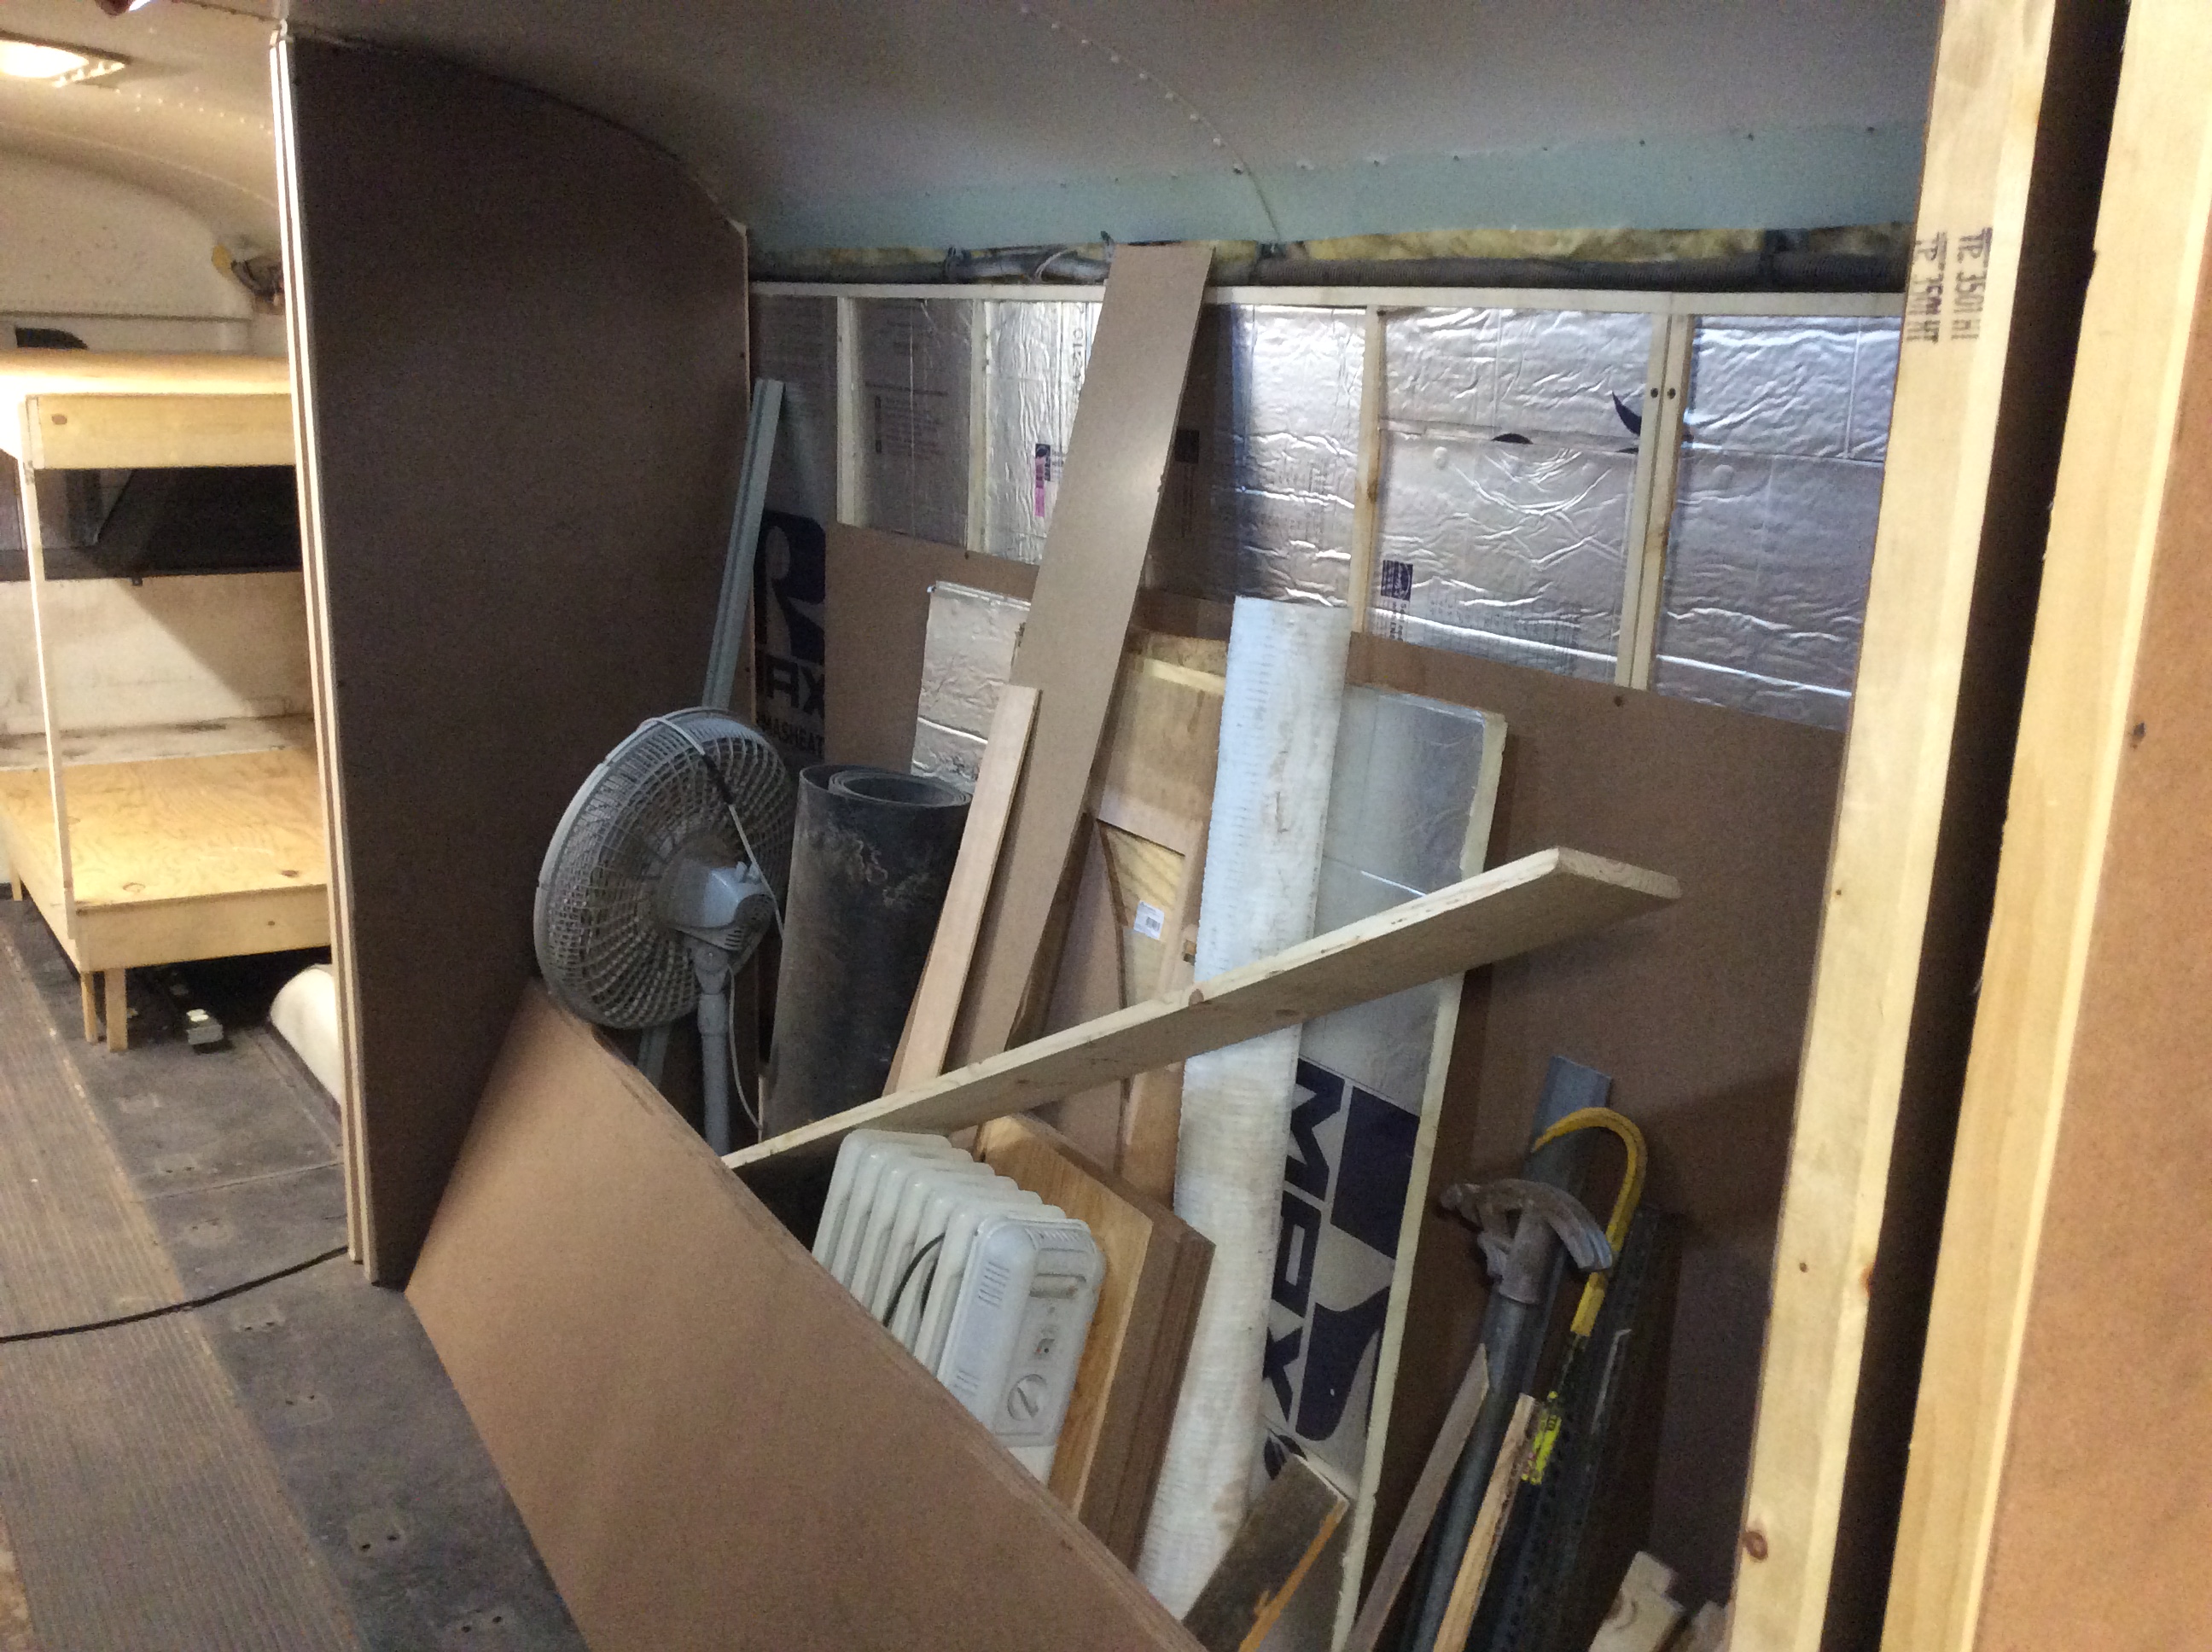 Into the next room is the fish pond / garden half of which is being used temporarily for storage.
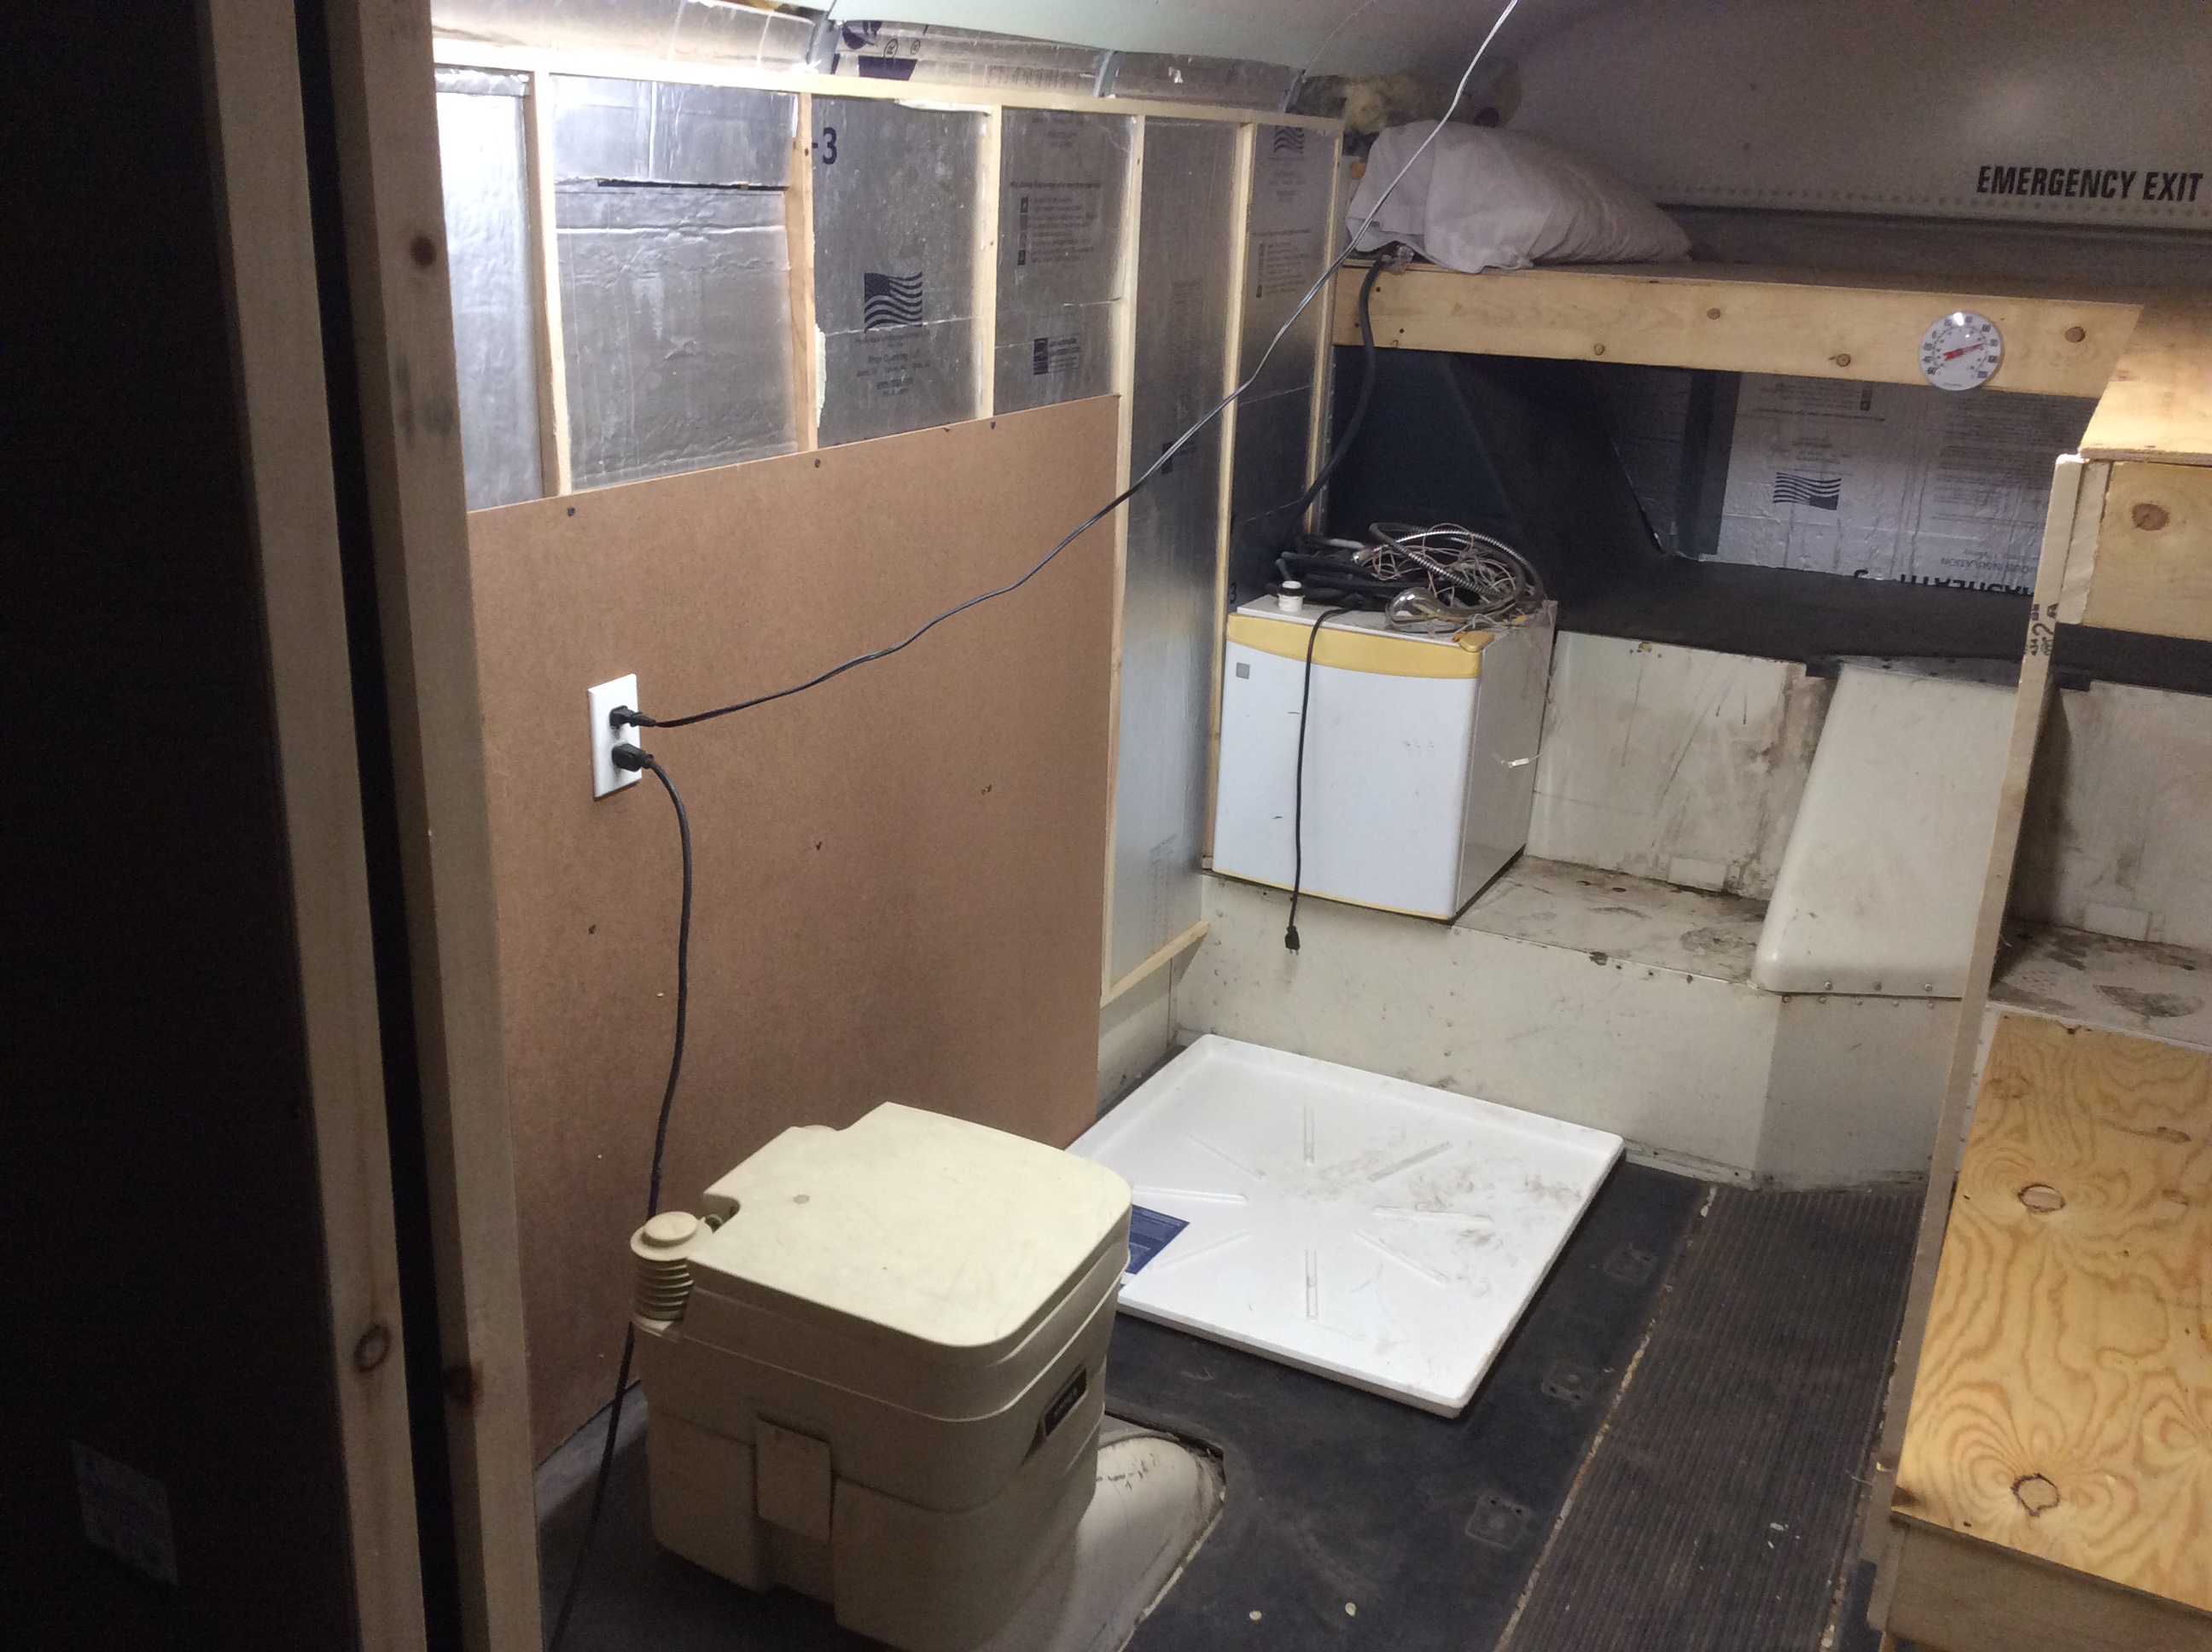
 And last but not least is the “Crew Quarters”, toilet, shower pan, and the bunks.
Don’t go away! Fish Pond and Garden construction are next!