One of the things people are most incredulous about this bus, is my intention to install a fish pond in the floor. To be exact, two ponds … one on each side of the bus. And above that pond will be a garden grow bed, and above the grow bed will be grow-cylinders. The estimated capacity of the combined system will be between 800 and 1000 gallons of water. and 32 square feet of grow bed garden, and 24 cylinders holding 13 plants each (that’s 312 individual cylinder plants). To be fair, I admit this to be quite ambitious, especially when it’s placed in a room just 7 feet wide by 8 feet long with a 3 foot walkway down the middle. My experience with the tiny home before this, gave me a solid foundation on how to integrate these into a single system. So, here we go!
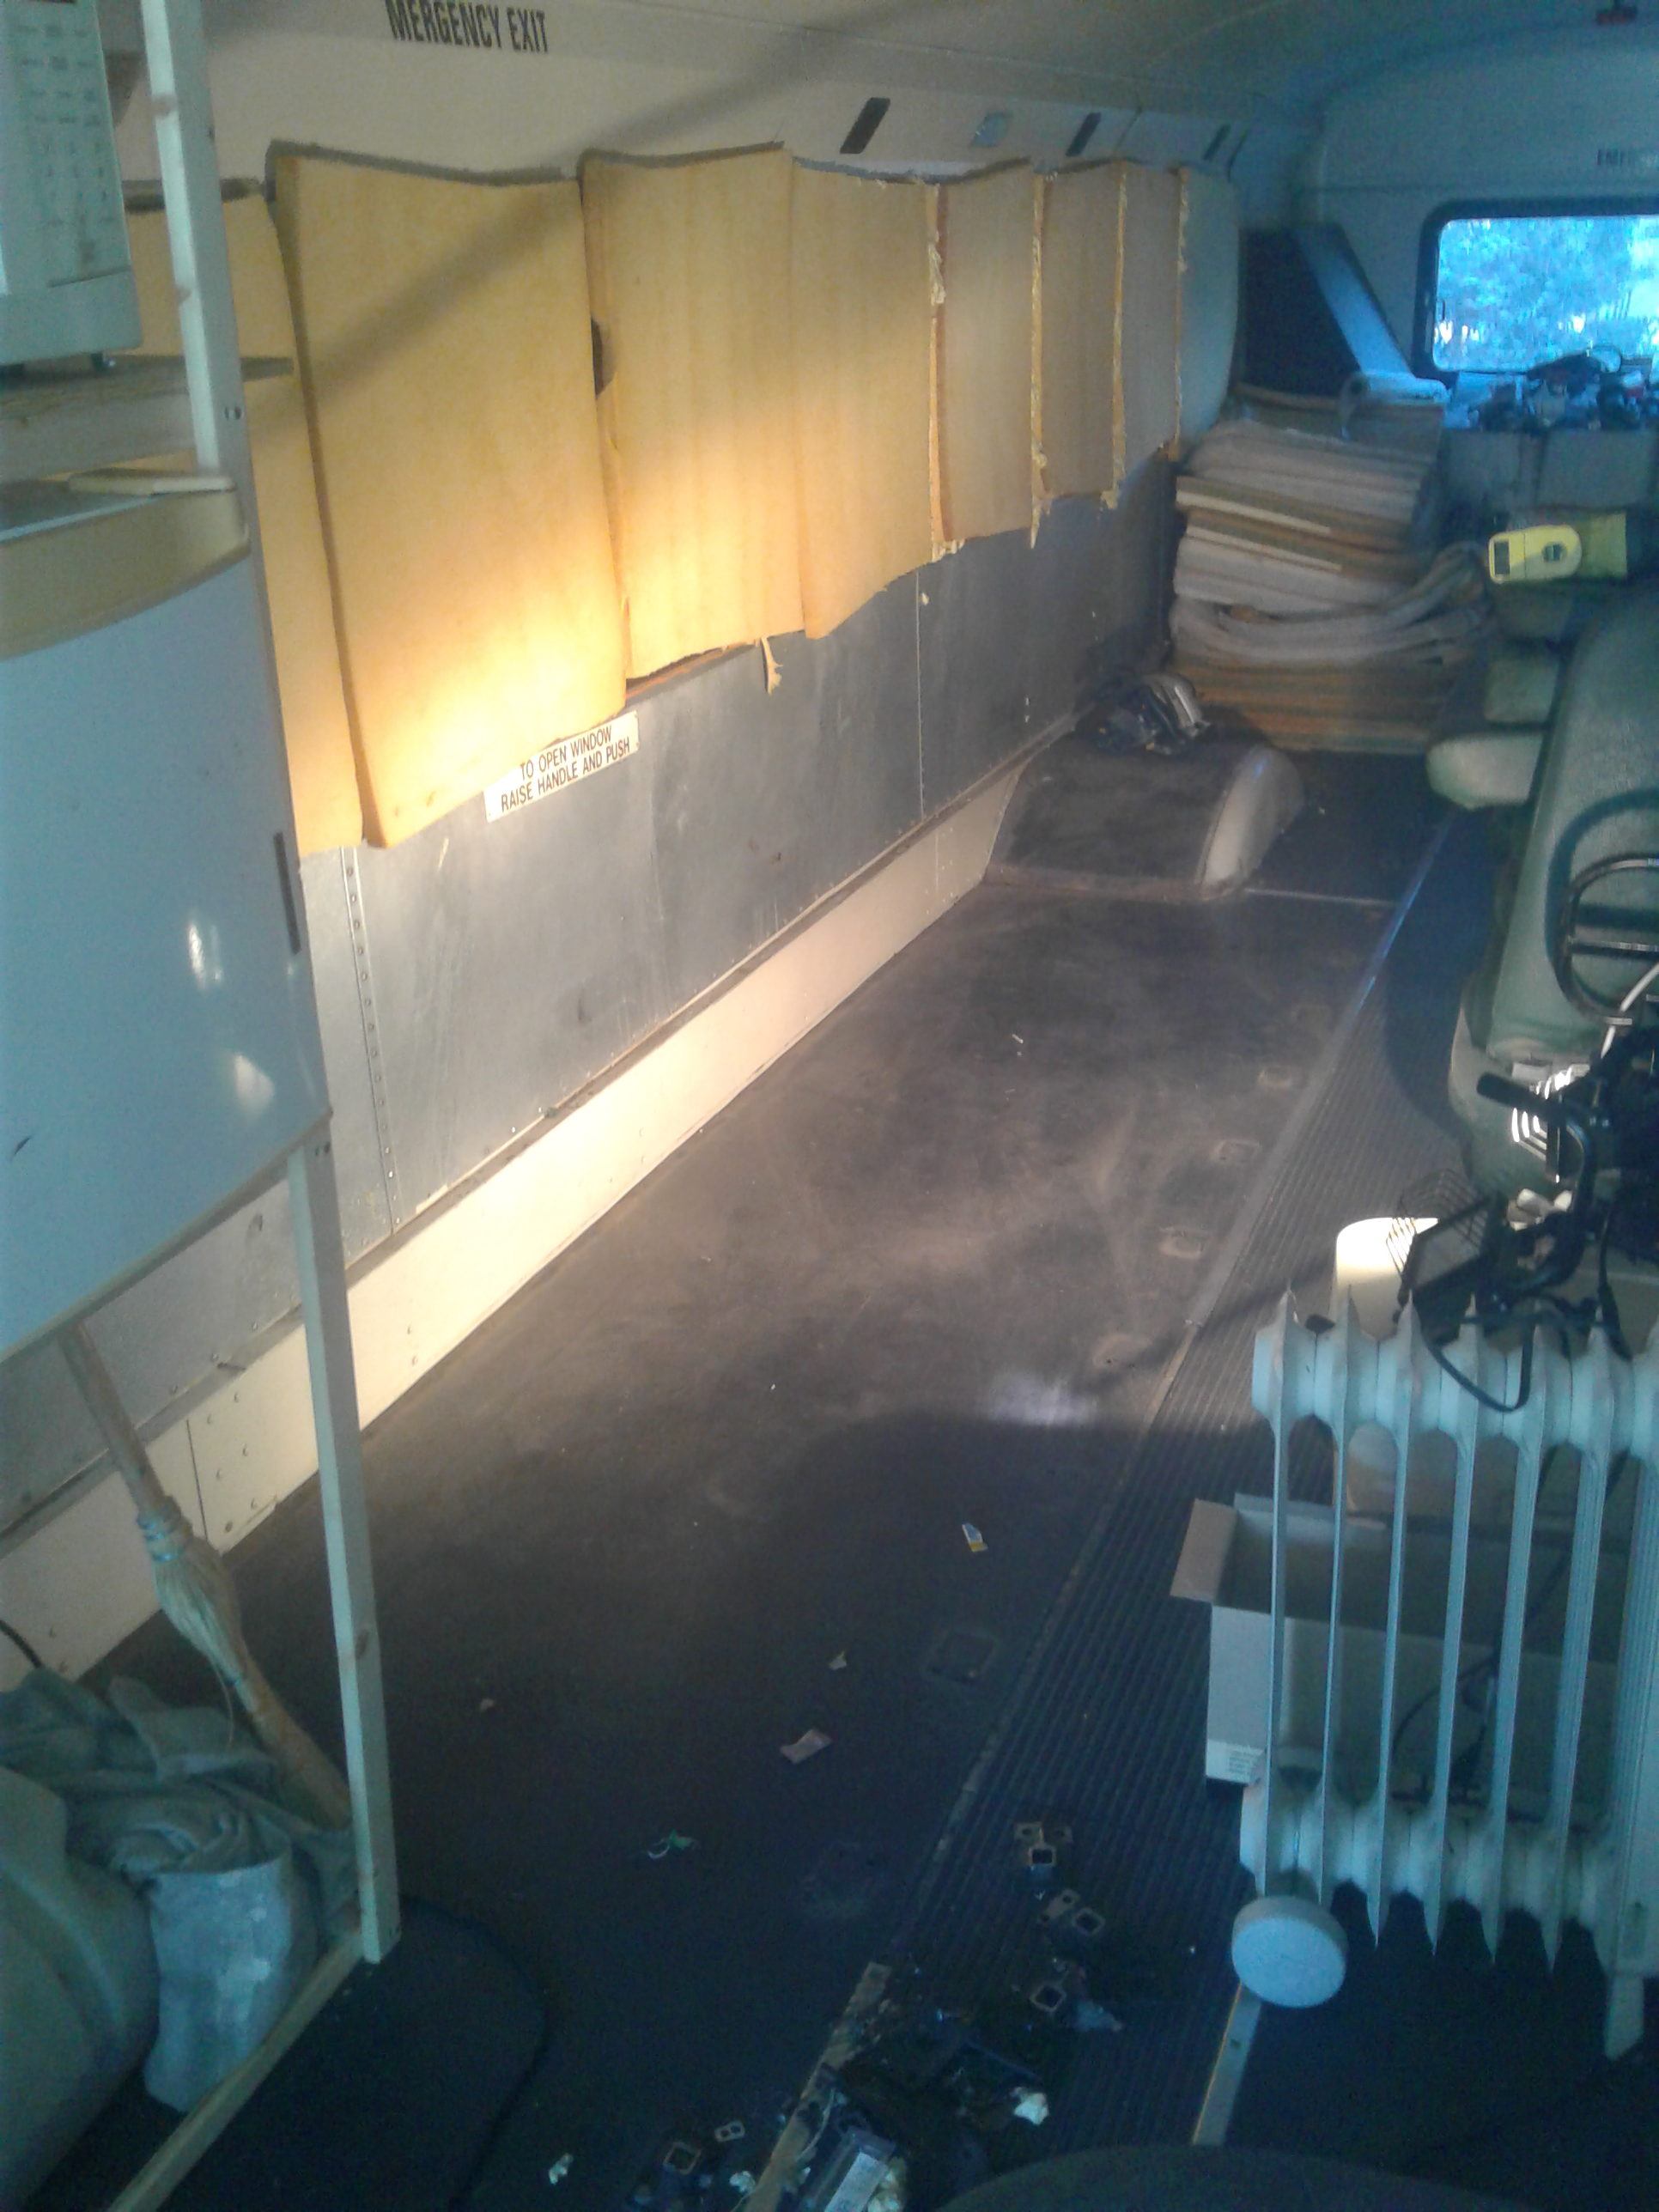
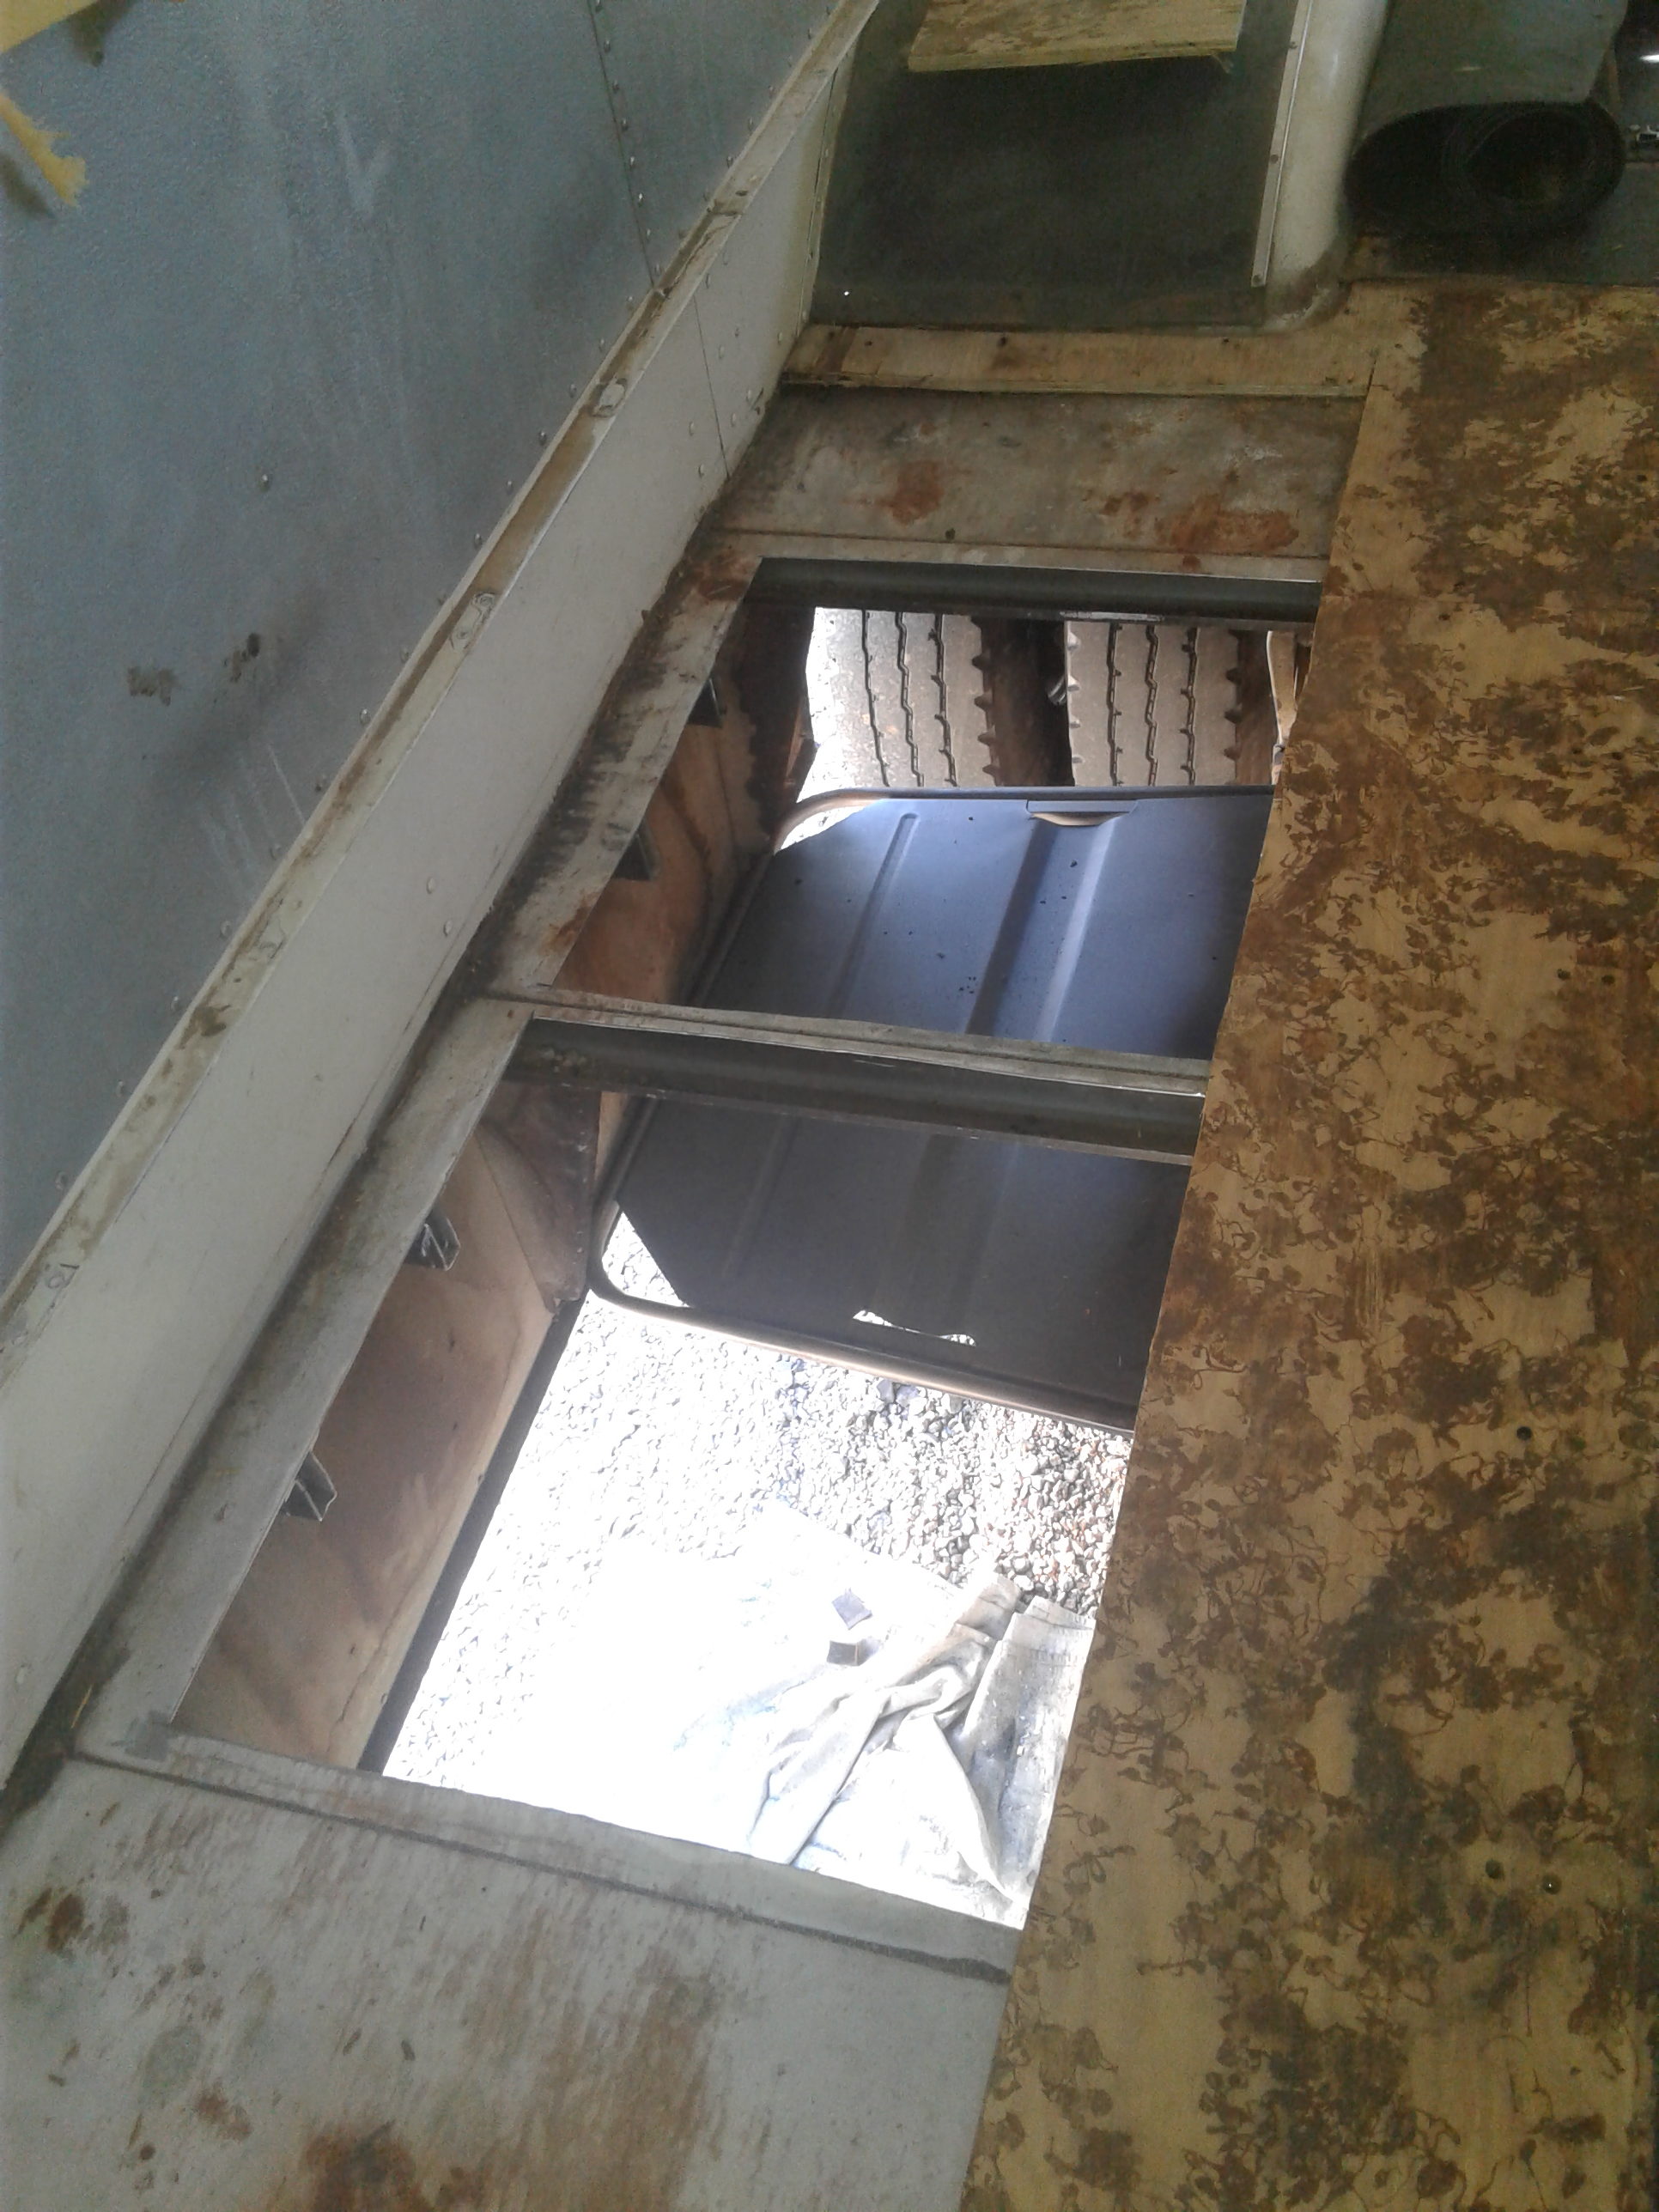
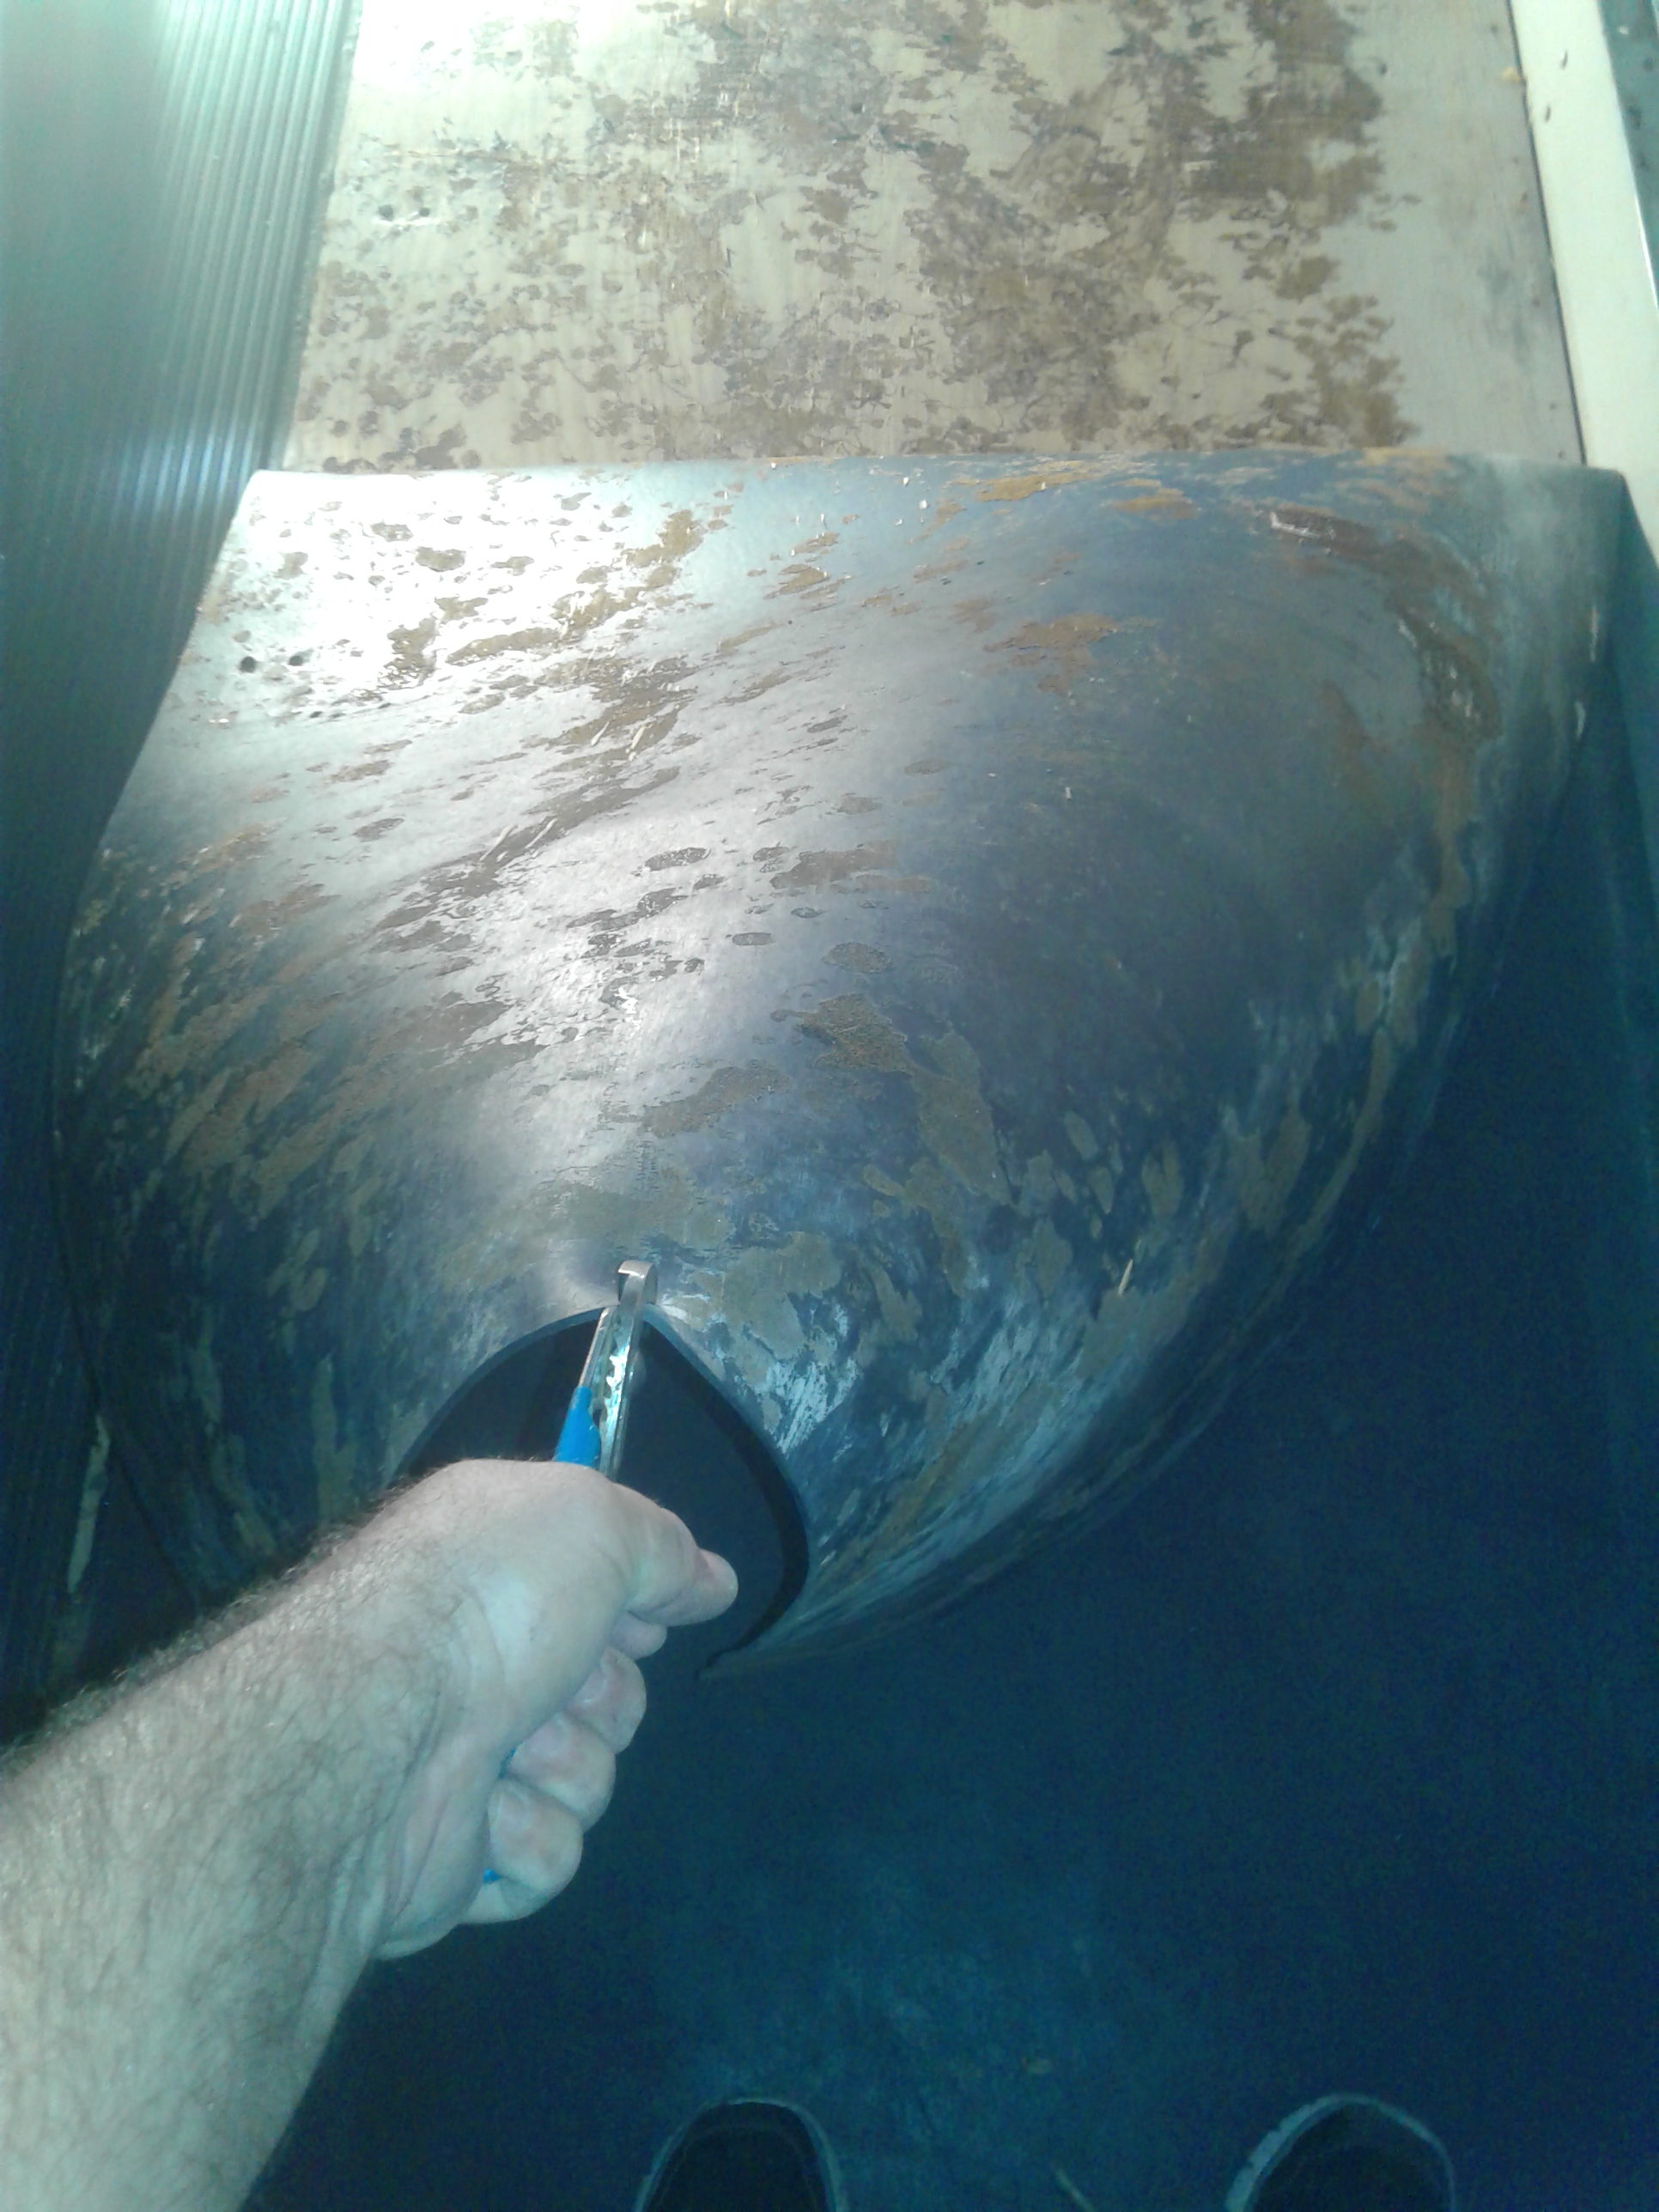 Back in July 2017, I had figured I should mark out the position of the fish pond in order to make sure that everything else would fit properly around it. So I marked the rubber floor, and proceeded to cut it up and pull it out … totally not as easy as it first looked like it might be.
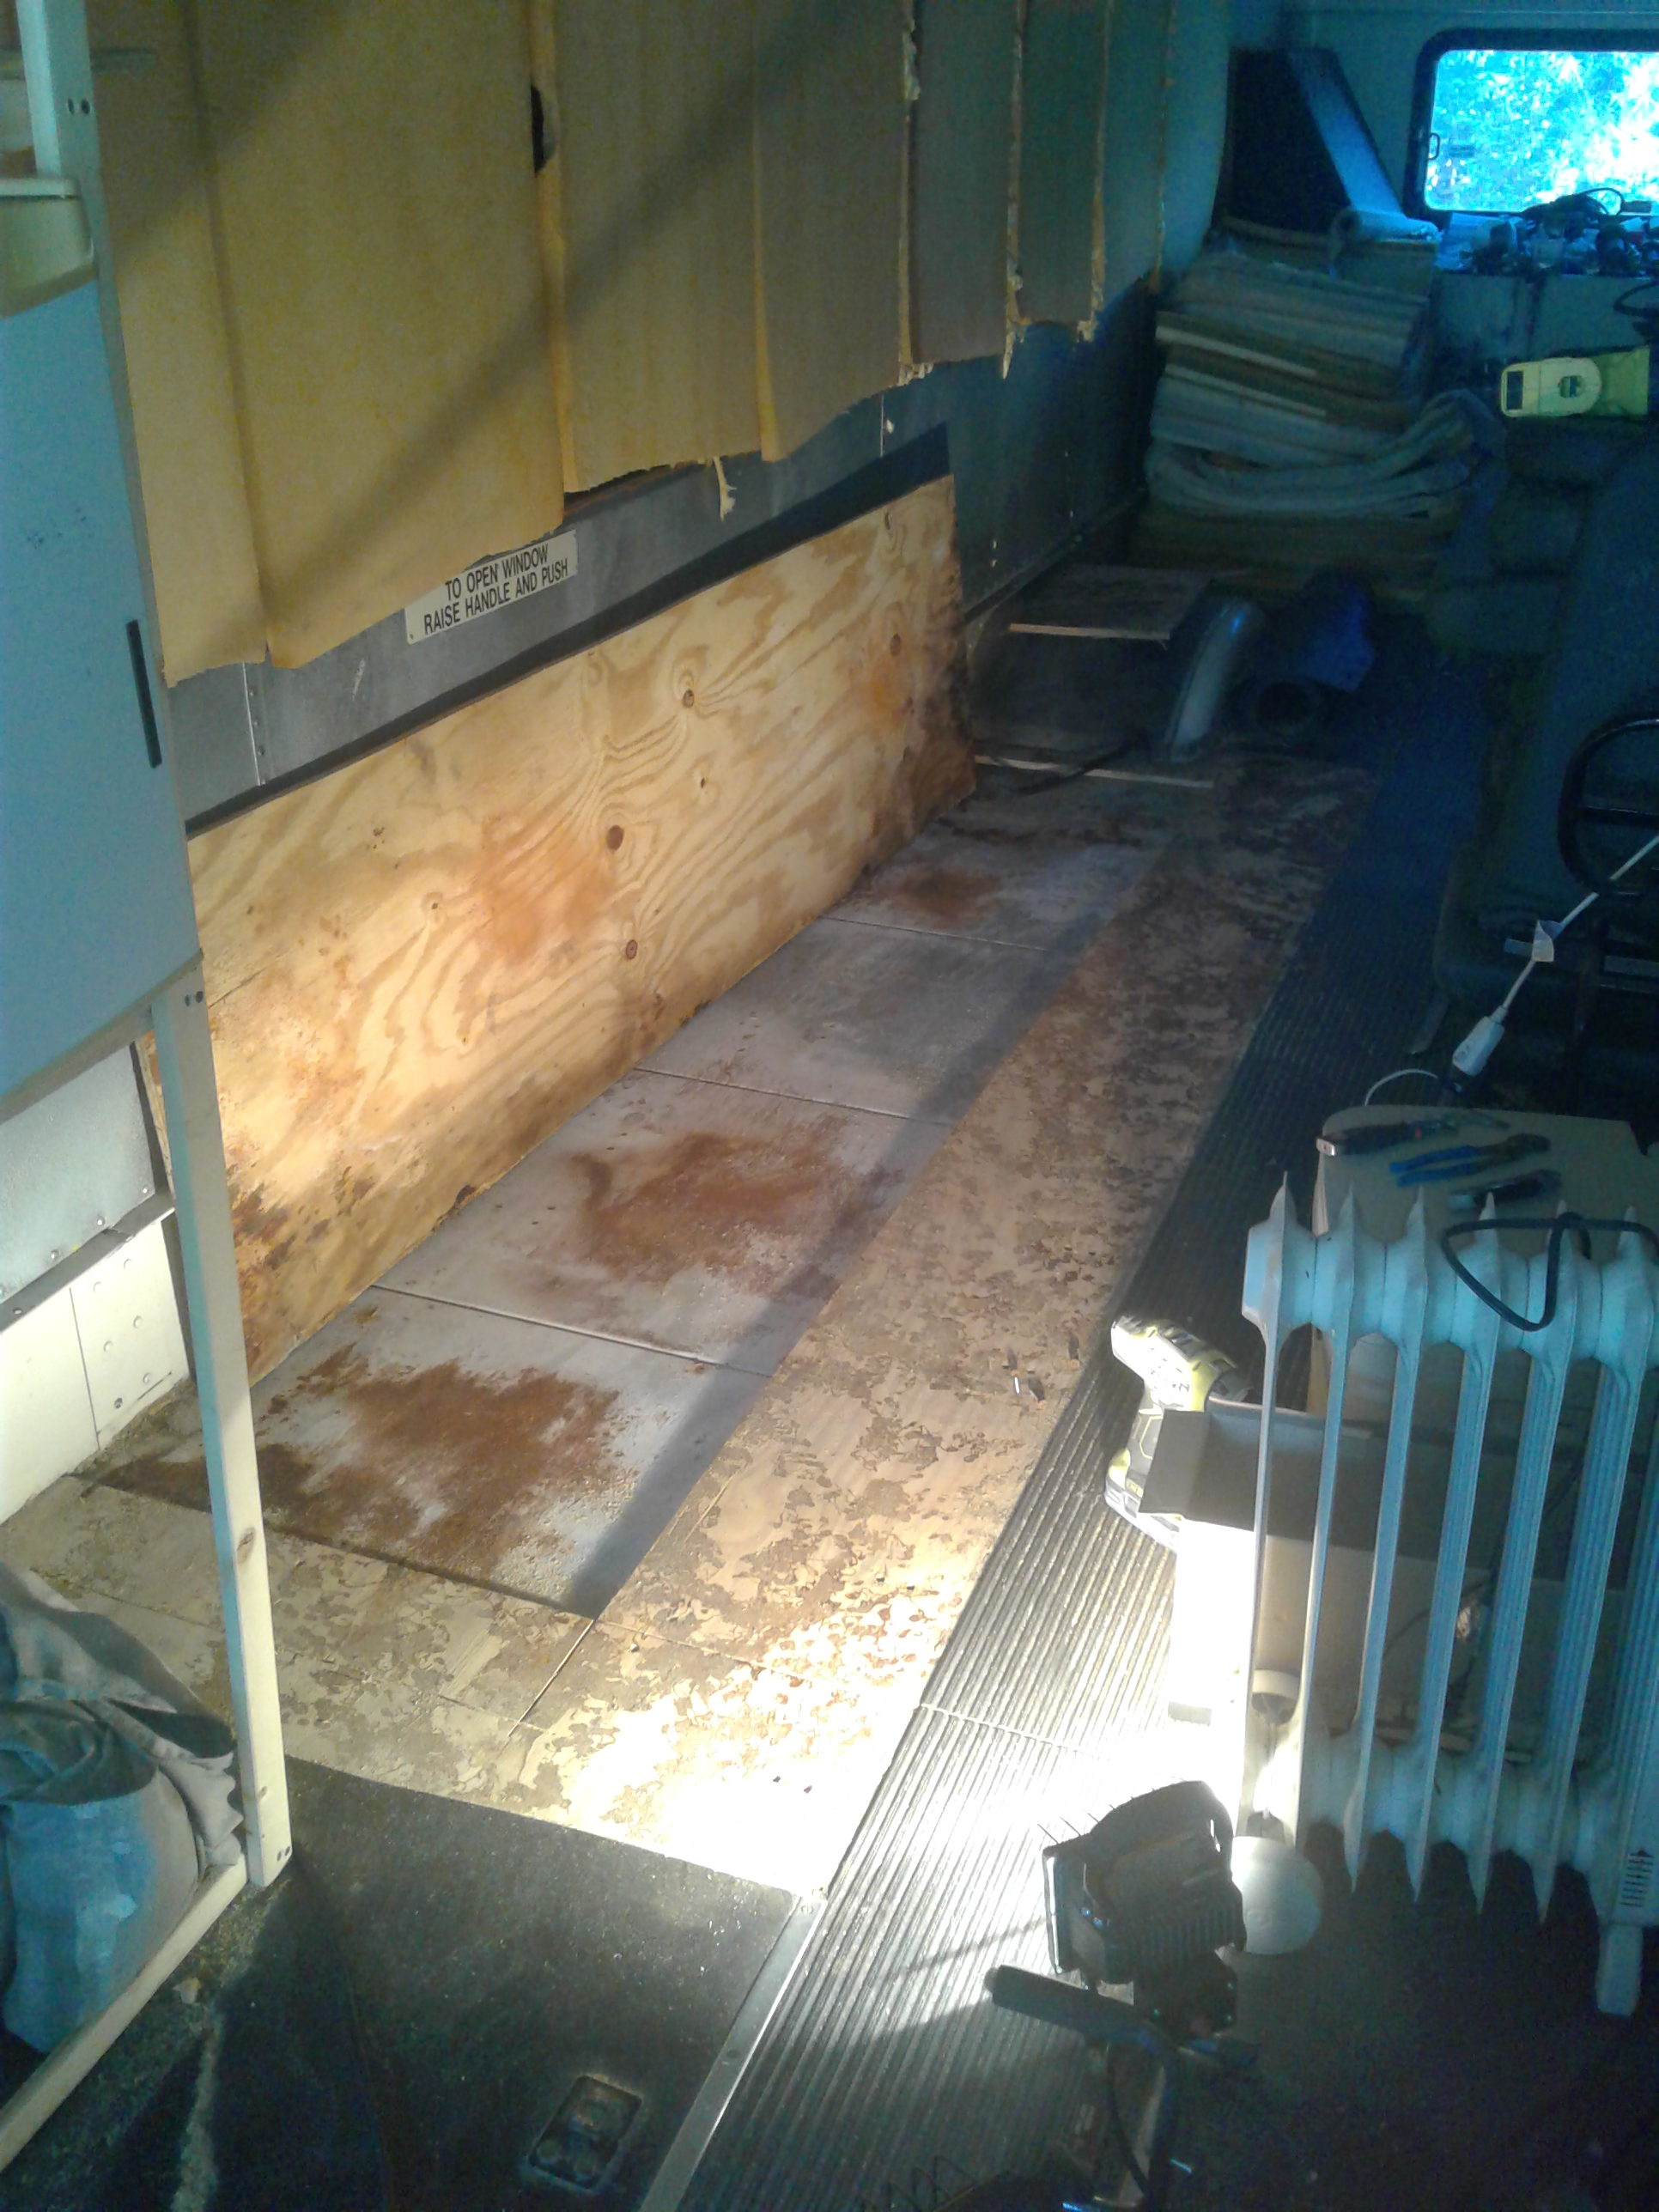
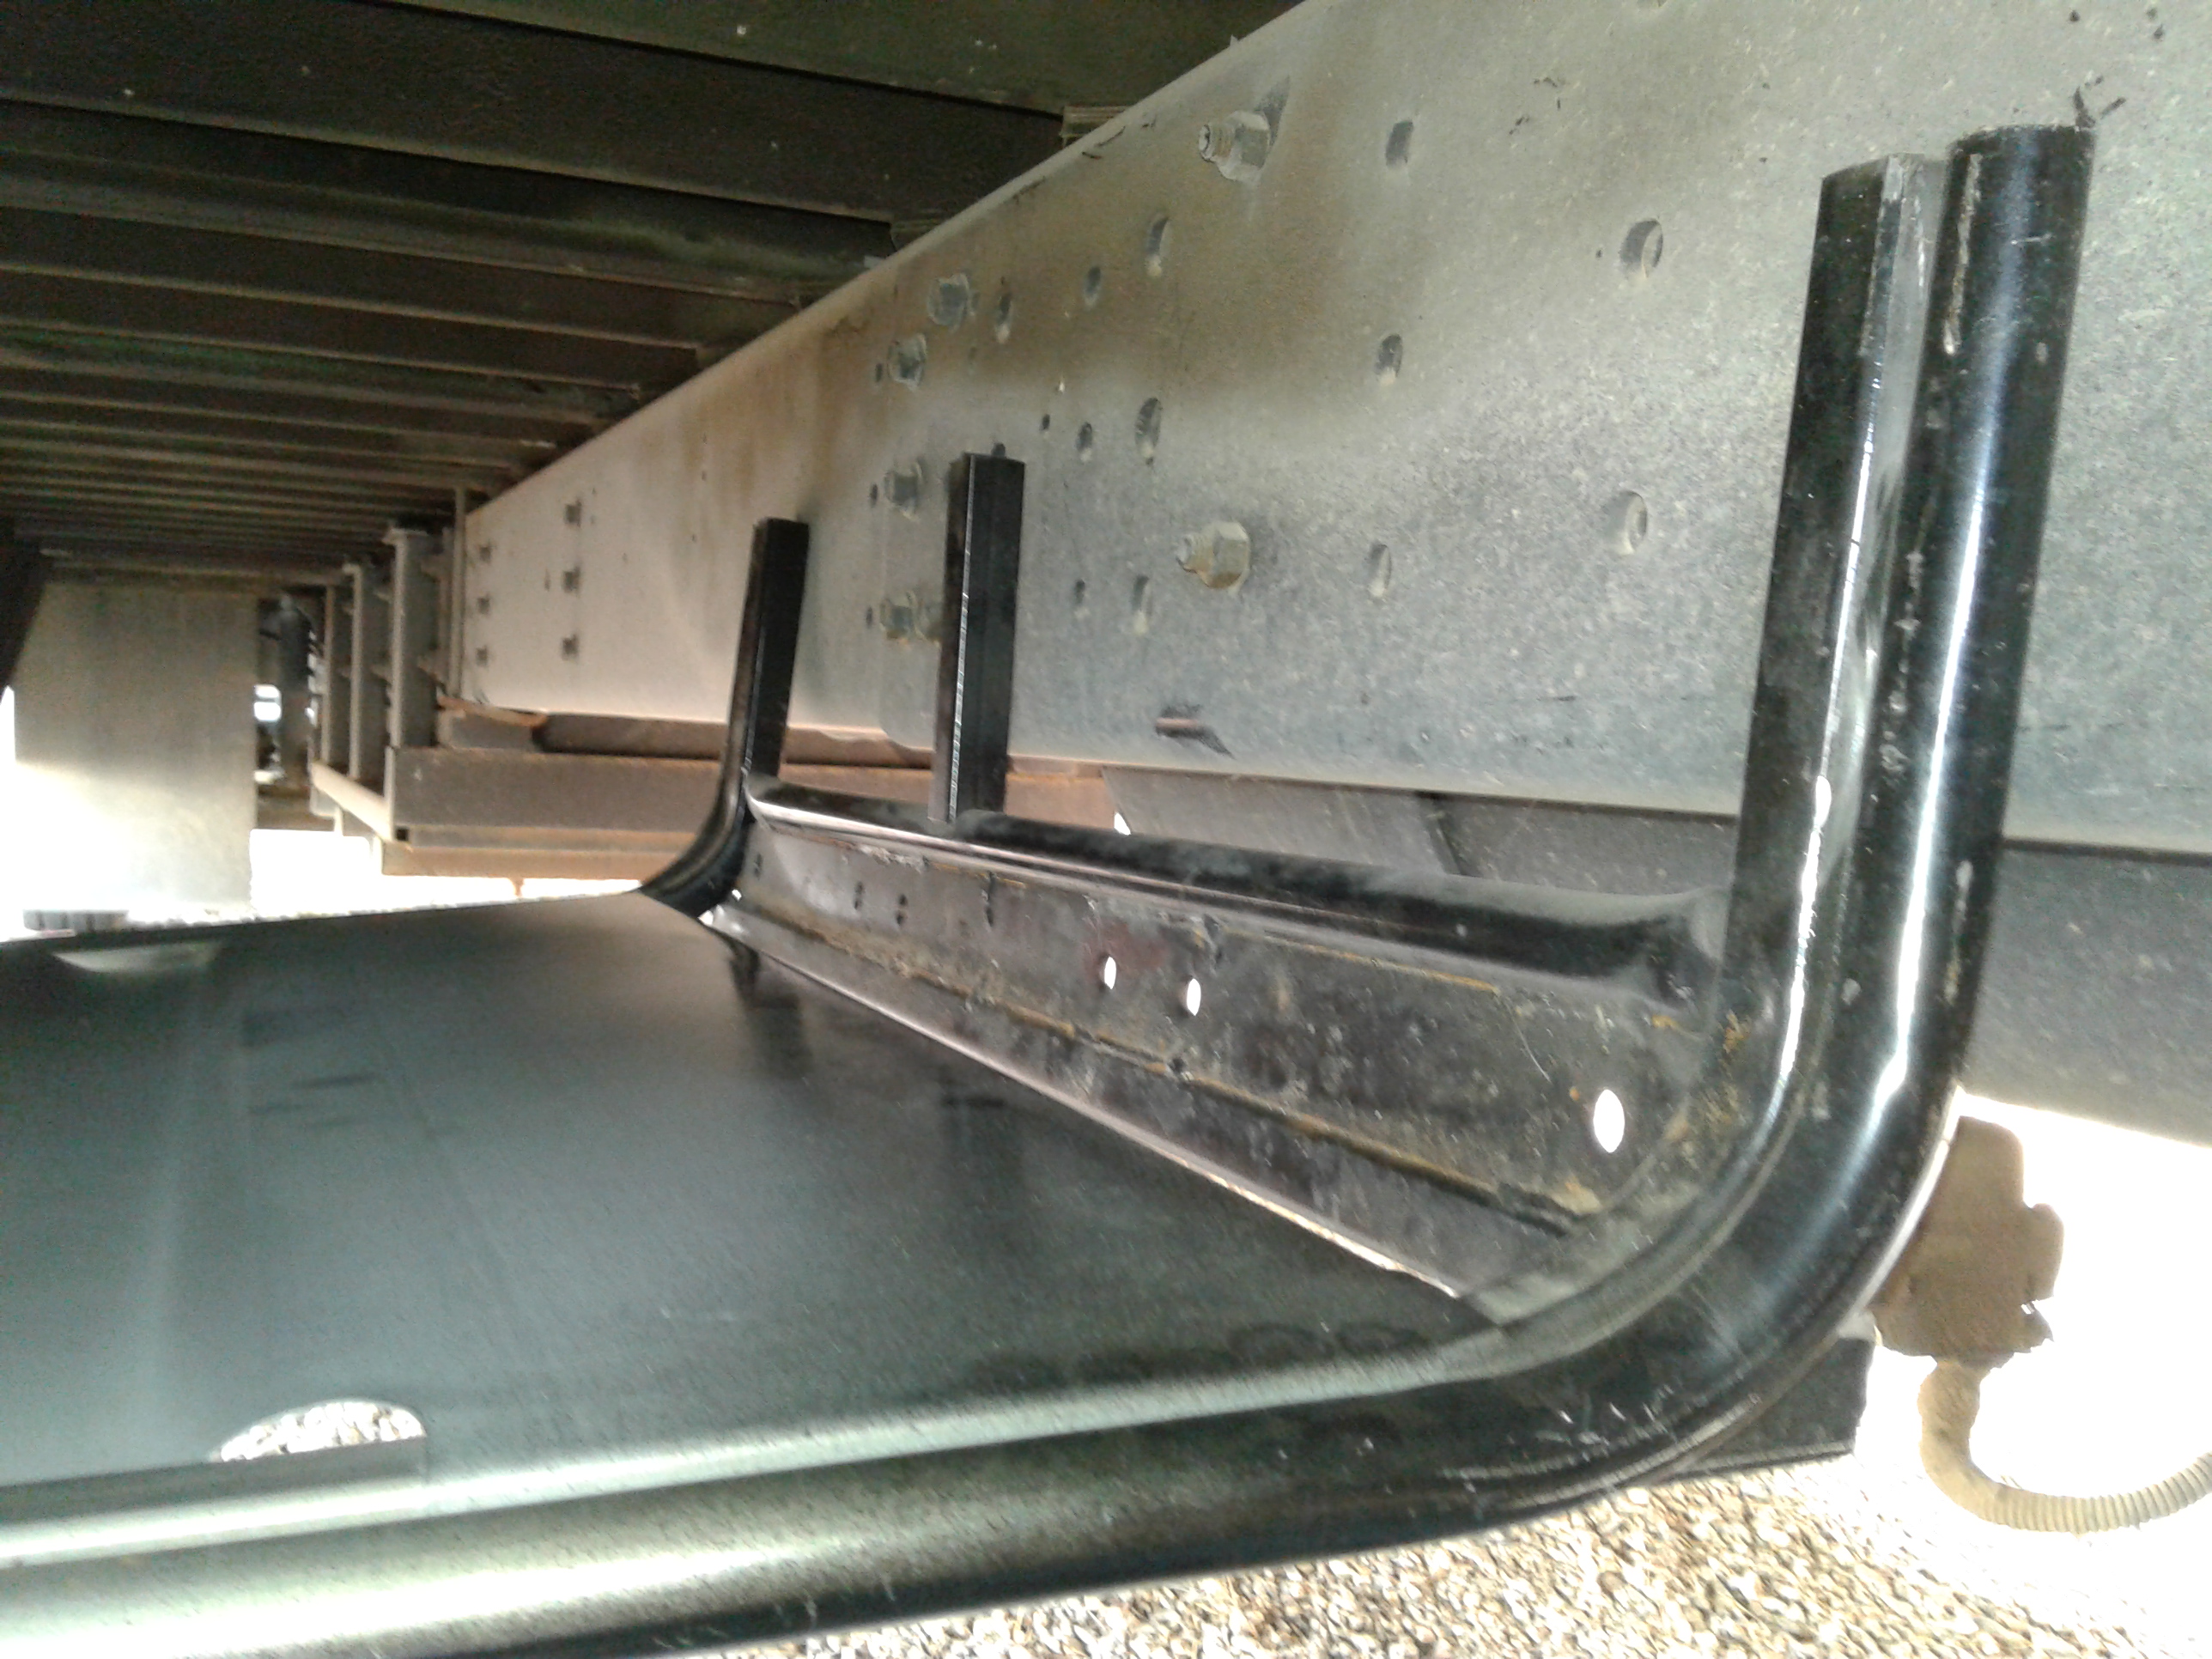
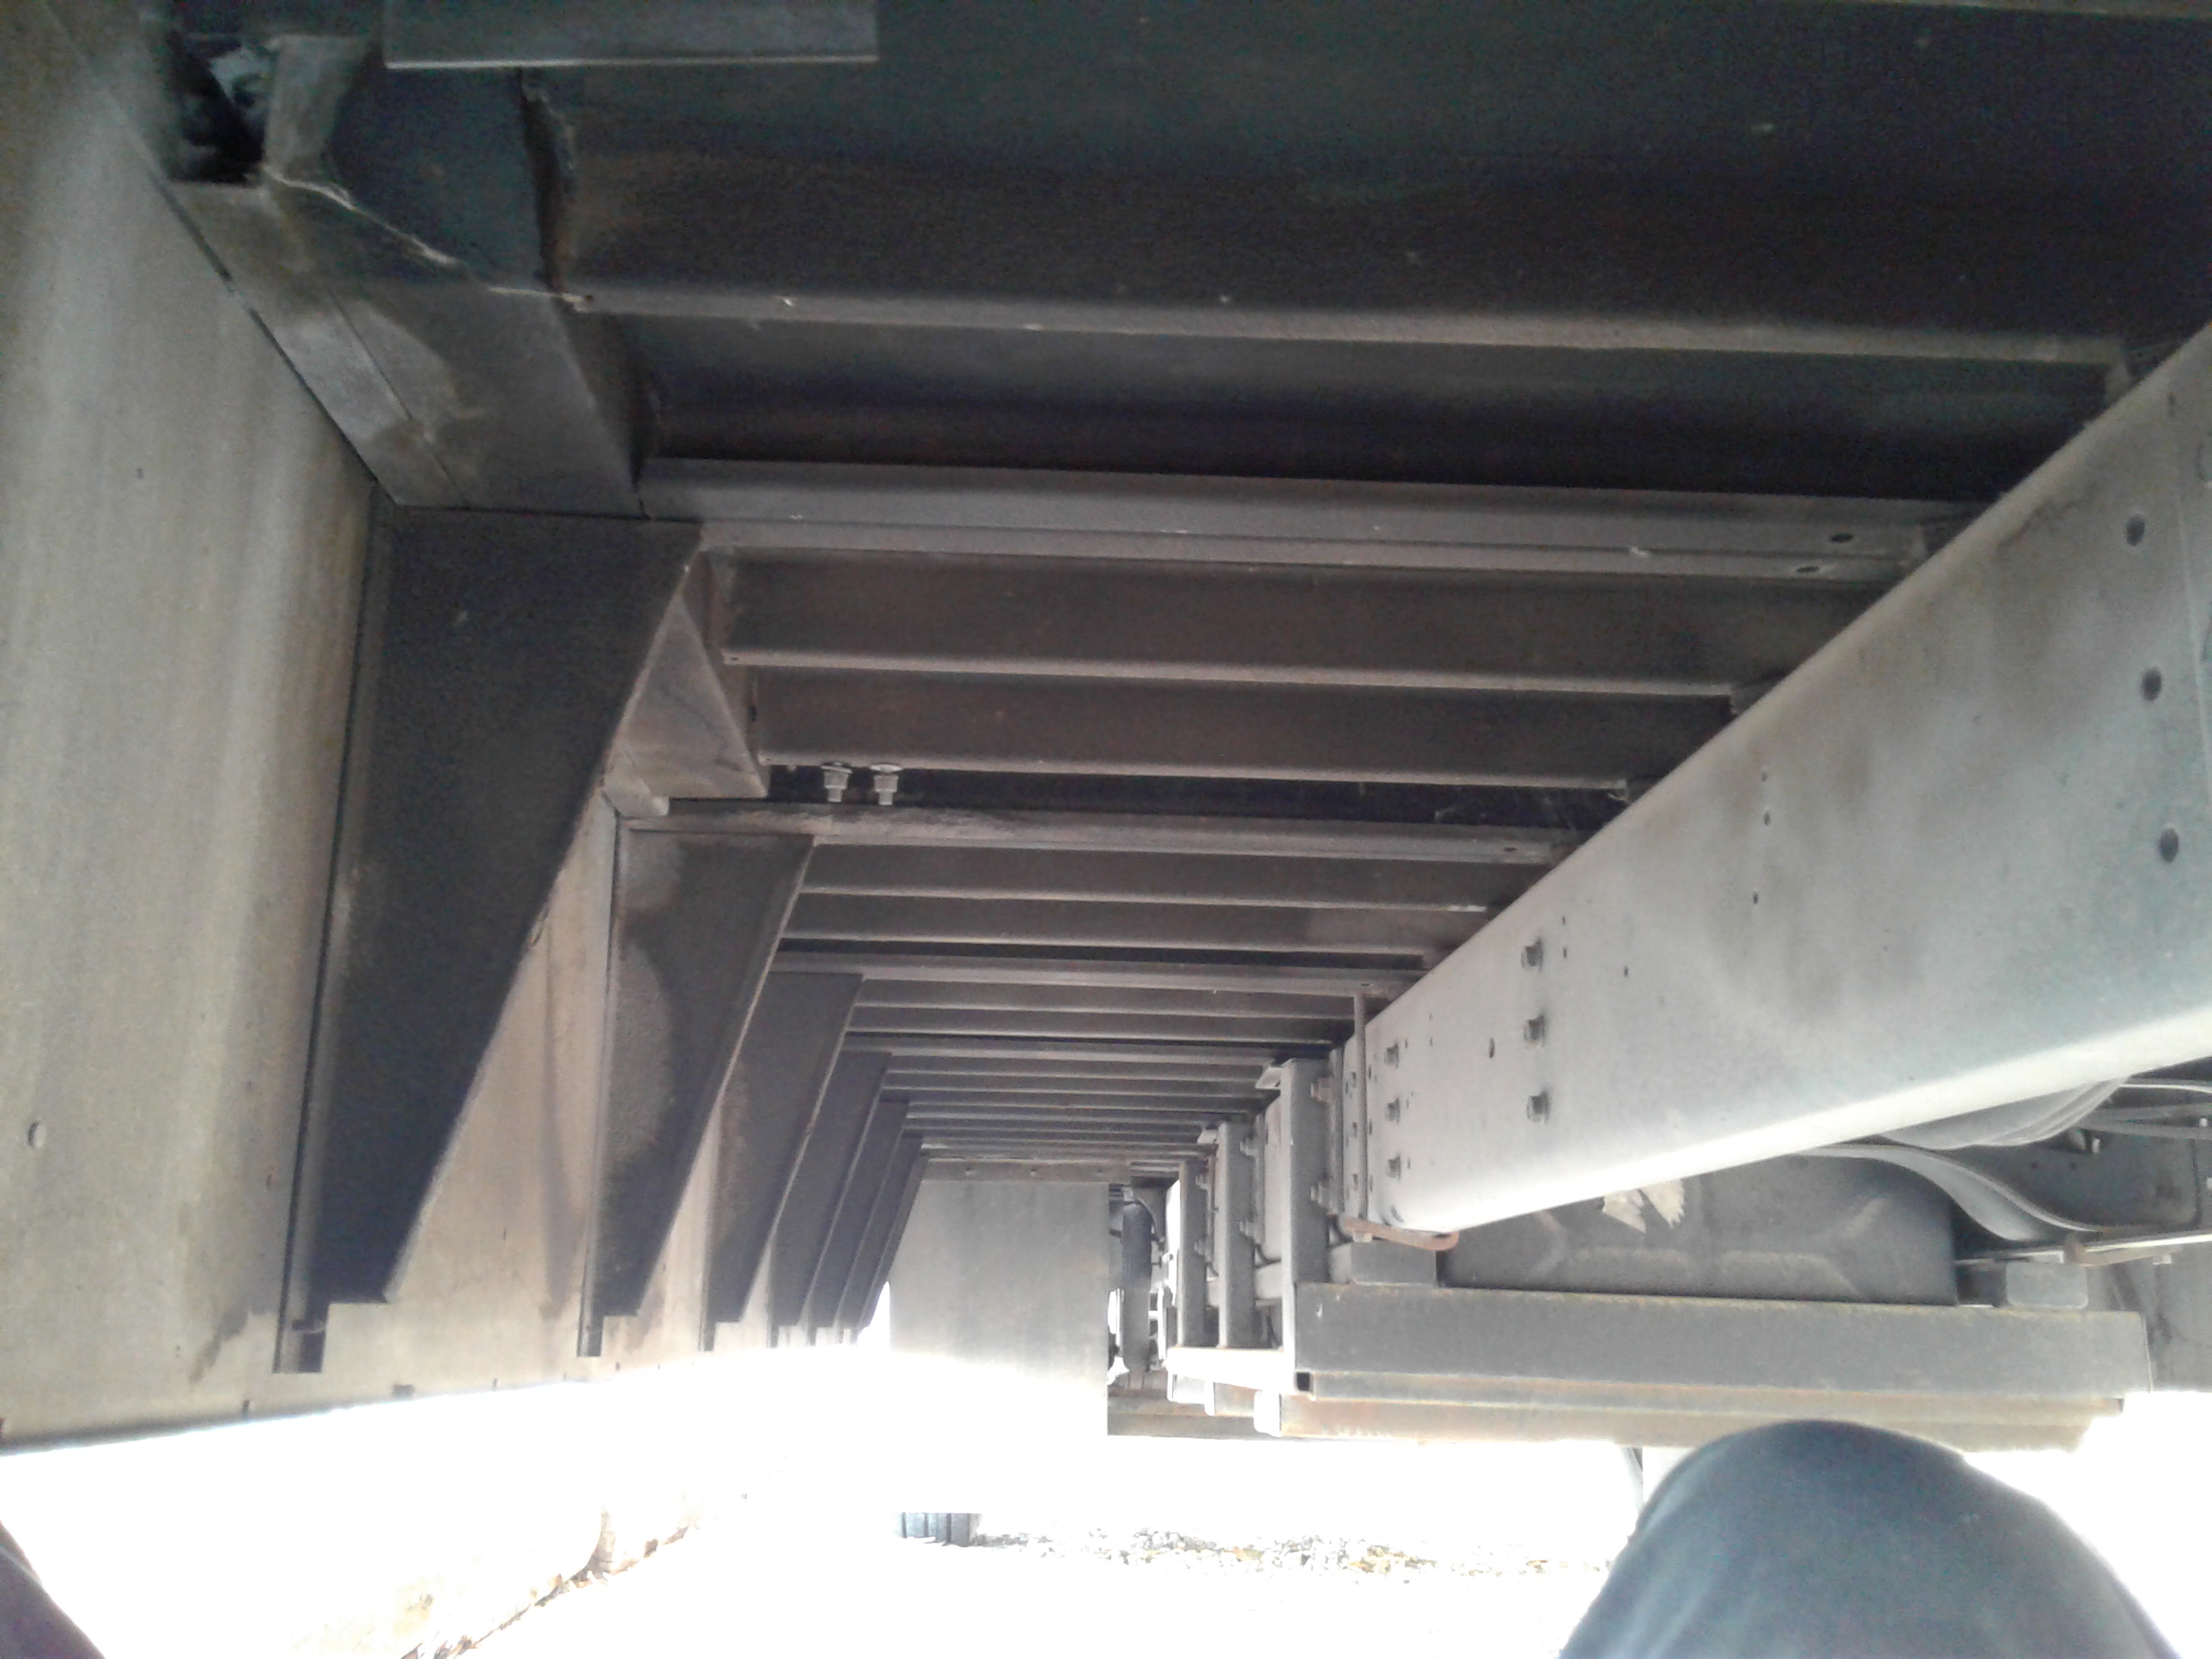 This left the exposed wood floor, that I used a circular saw to cut and lift up revealing, finally, the metal floor. Now, before jumping in and slicing and dicing that hole in the floor, you gotta look at the structure underneath. I need ALL of that structure in order to support the weight of all that water, up to 500 gallons on a side.
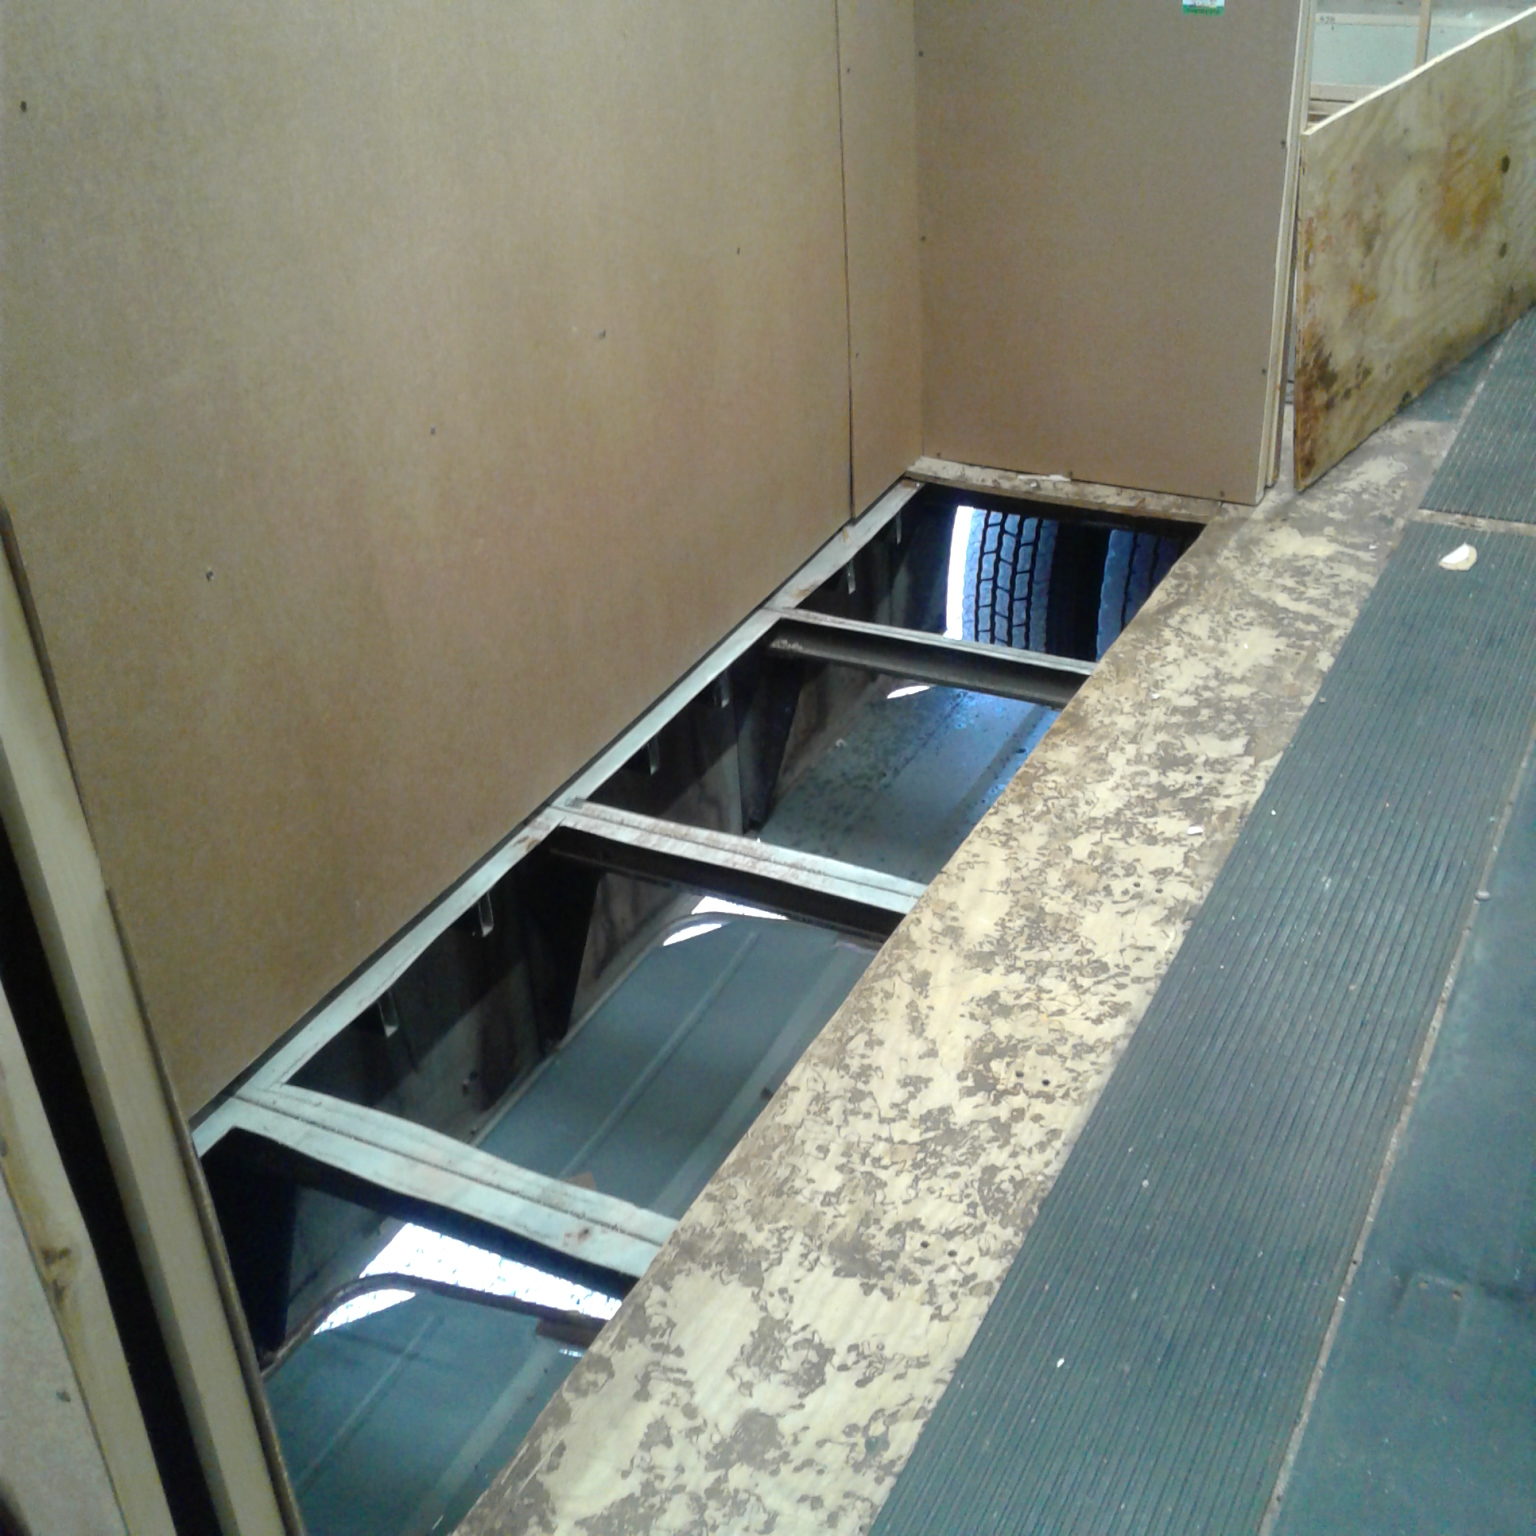
 So, I used the angle grinder to cut the initial slots where I would insert my saws all, and cut the line down to the next cross member, carefully NOT cutting into the cross members, and maintaining the structural integrity.
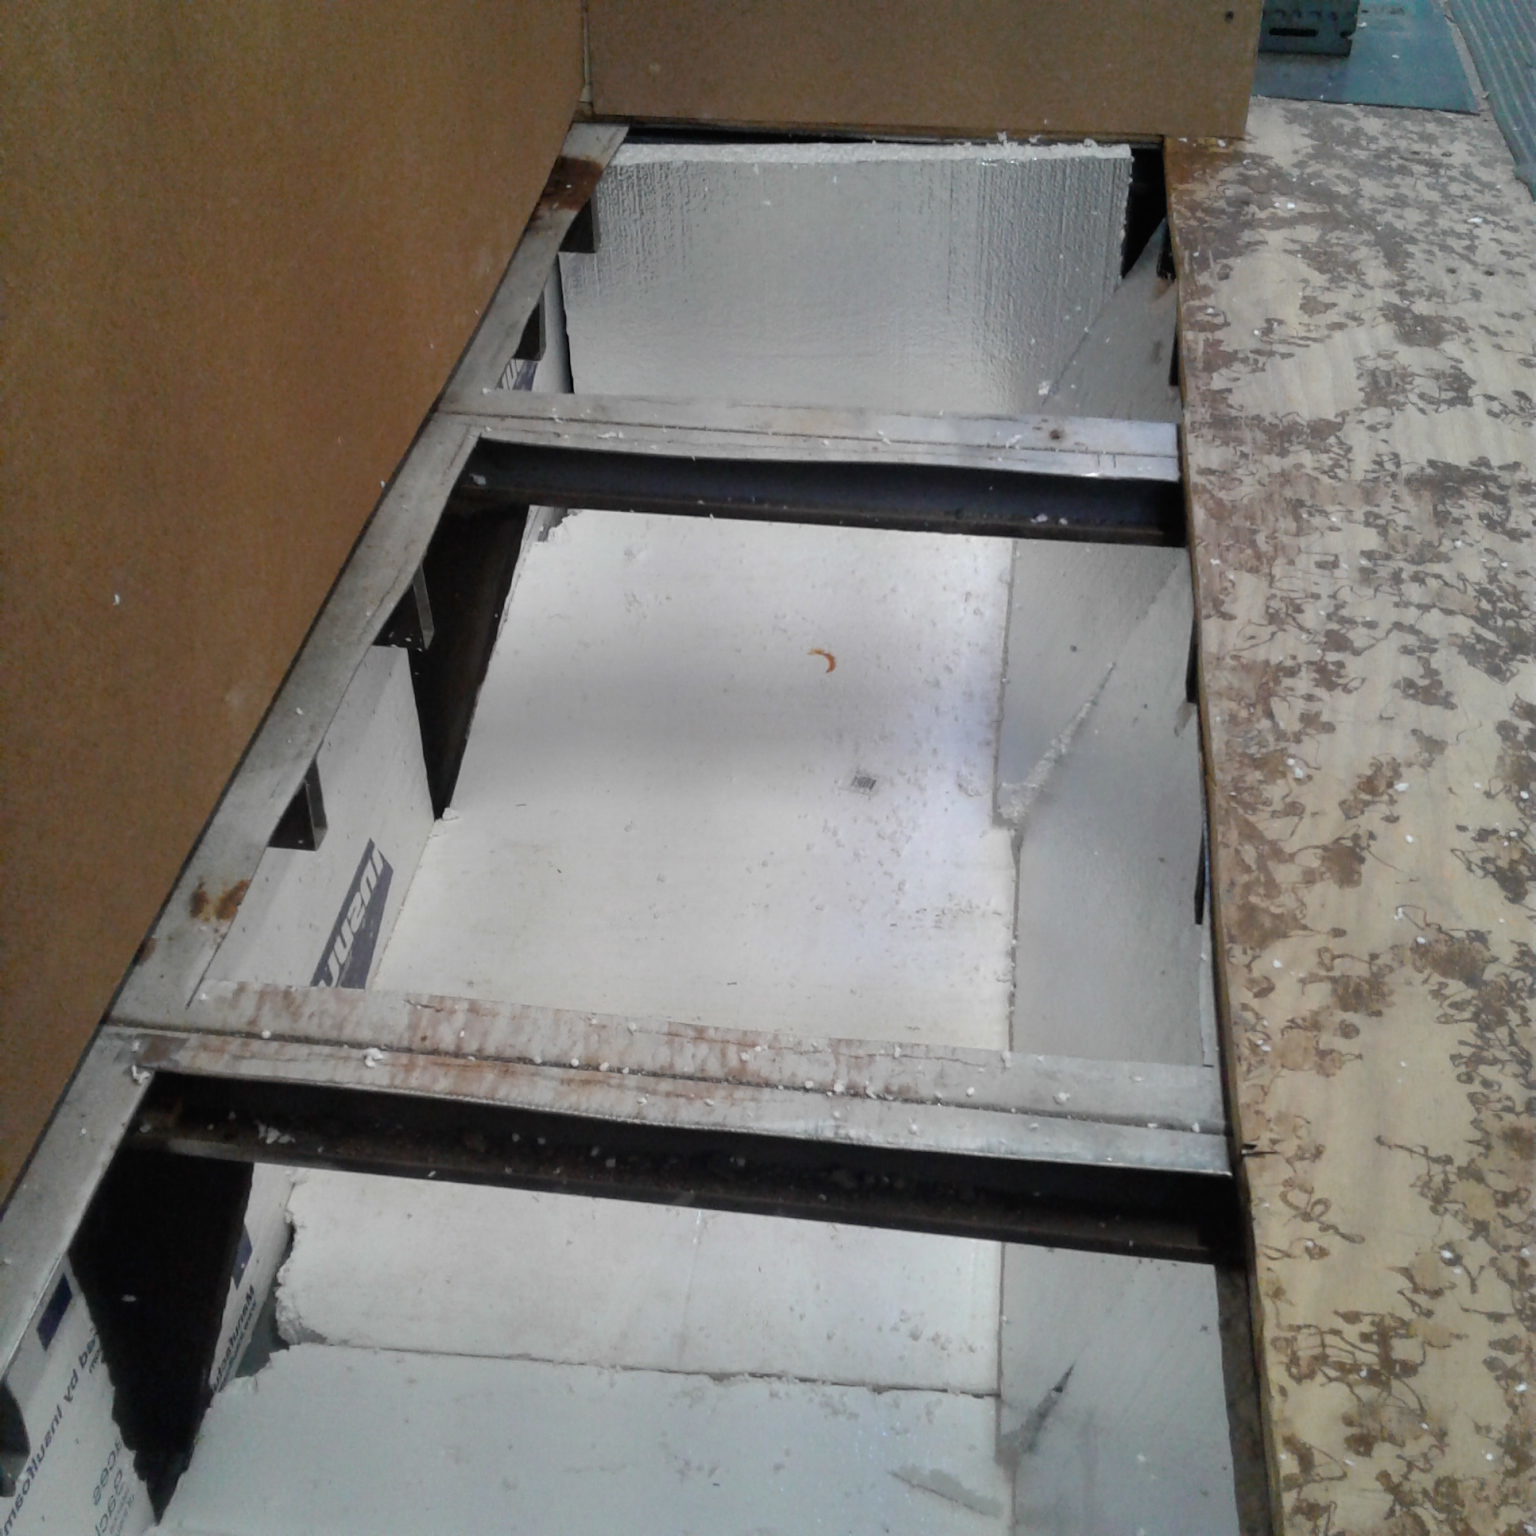
 Next, I decided to use some of the seats (stripped of cushions) as my floor-frame. This required cutting the seats just-so in order to fit snugly beneath the floor for later welding in place.
 Now, with the seats cut, and in place, I can add sheet metal to complete the desired shape of the pond.
 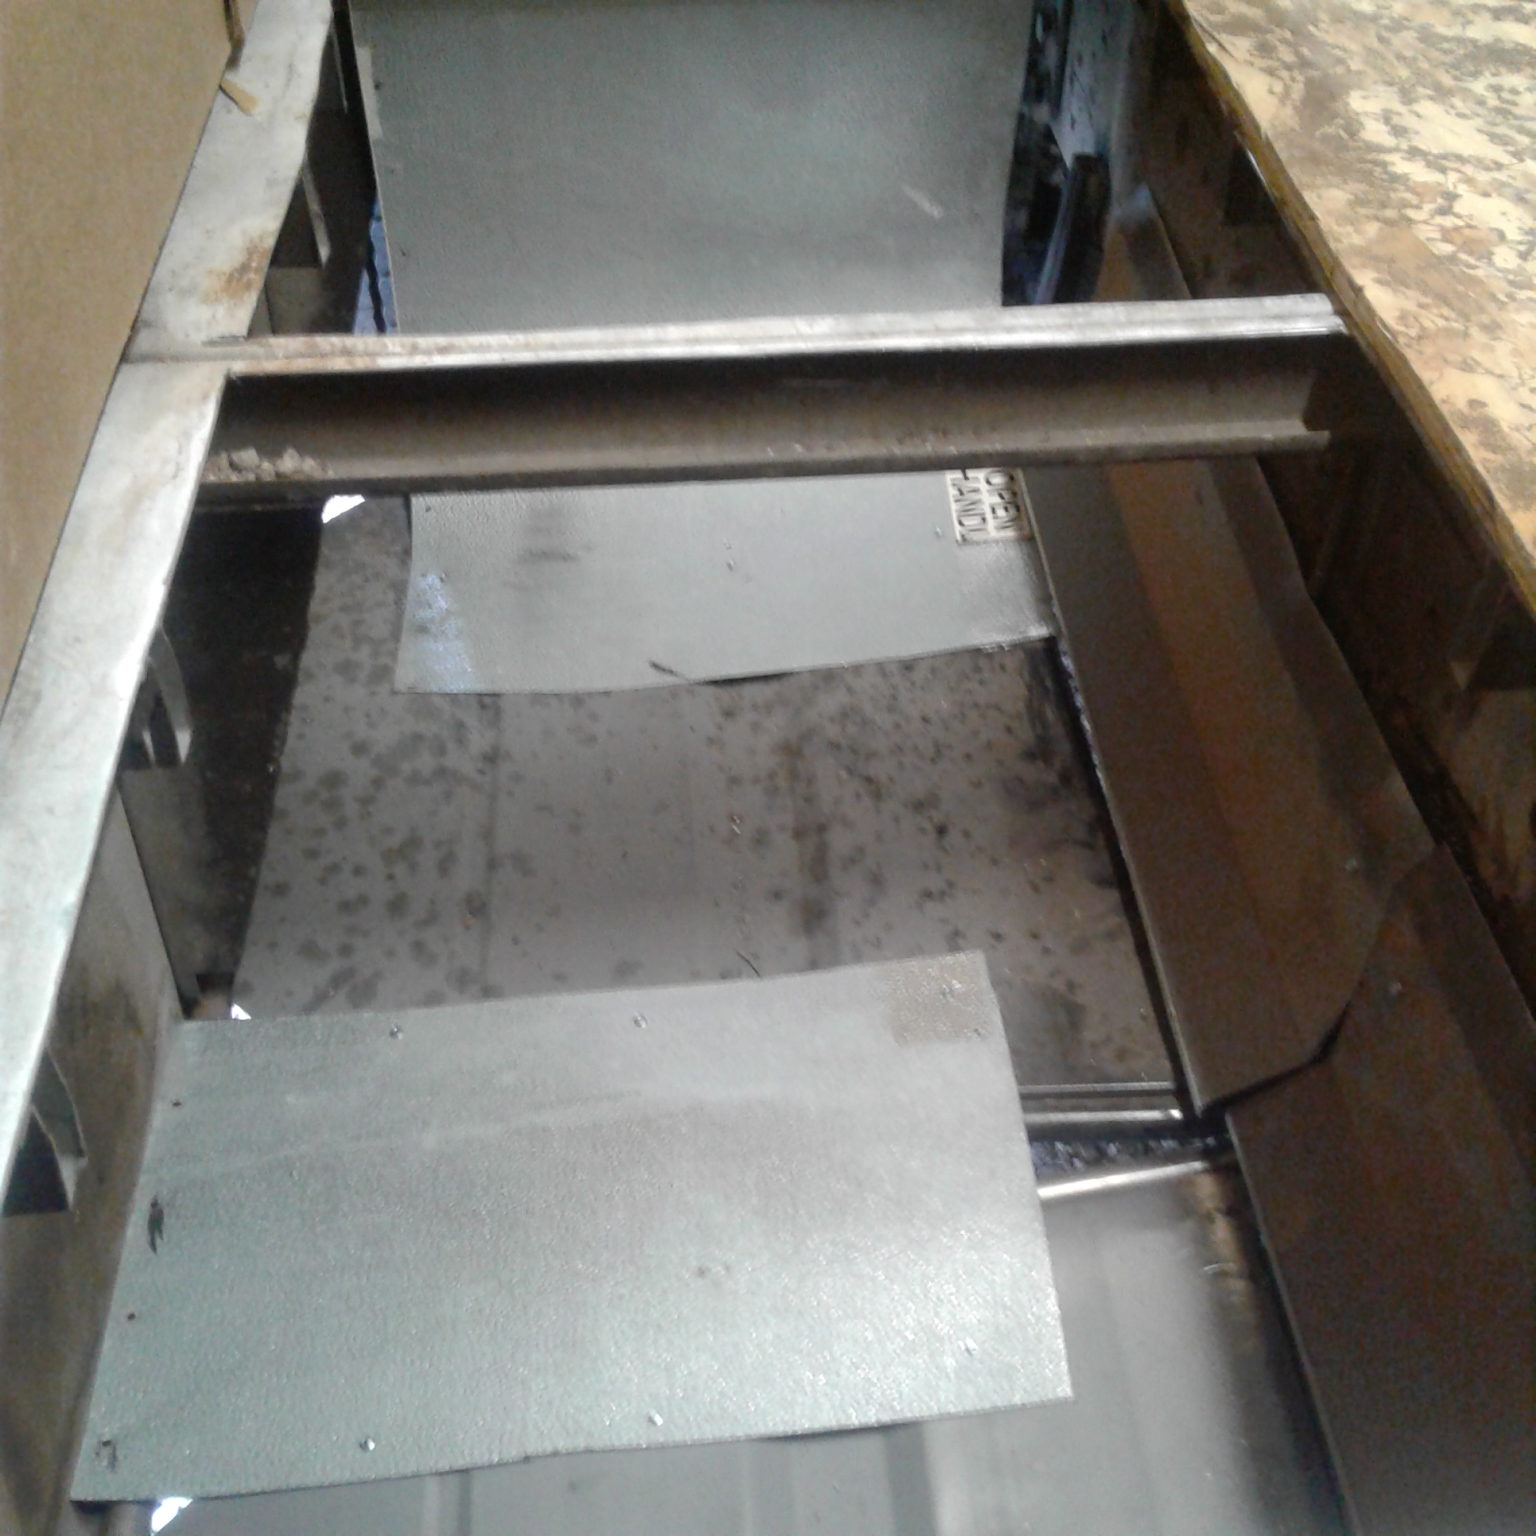 Now, you’ll probably notice that there are many gaps between each of the seats, well, not a problem, as the next step is to cut sections of the old wall panels, and screw them into place as a rigid form-work. These sheets overlap, and cover the openings as we move onto the next step.
 Any pond liner installed at this point will be ripped to shreds on all that metal edging, and screws. Not to mention that the metal is a poor insulator for the fish that will reside here. So, with more of the foam board, I lined the bed with 1″ all around, as a way to take care of both issues.
Well, that’s enough for now. Keep in mind, I was able to re-use ten of the original seats as the floor frame for the fish ponds, and the galvanized sheet metal cut from the interior walls to make the sheathing to fill the gaps. And most of the foam board was left over pieces from cutting the wall sections. Don’t throw stuff away until you are sure you won’t need it … Don’t guess too early!
Next Time, we install the liner, and build the grow bed.