In the last post I outlined progress made on the living space, specifically, removing old wall panels, replacing insulation, and beginning to install the wall framing. I failed to point out a technique that made placing insulating foam board into the original window framing much easier. At first, I measured and cut the foam board, then tried to fit it into the window frame … flexing, bending, and finally breaking the board. So … I needed to finesse it a little.
I took that piece of foam board, cut to fit exactly into the spot the window came out of. Now, the reason that it won’t go into that spot is that there is a near 1/2″ lip on both the top and bottom of the frame. That means there is no way to slide one end in first, then press the other in, that second lip blocks it. So splitting the board would be necessary. But prior experience with re-matching a split board had always met with inaccuracies, challenges, and leaks.
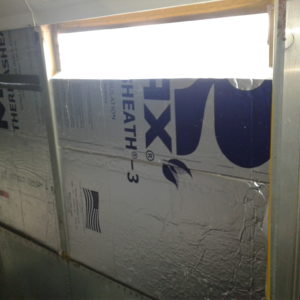
So … I made the cut into the board across horizontally, at a 45 degree angle on a line approximately 12″ down from the top. Then I placed the bottom of the piece securely into position. This presents the bevel as outside to inside, point on the outside.
Now, I could slide the upper portion into position, and press the matching bevel against the bottom portion. 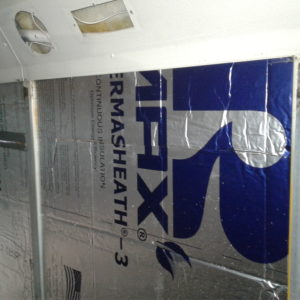 Voila! a very nice, neat, and snug seam that can be further sealed with a strip of duct tape.
I had fought with the first three windows for nearly 2 hours, before thinking of this solution. Now I was able to process nearly 6 in an hour! Now with that done, back to finishing the wall framing.
First, the Kitchen
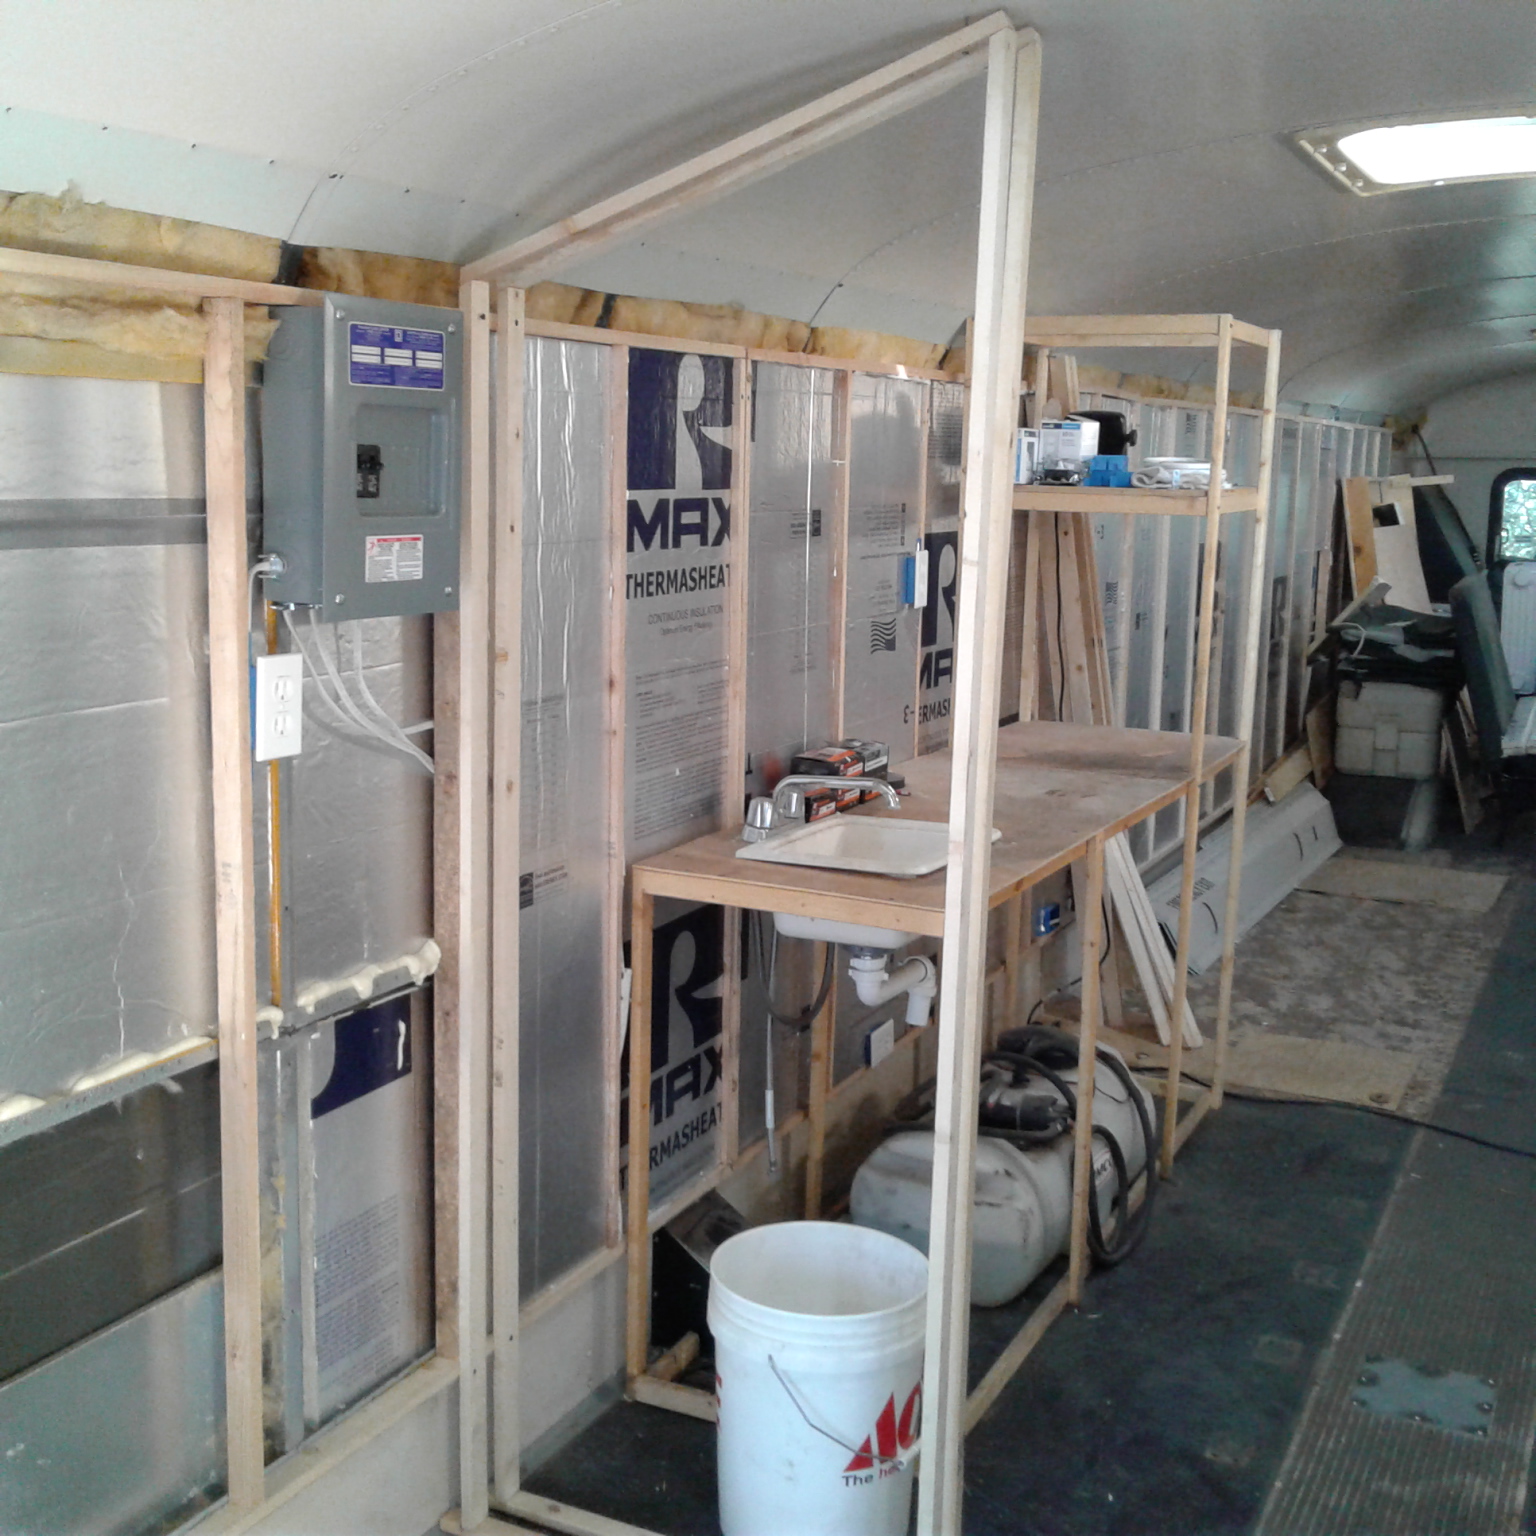
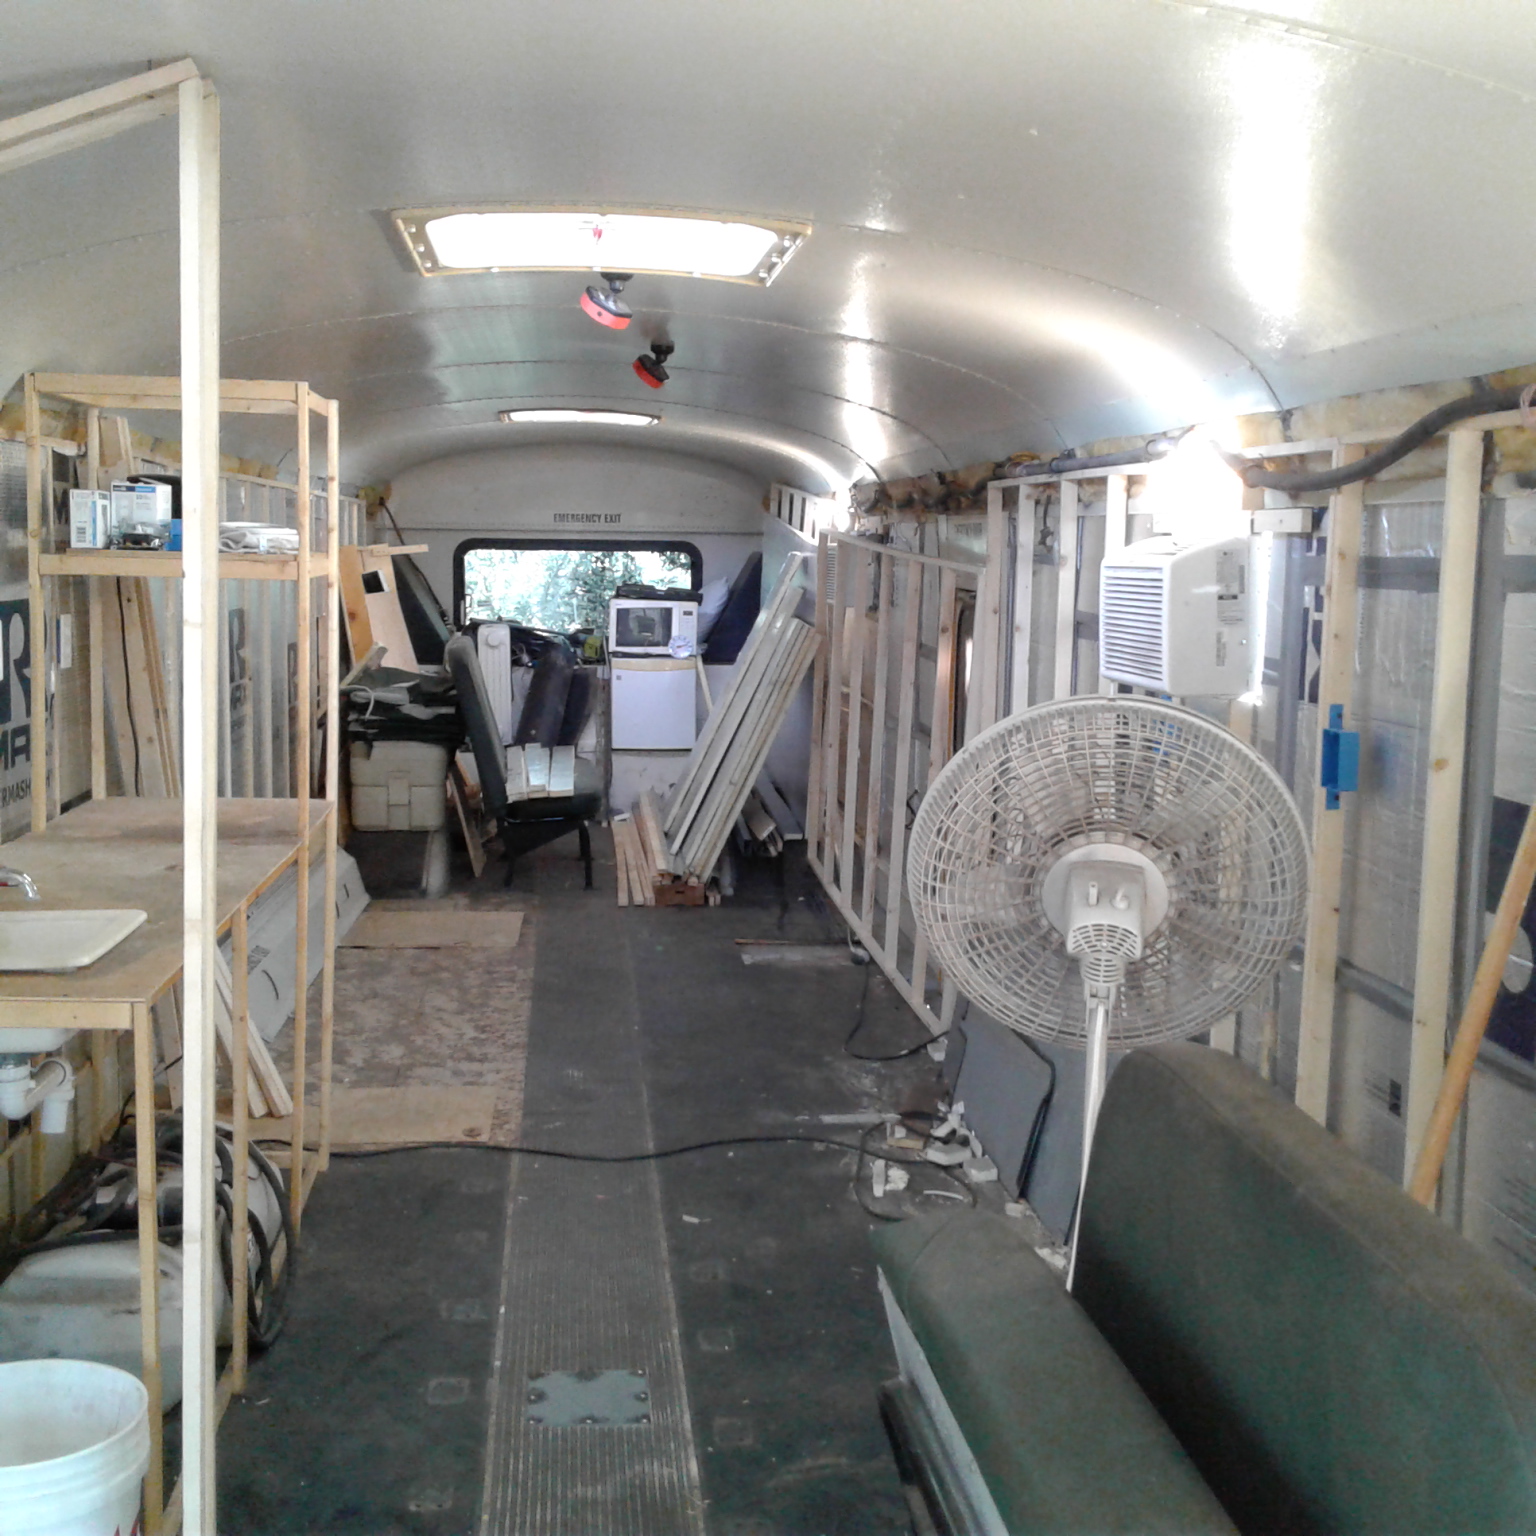
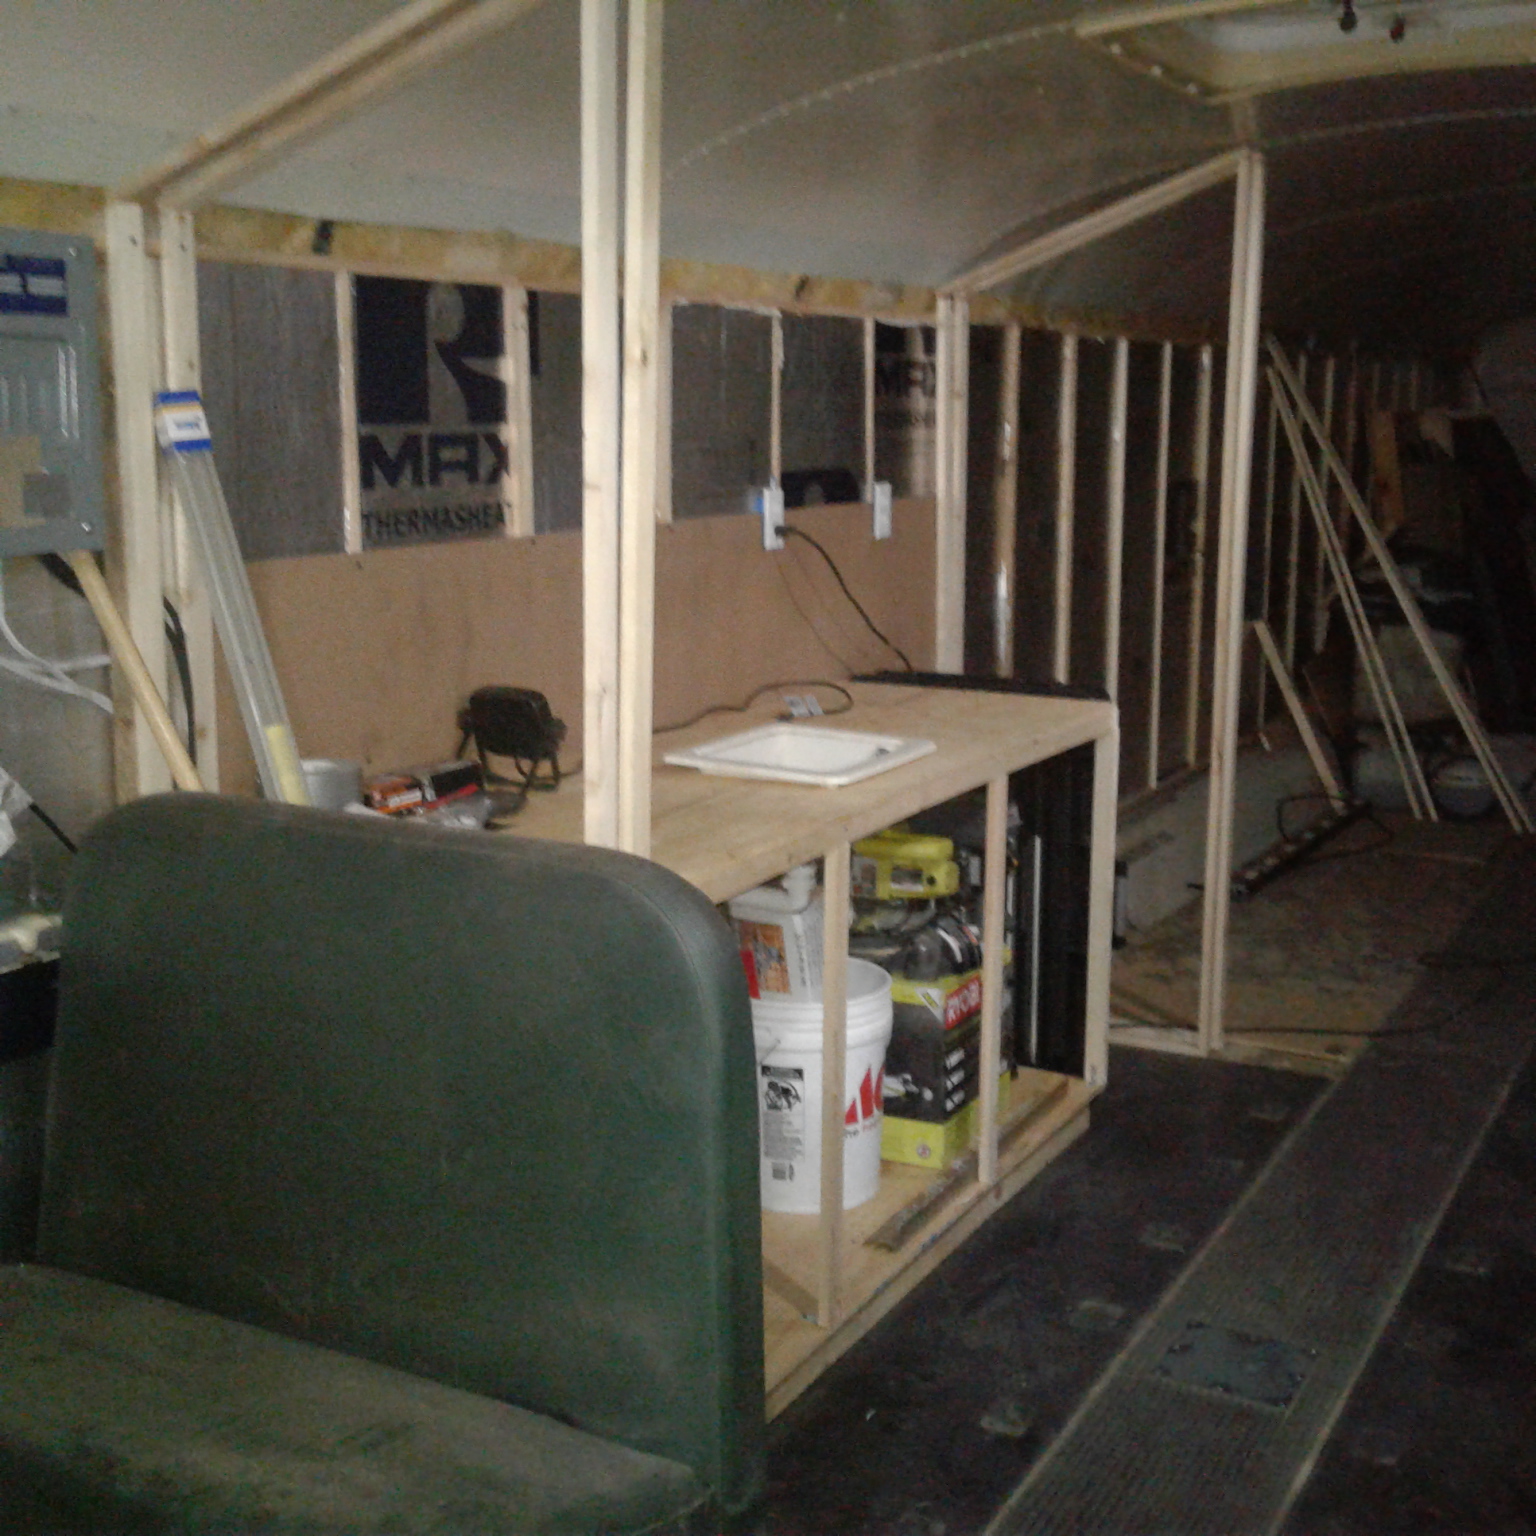 Most of the wall framing was 1×2 board, with a top and bottom rail secured to the lip located about 6-8″ above the floor, the horizontal rails at the bottom and top of the windows. This strategy, secured the walls to the bus walls. Then, I worked to build the first two divider/pocket door walls that would bound the kitchen. With these two walls in place, I began to replace the temporary kitchen base cabinet with the new, built-in base cabinet.
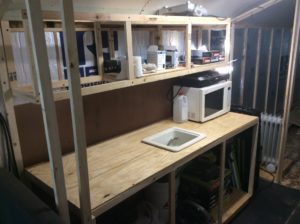
Of course, I had to install a panel of the wall board before starting to build the cabinet. With the wall board on, and leaving an allowance for the 19″ wide “apartment fridge” to be installed later, I added the overhead cabinet frame.
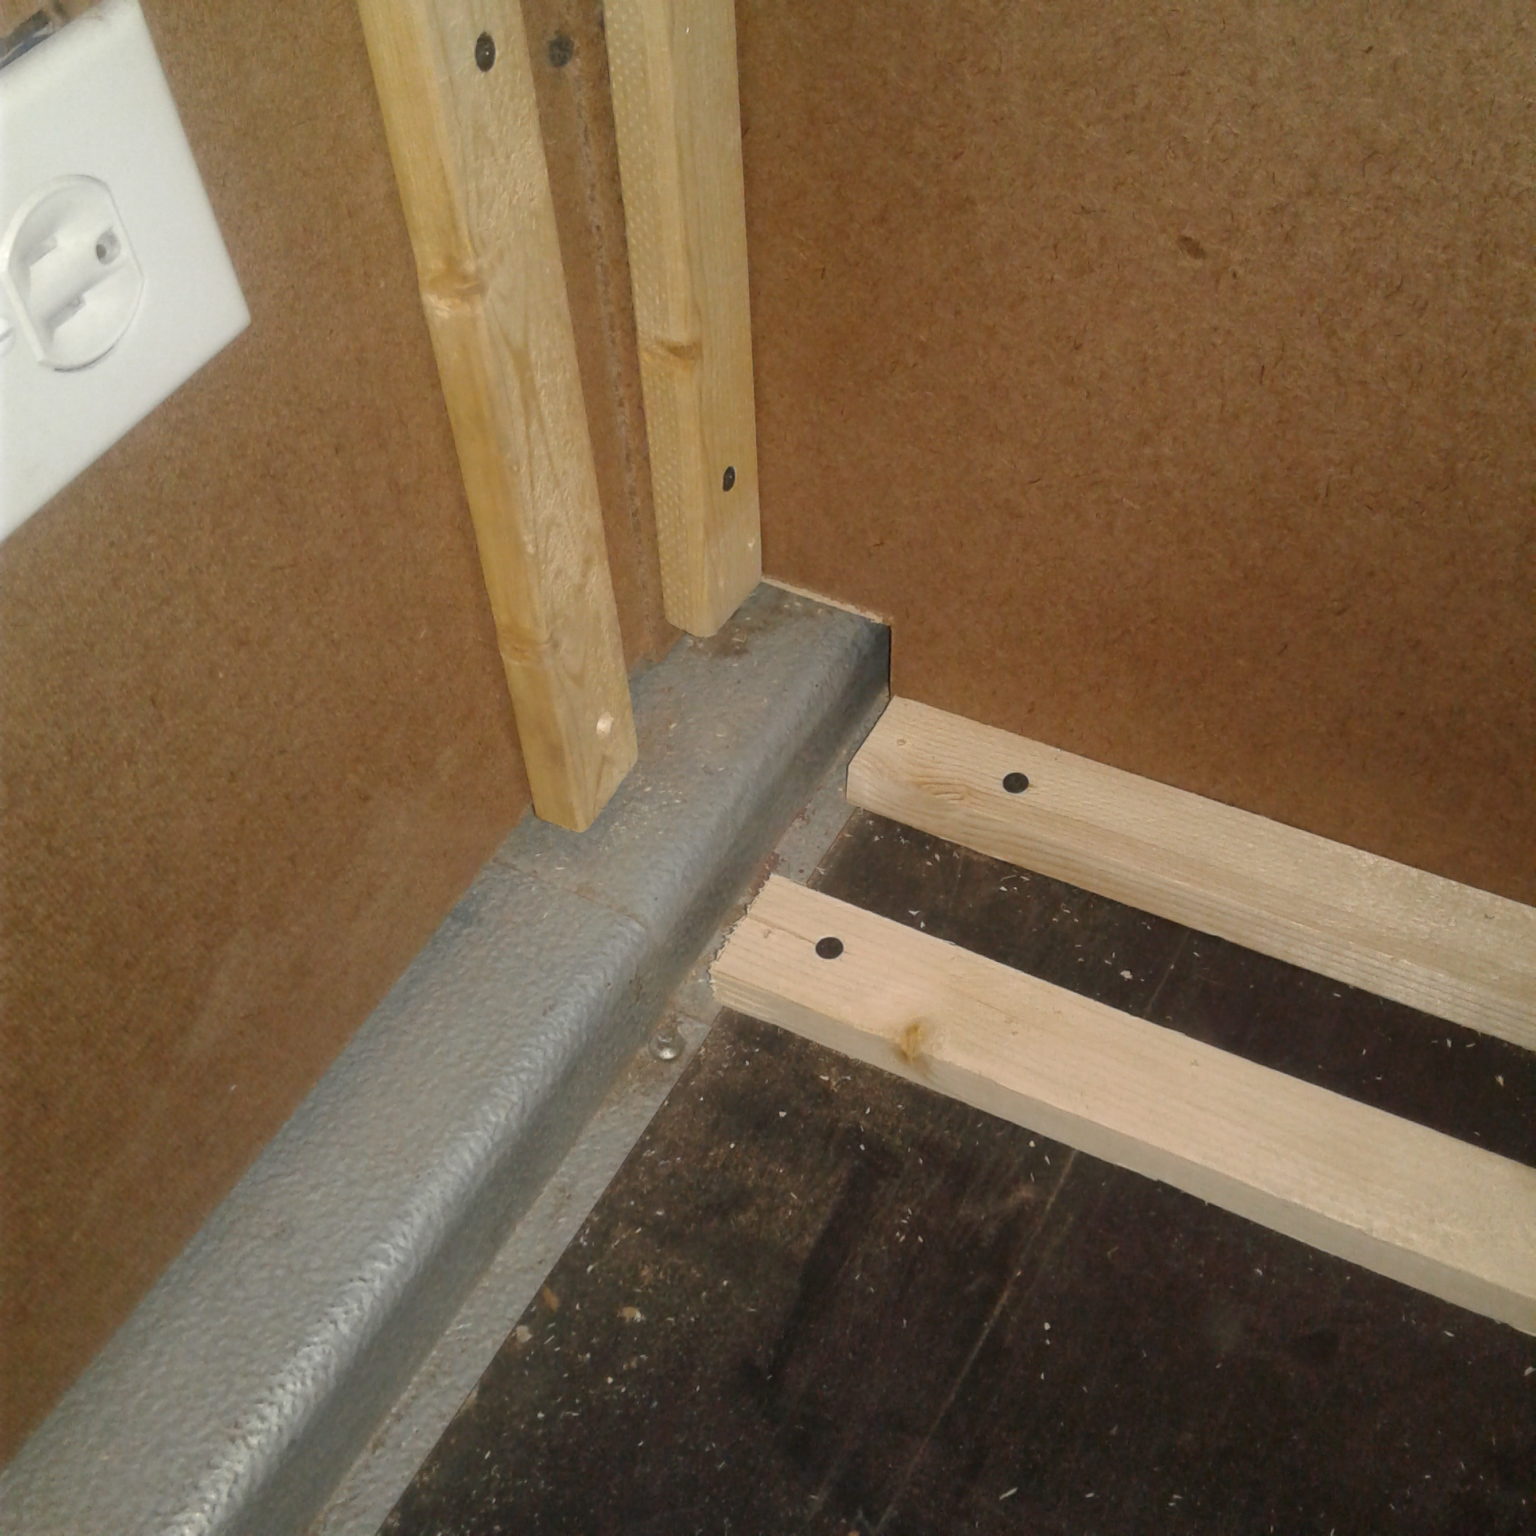 One unexpected challenge revolved around the floor on the drivers side of the bus. There is this channel running from front to back of the bus, making measurements problematic. However, with a little patience, I was able to position my 1×2’s and secure them. Of course, I still haven’t quite figured how to move the doors. The curve of the roof makes hanging the doors impossible, and a floor track just not cool. Well, we’ll address that a little later. For now, I’m just going to finish the framing.