Adding a Storage/Utility Shed
I realized that I would need a place to store tools, supplies, and to bring my “utilities” into the trailer. This would include the electric service, and water capture to be added later.
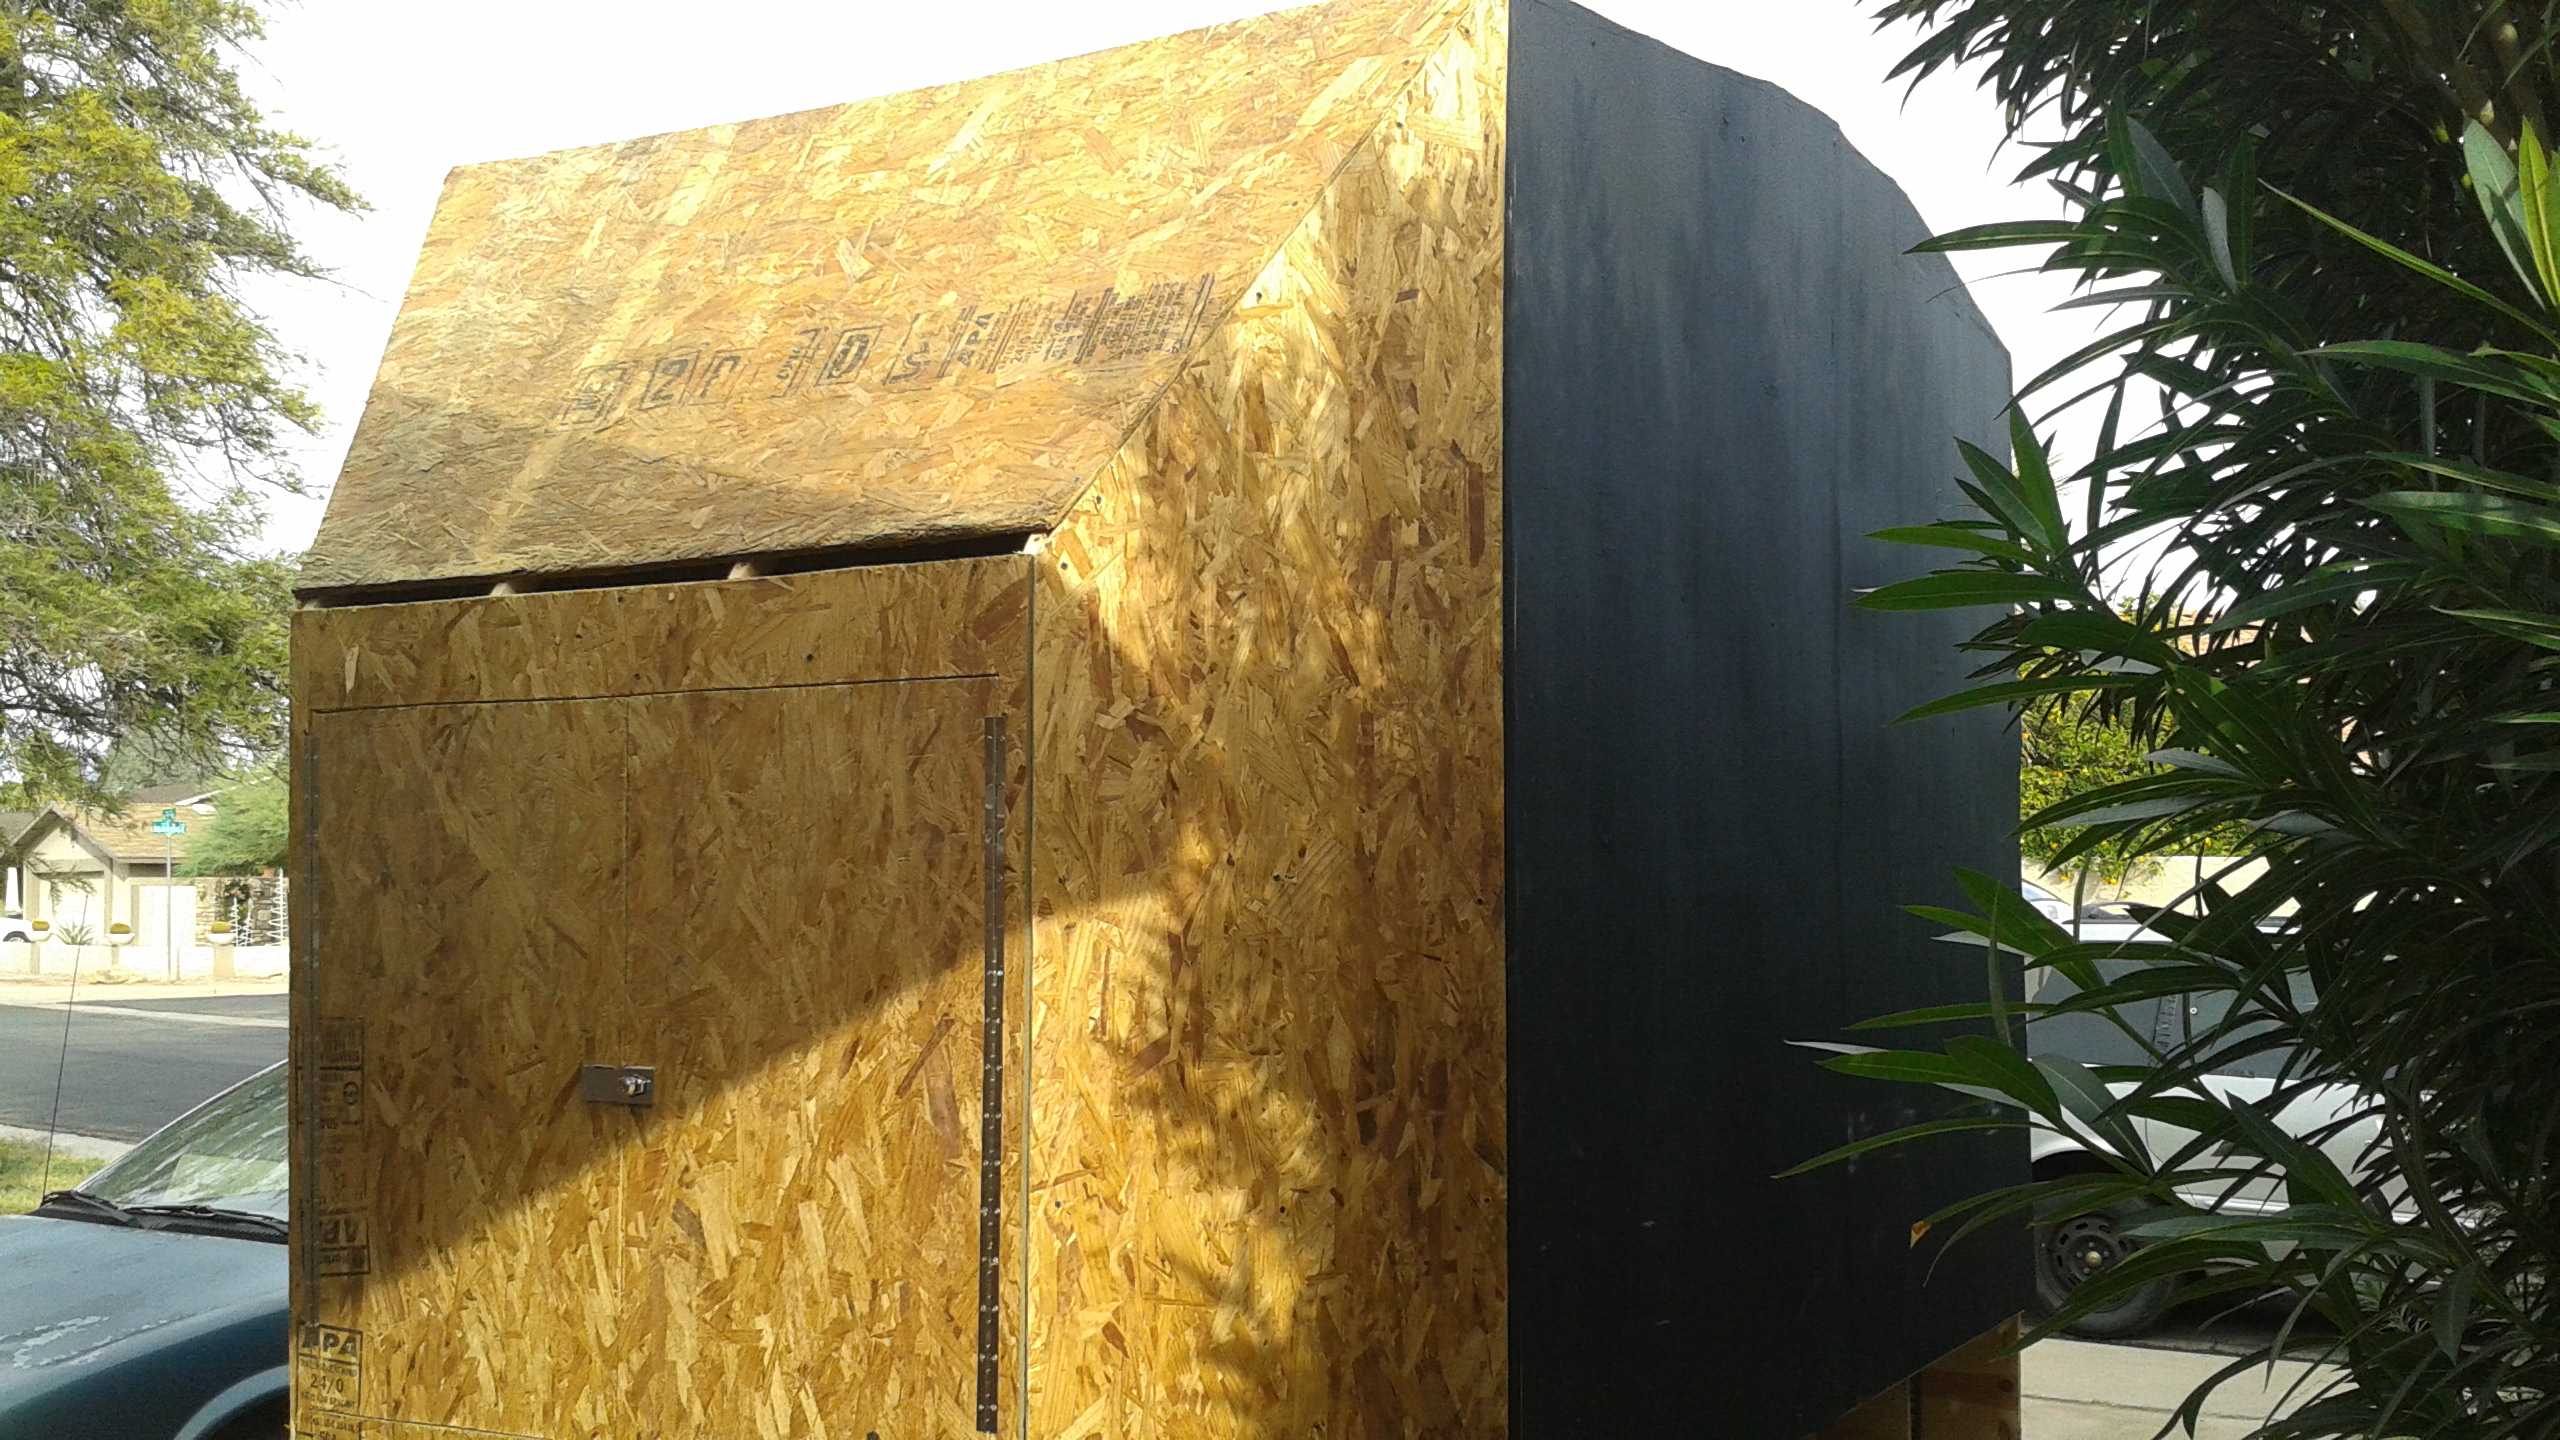 The area was framed, then sheathed with chipboard. The challenge was in getting the angles right. While the result turned out well, the angle on the roof ended up far sharper than I wanted, but … it works.
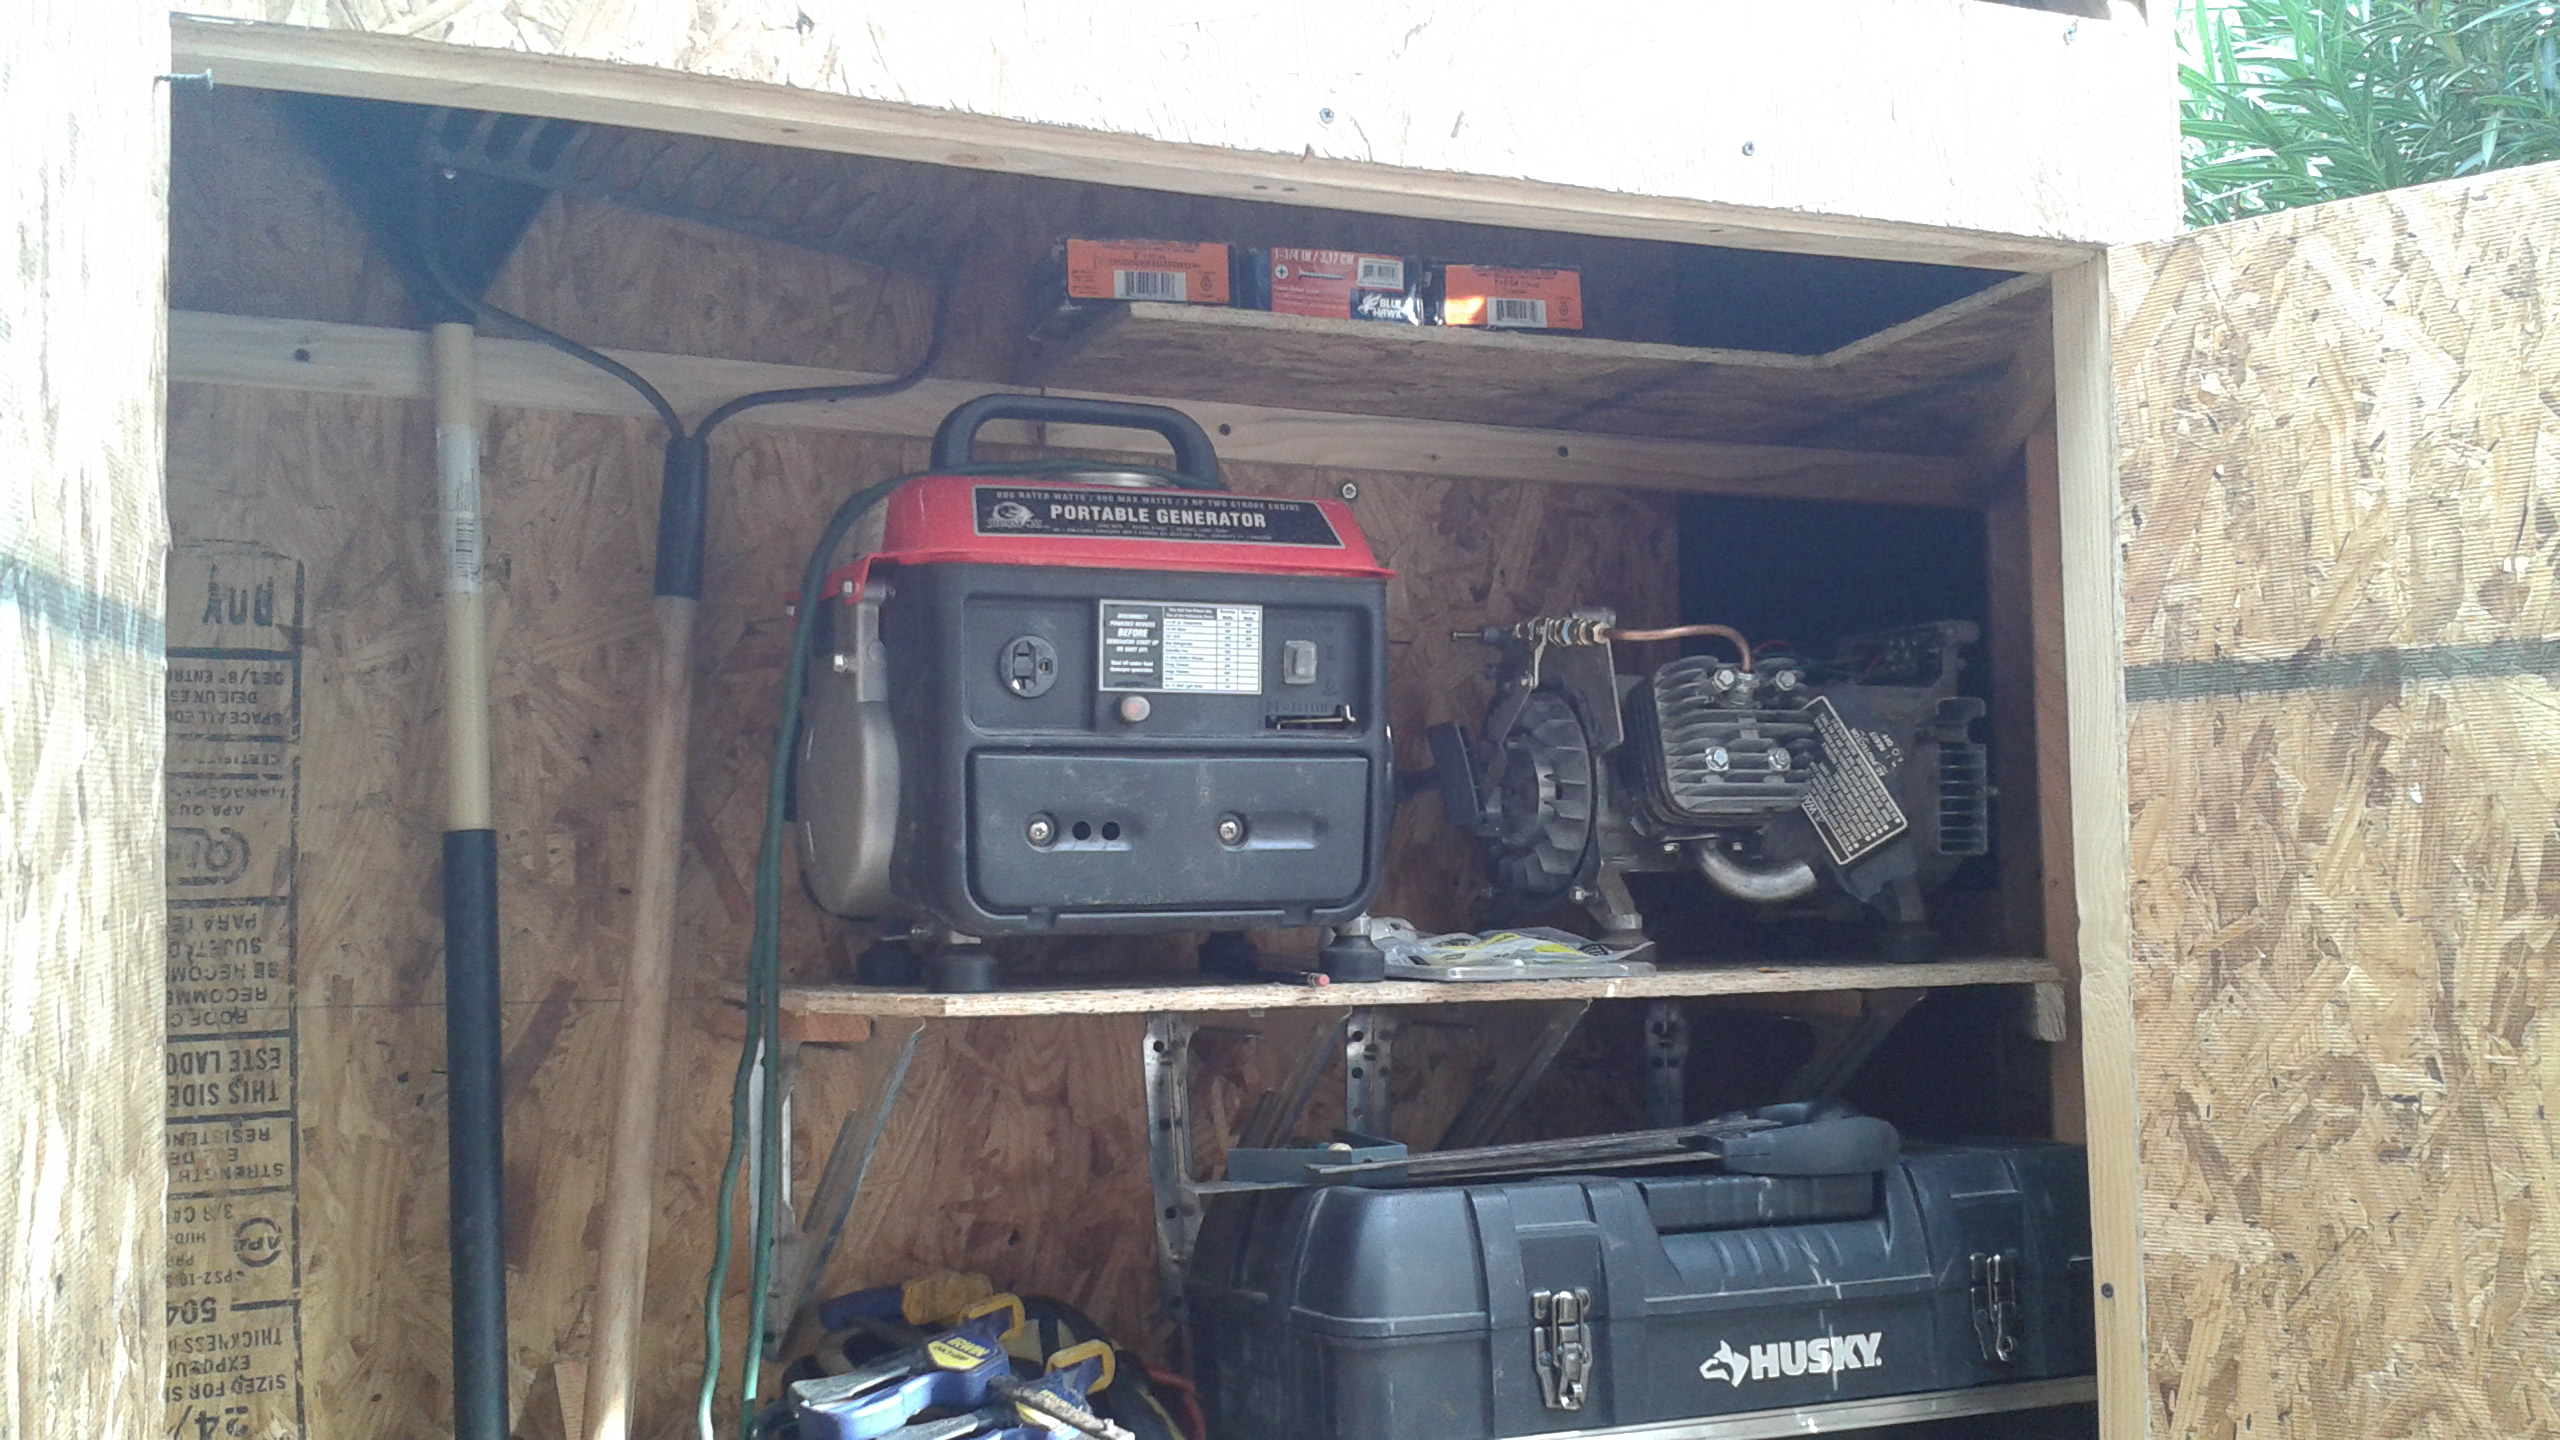
I kept one side open to put long handled tools in, and three shelves. The lower shelf can be lifted up to open up the area below. The shelf above will hold the generator, and the upper shelf will be for supplies. As you can see in the pictures, I’ve already started stocking things.
Interior Construction
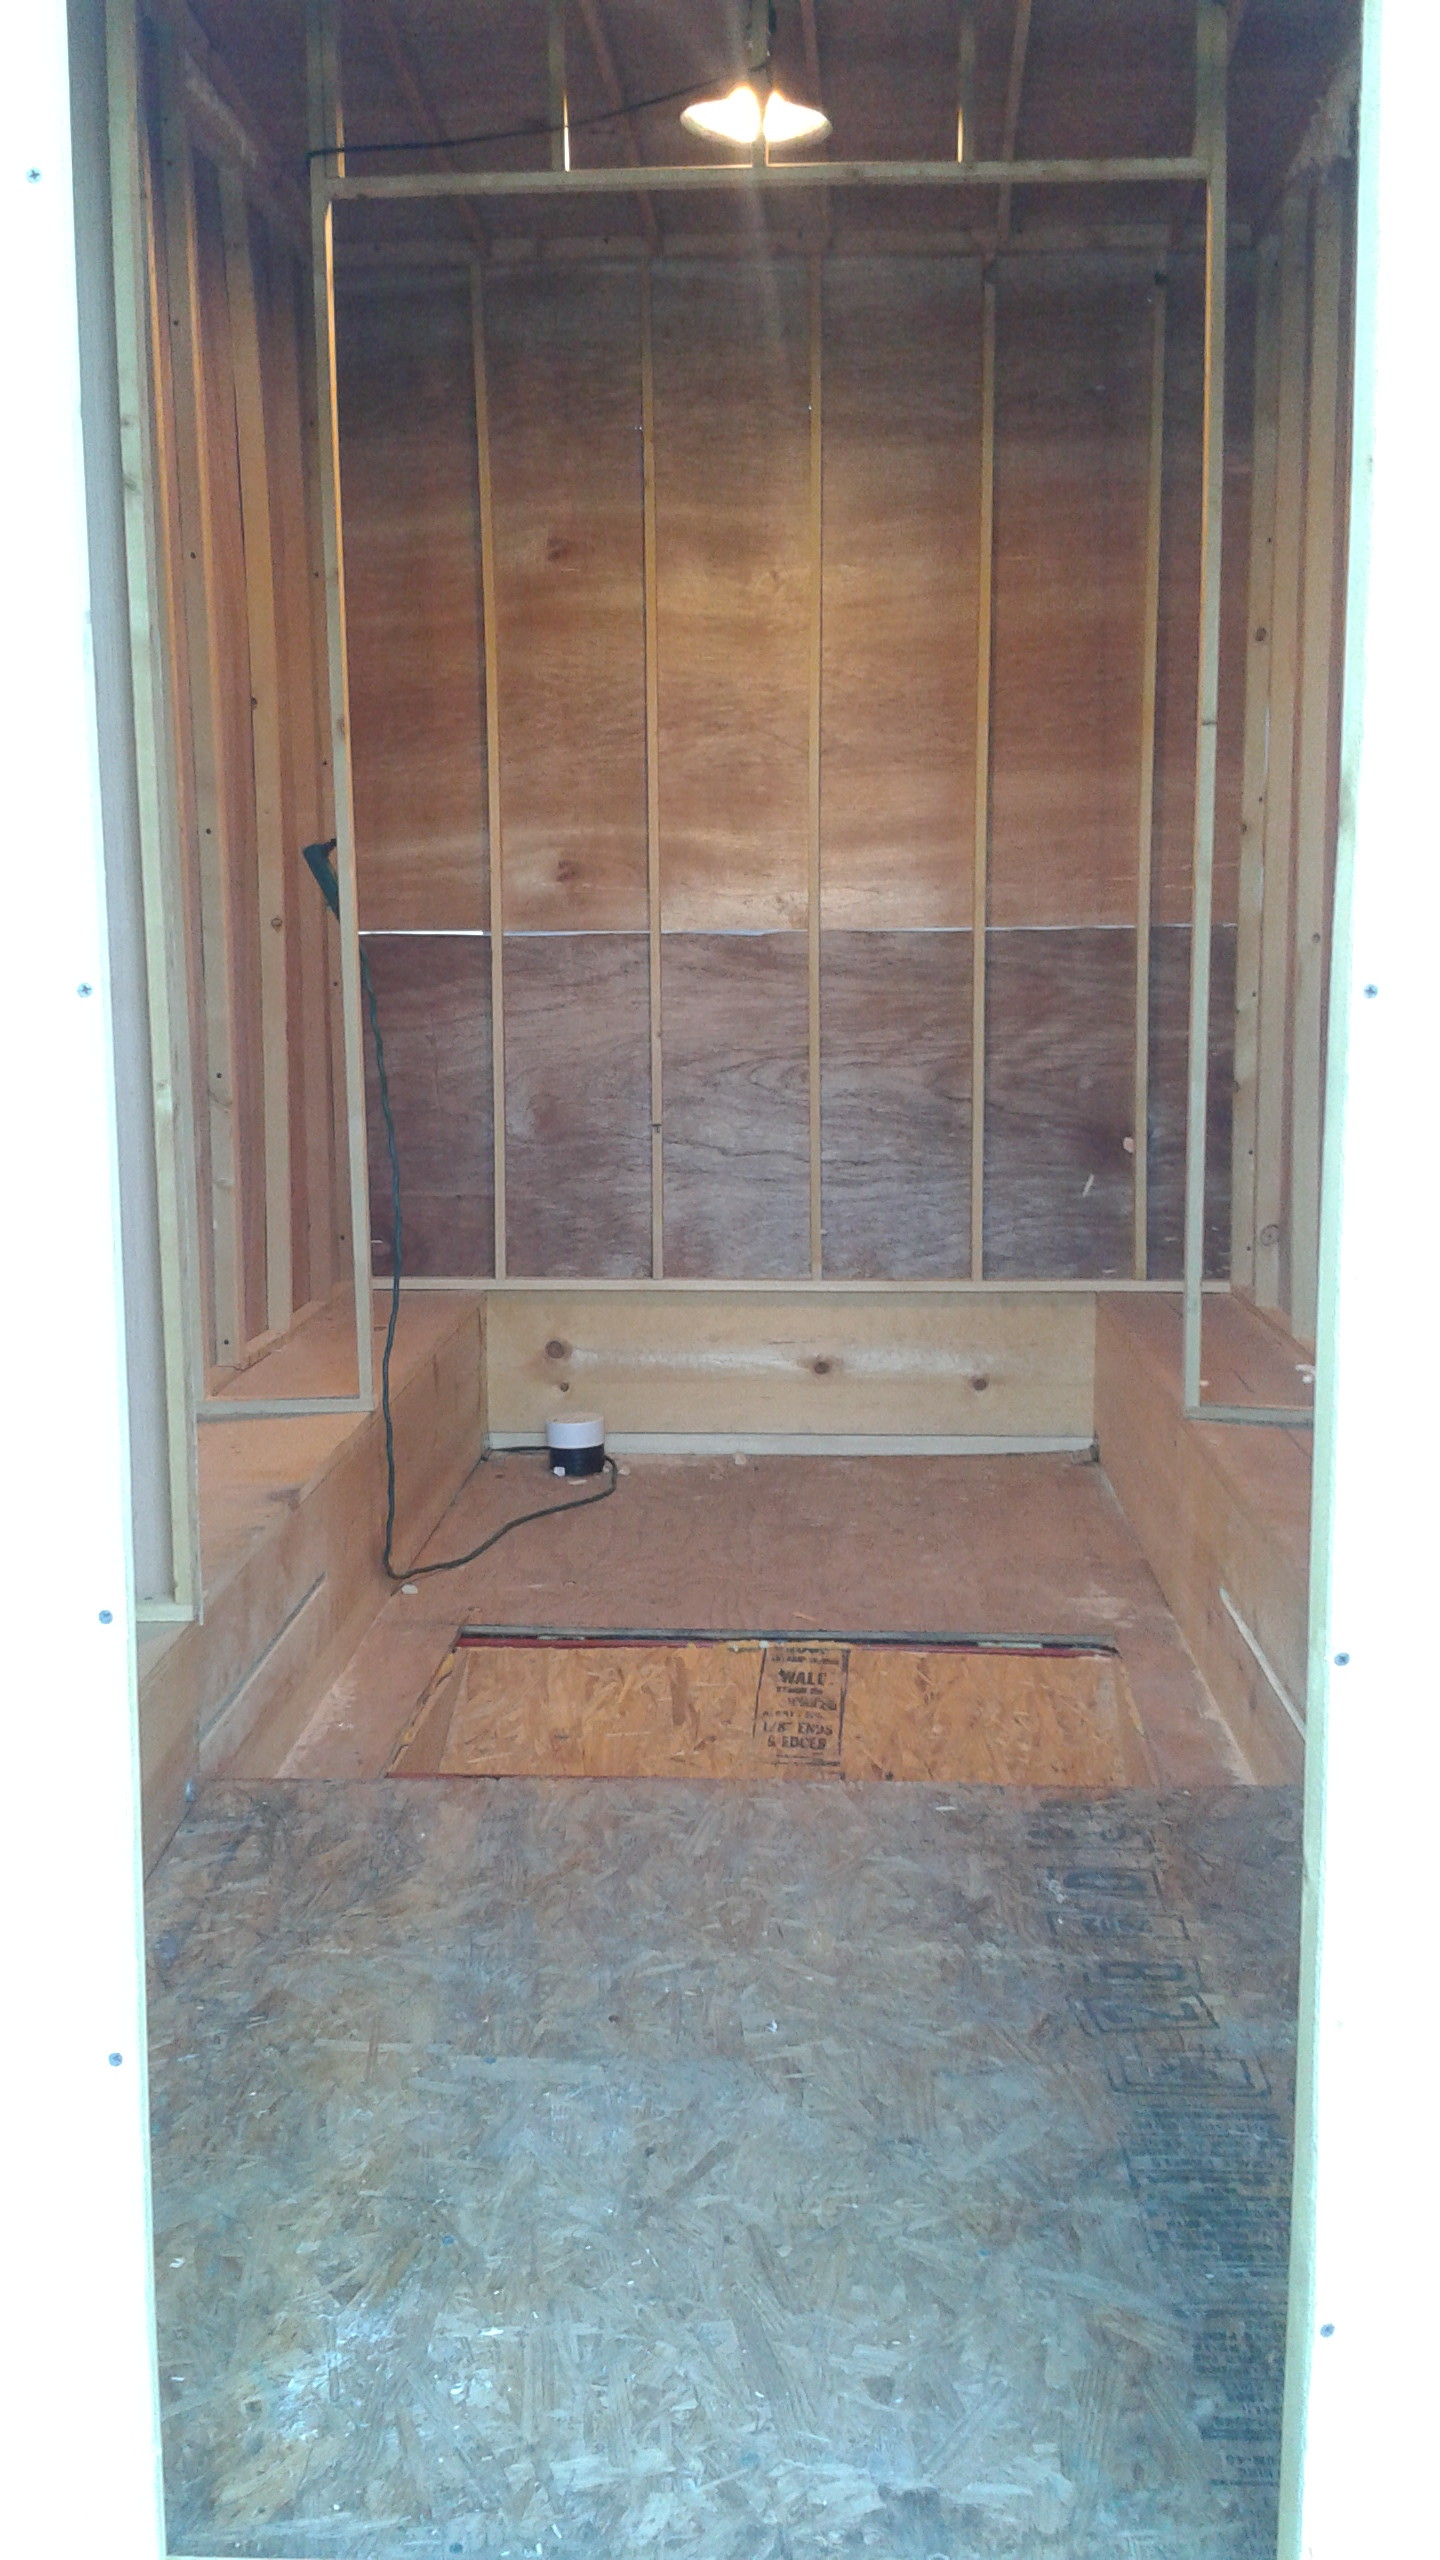
Interior
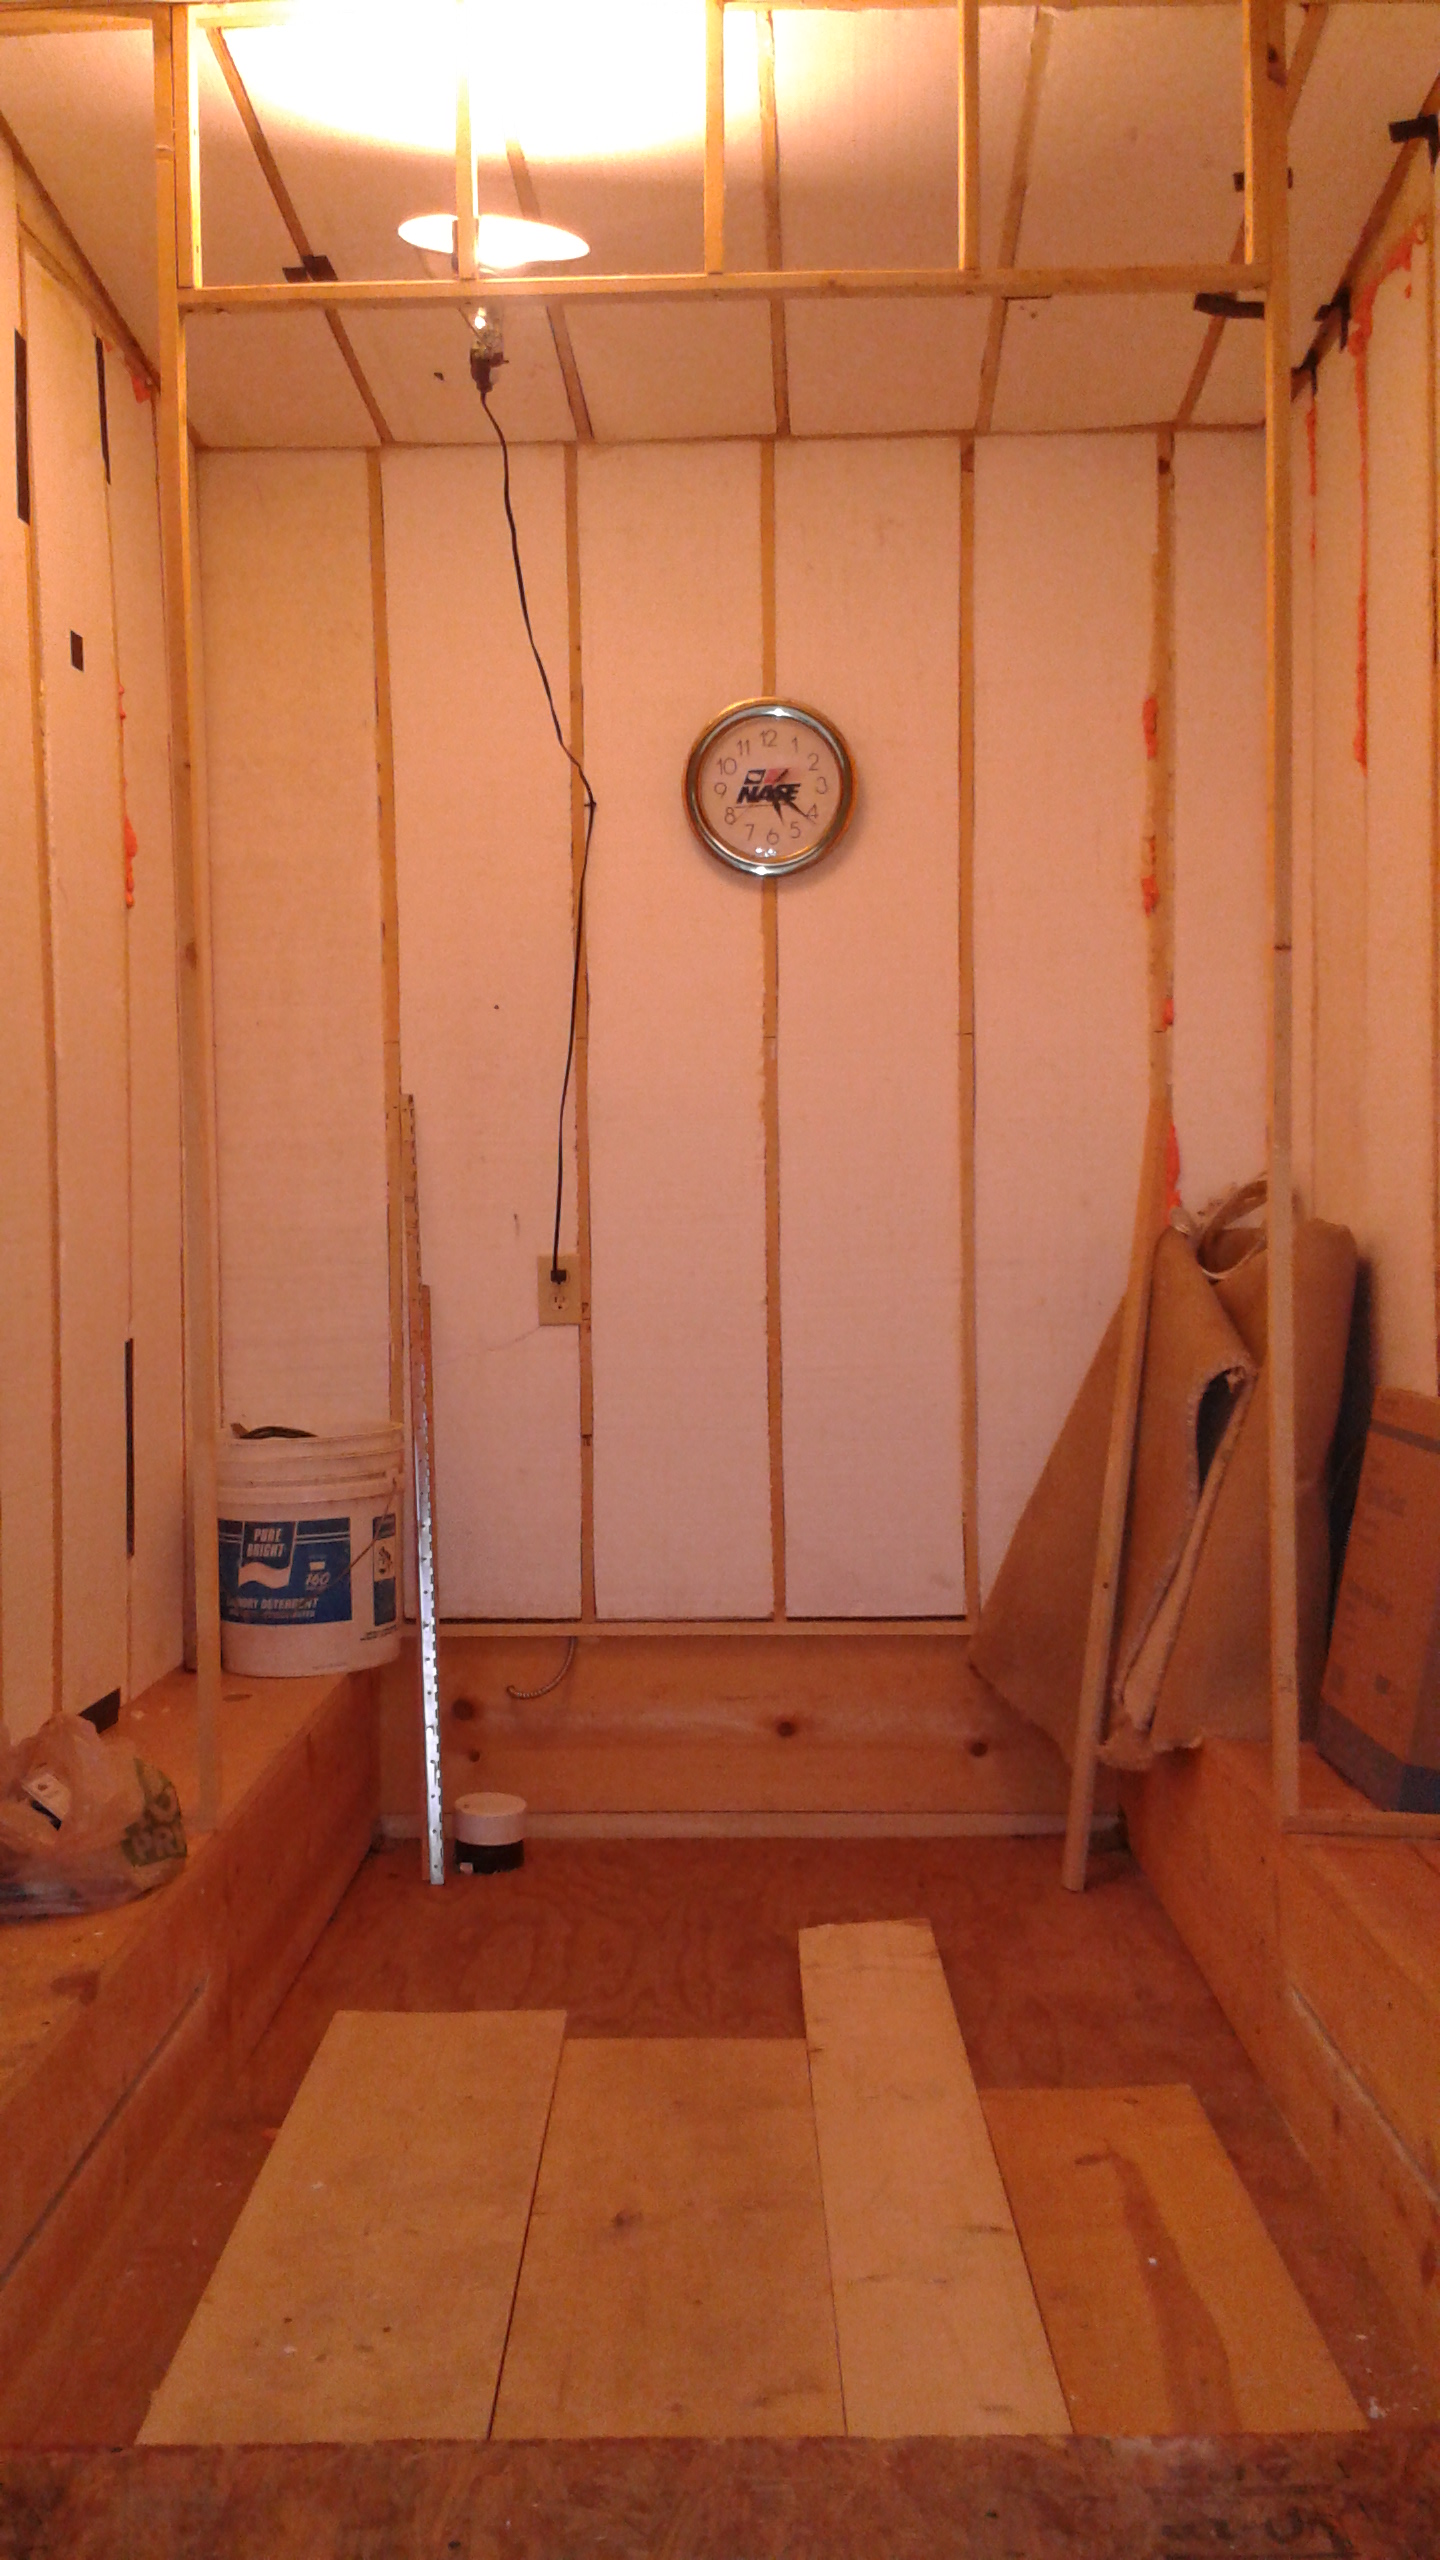
With the Interior bare, it was a good point to begin insulation. I had been saving up panels of styrofoam insulation I had acquired over time, and estimated I had enough to fill the walls. I would, however need to purchase additional panels to complete the ceilings.
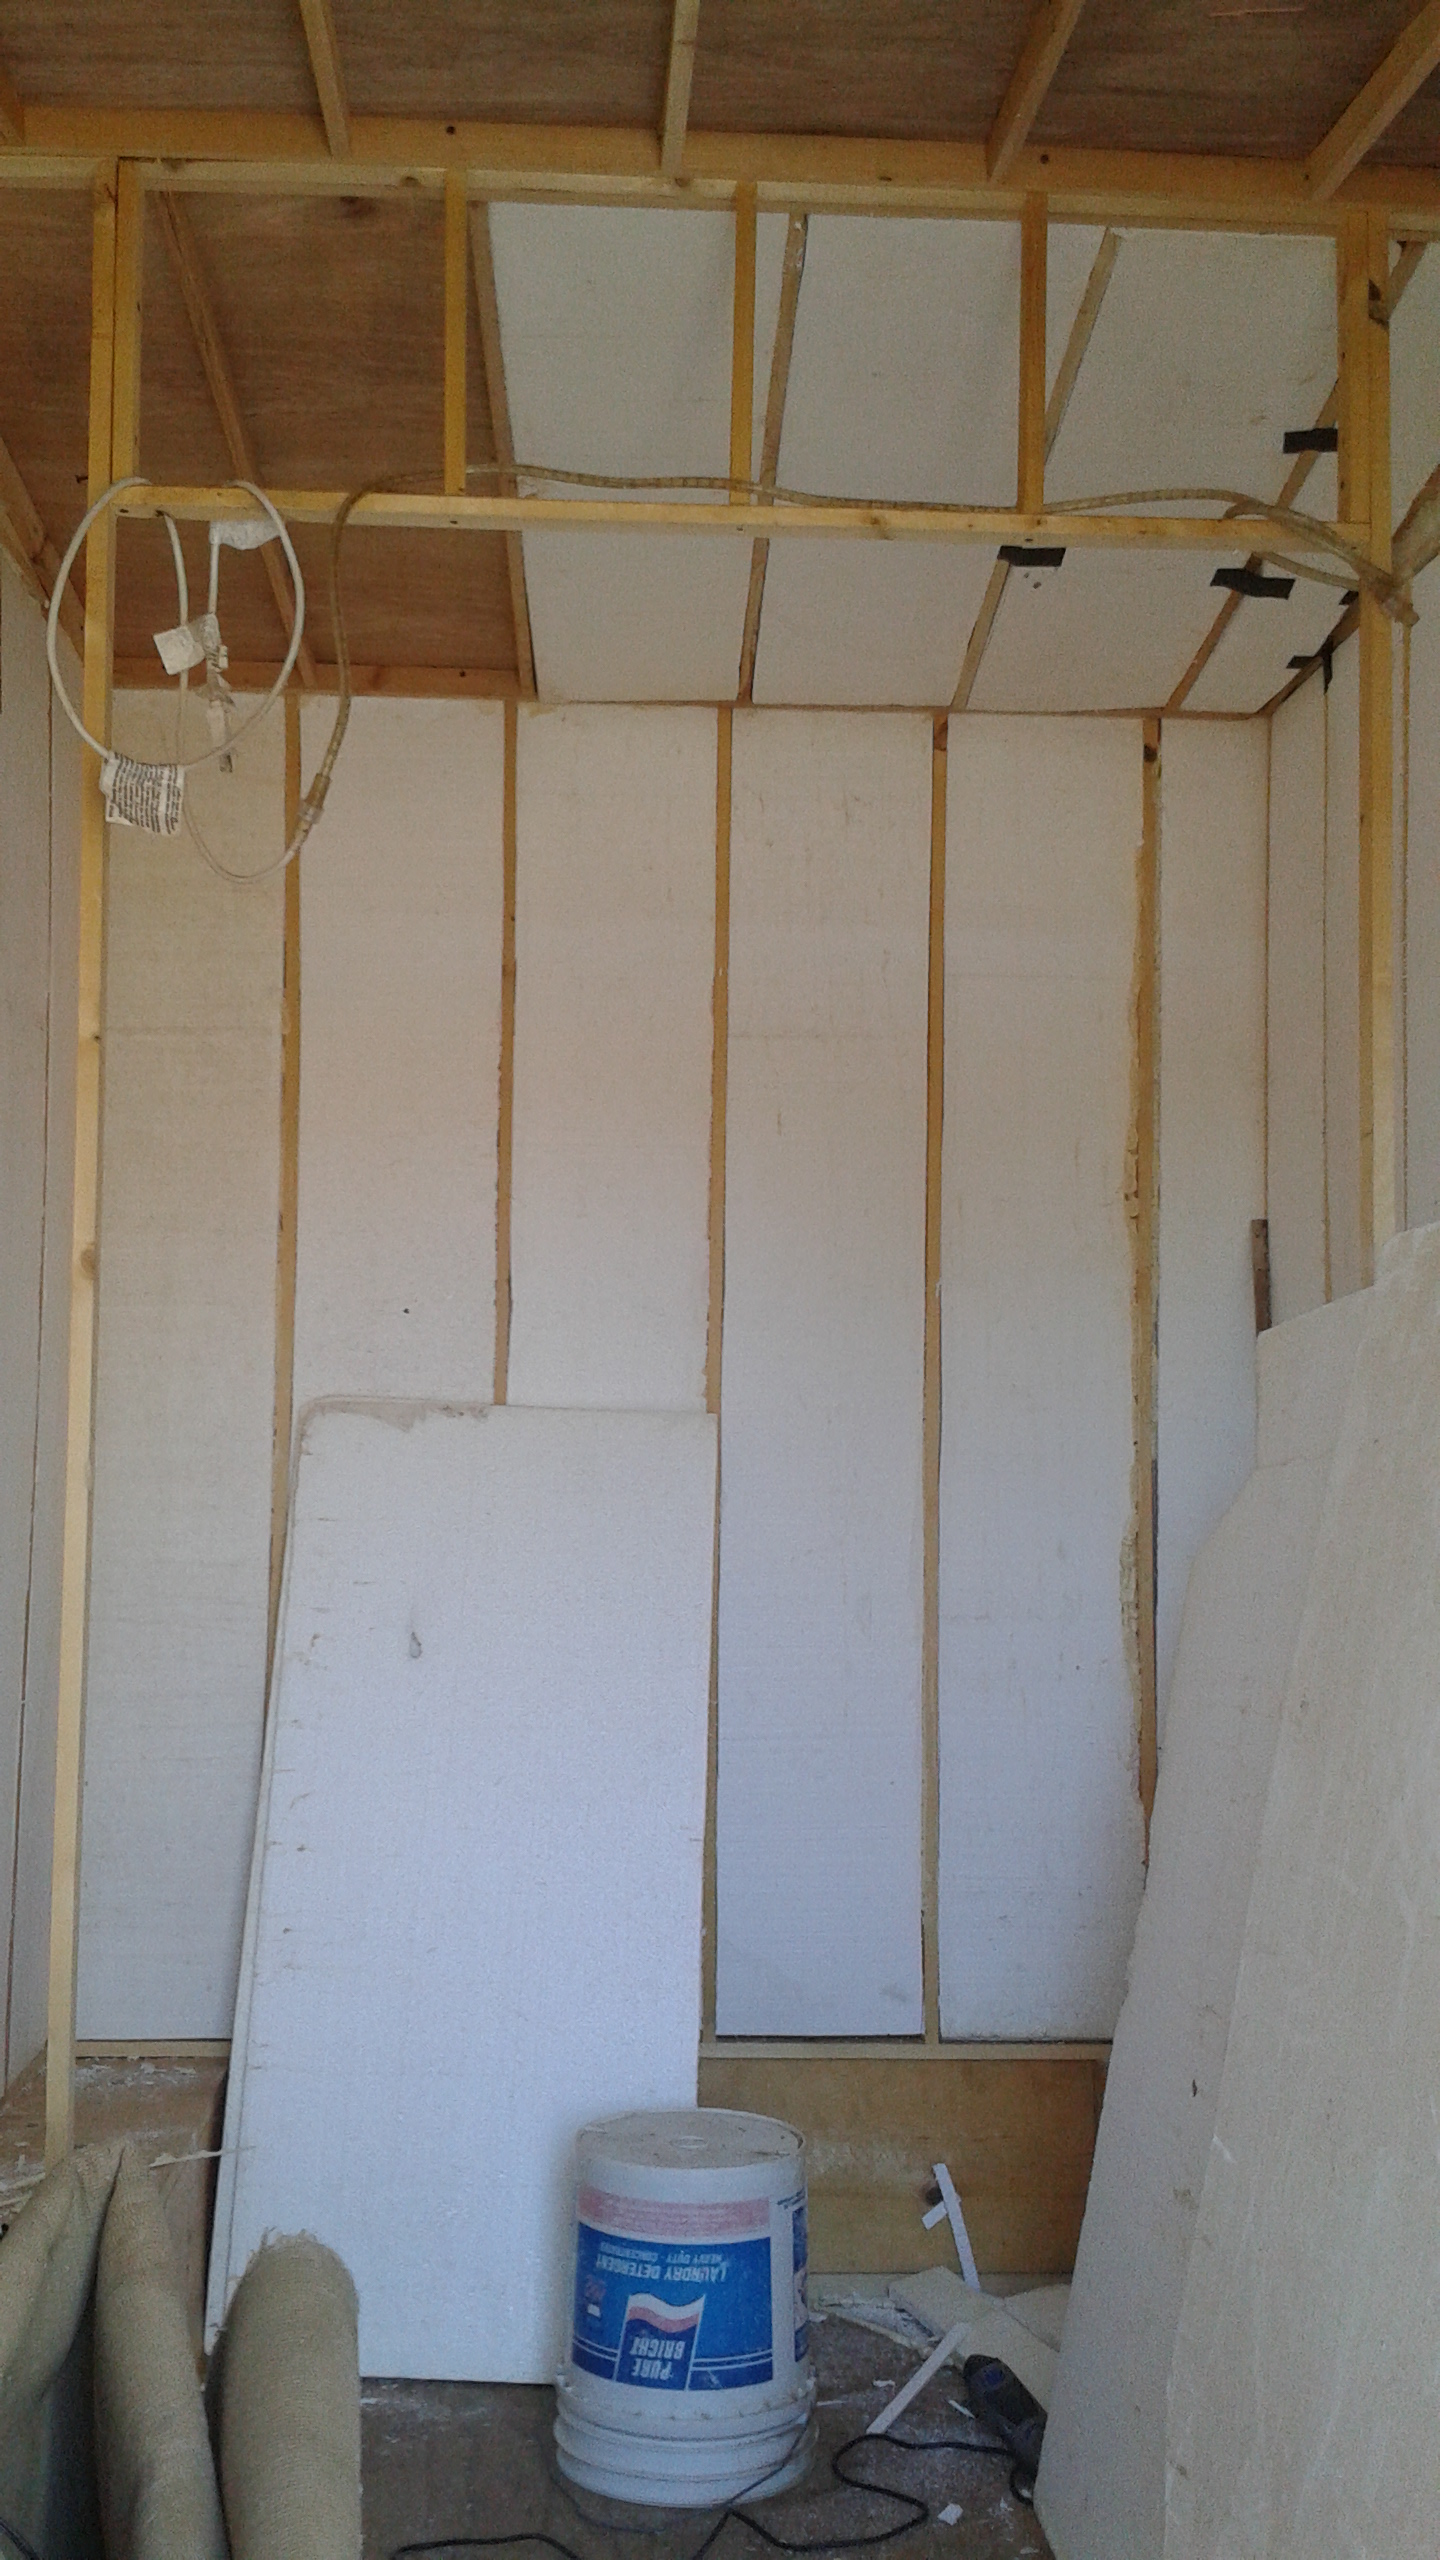 Almost immediately, I discovered that the spaces were not quite uniform as I had hoped. Most were close to 11″ as designed, but there were just enough that were a little less, or more to complicate the overall operation. Ah the joys of construction!
Each panel had to be measured and cut specifically for the space, in order to be sure it would provide a snug fit between the studs. In the picture at right, you can see that a few were just a little loose, and needed some tape to help support them.
 Despite the challenges, it only took a few days to complete satisfactorly. To my surprise, I found it became quite warm inside with me working. But tired as I was, I cleaned things up, and decided a little rest was in order.
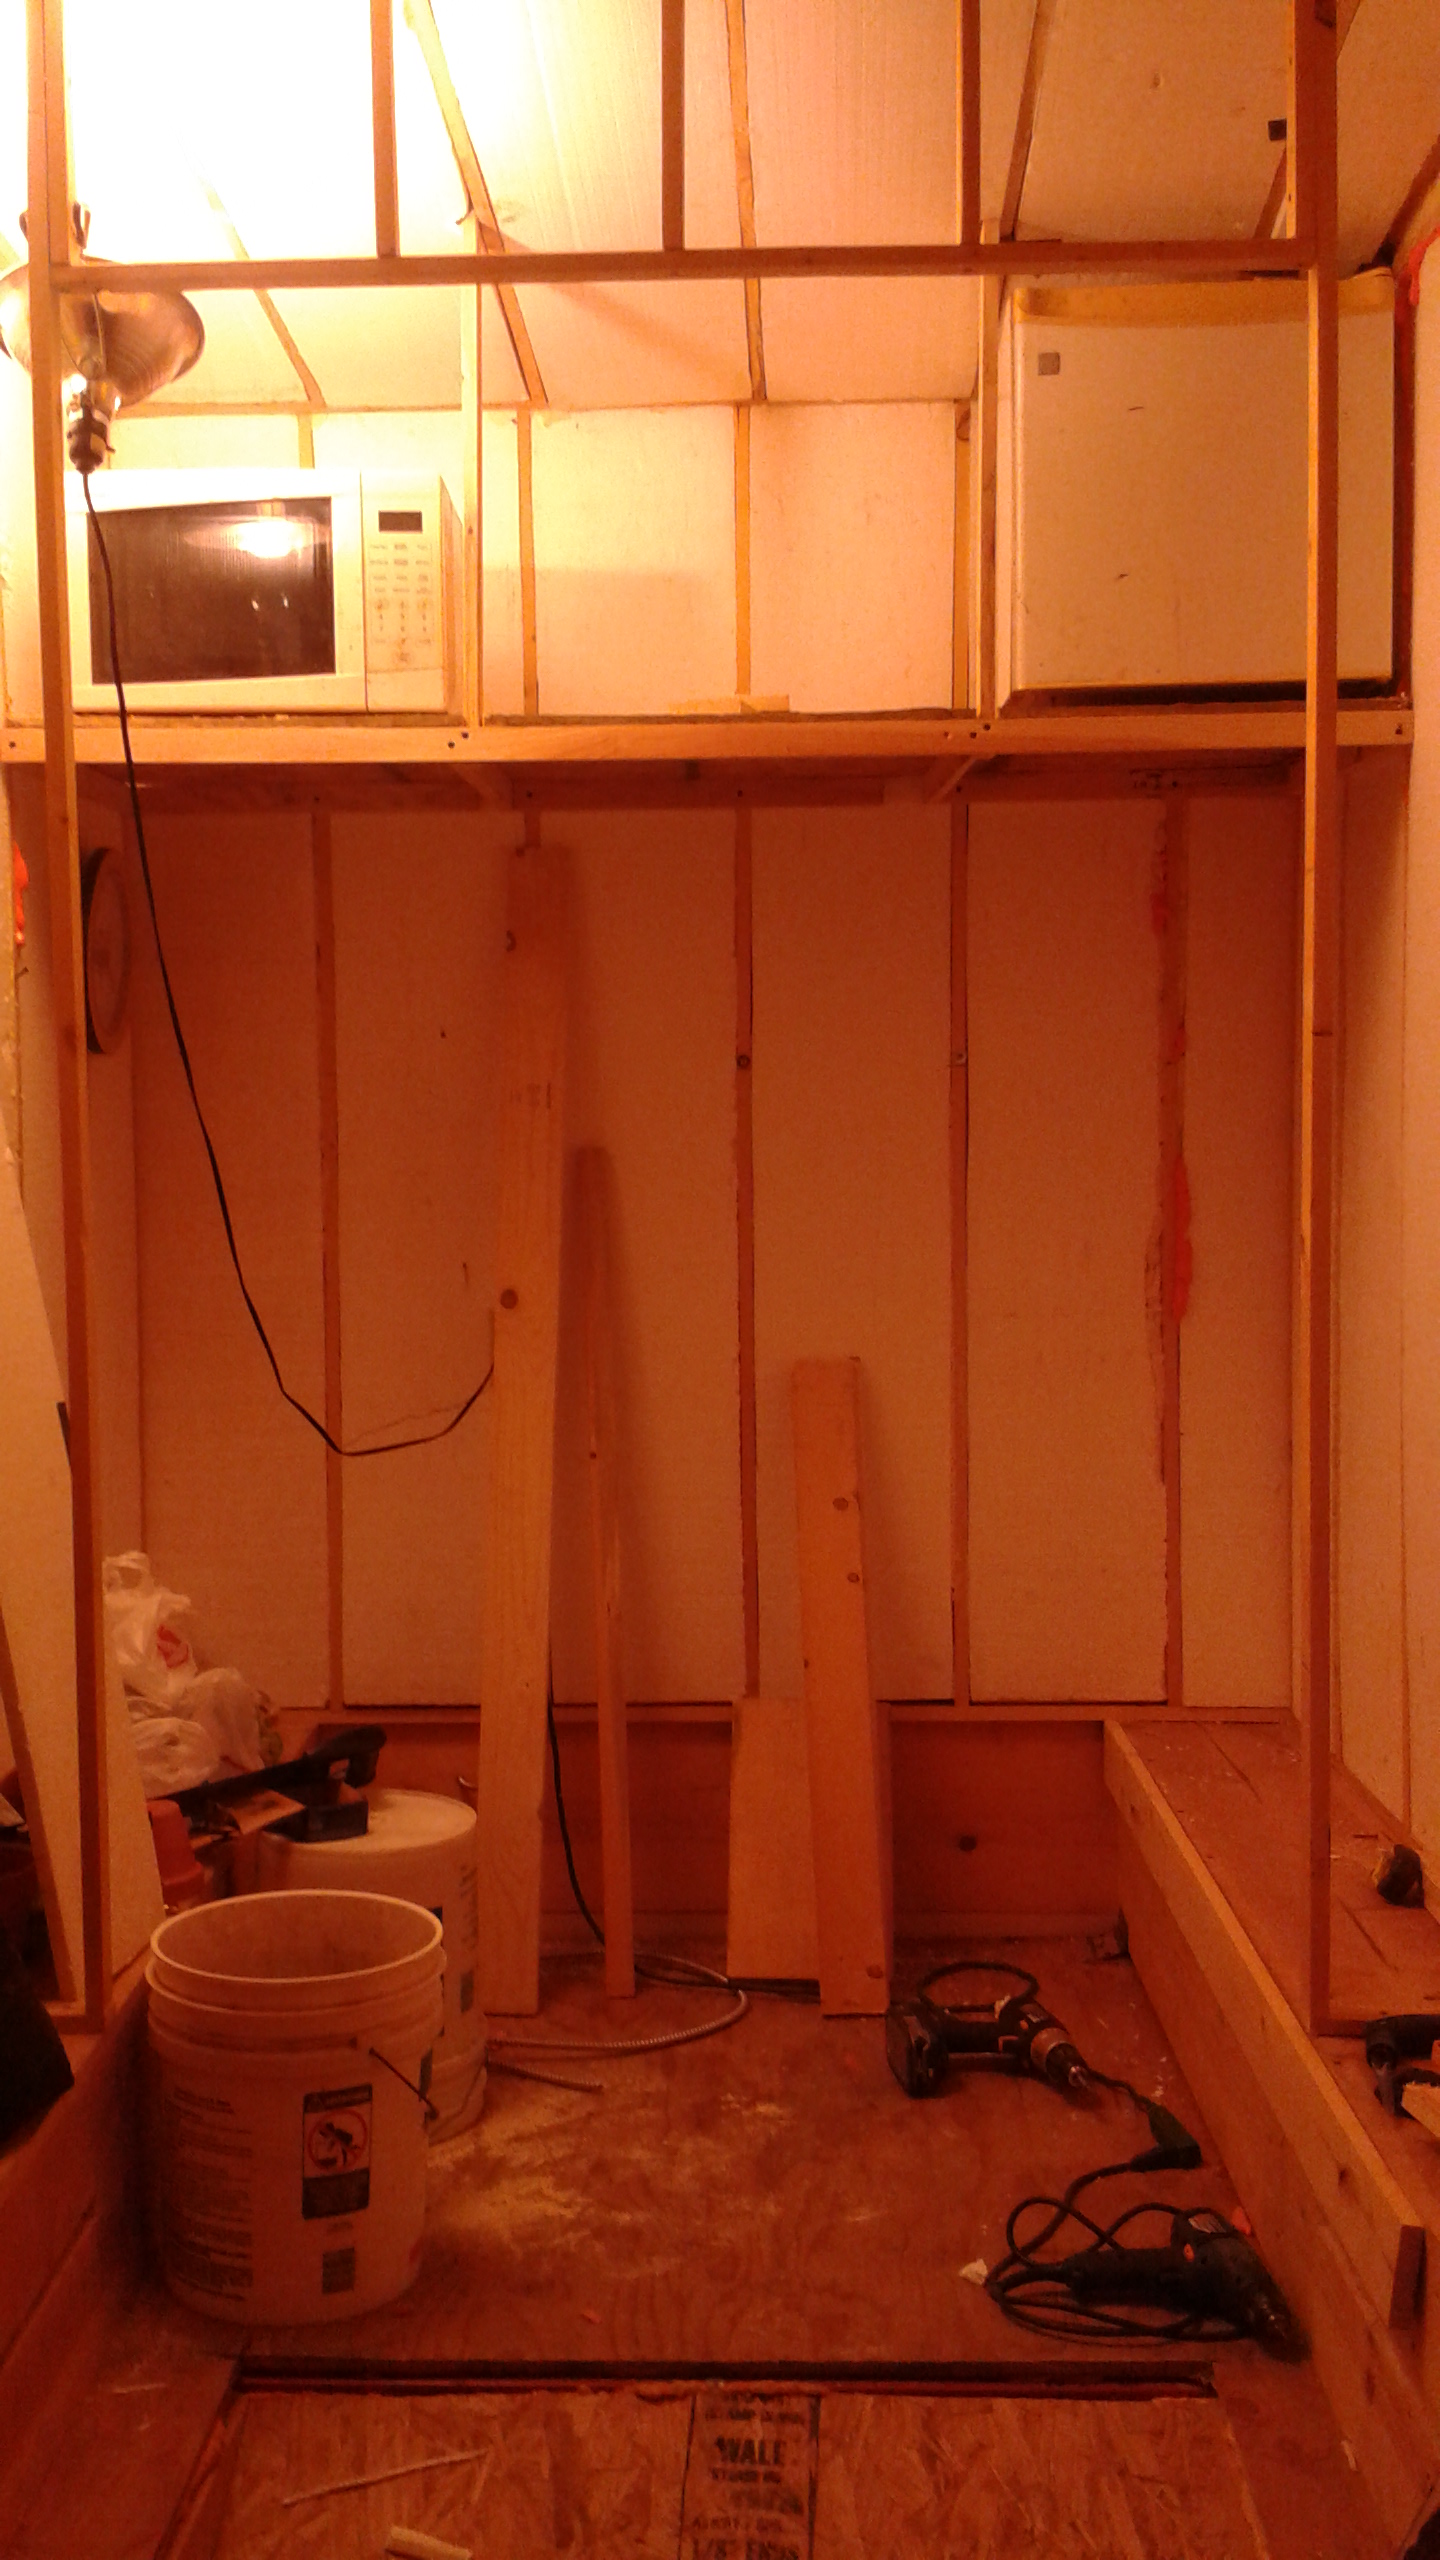
The next day, though, I was back at it …. and proceeded to frame the upper shelf to hold the microwave and mini-fridge. As you can see, it turned out pretty good. Then it was time to assess just how the bedroom/kitchen/office were going to fit together.
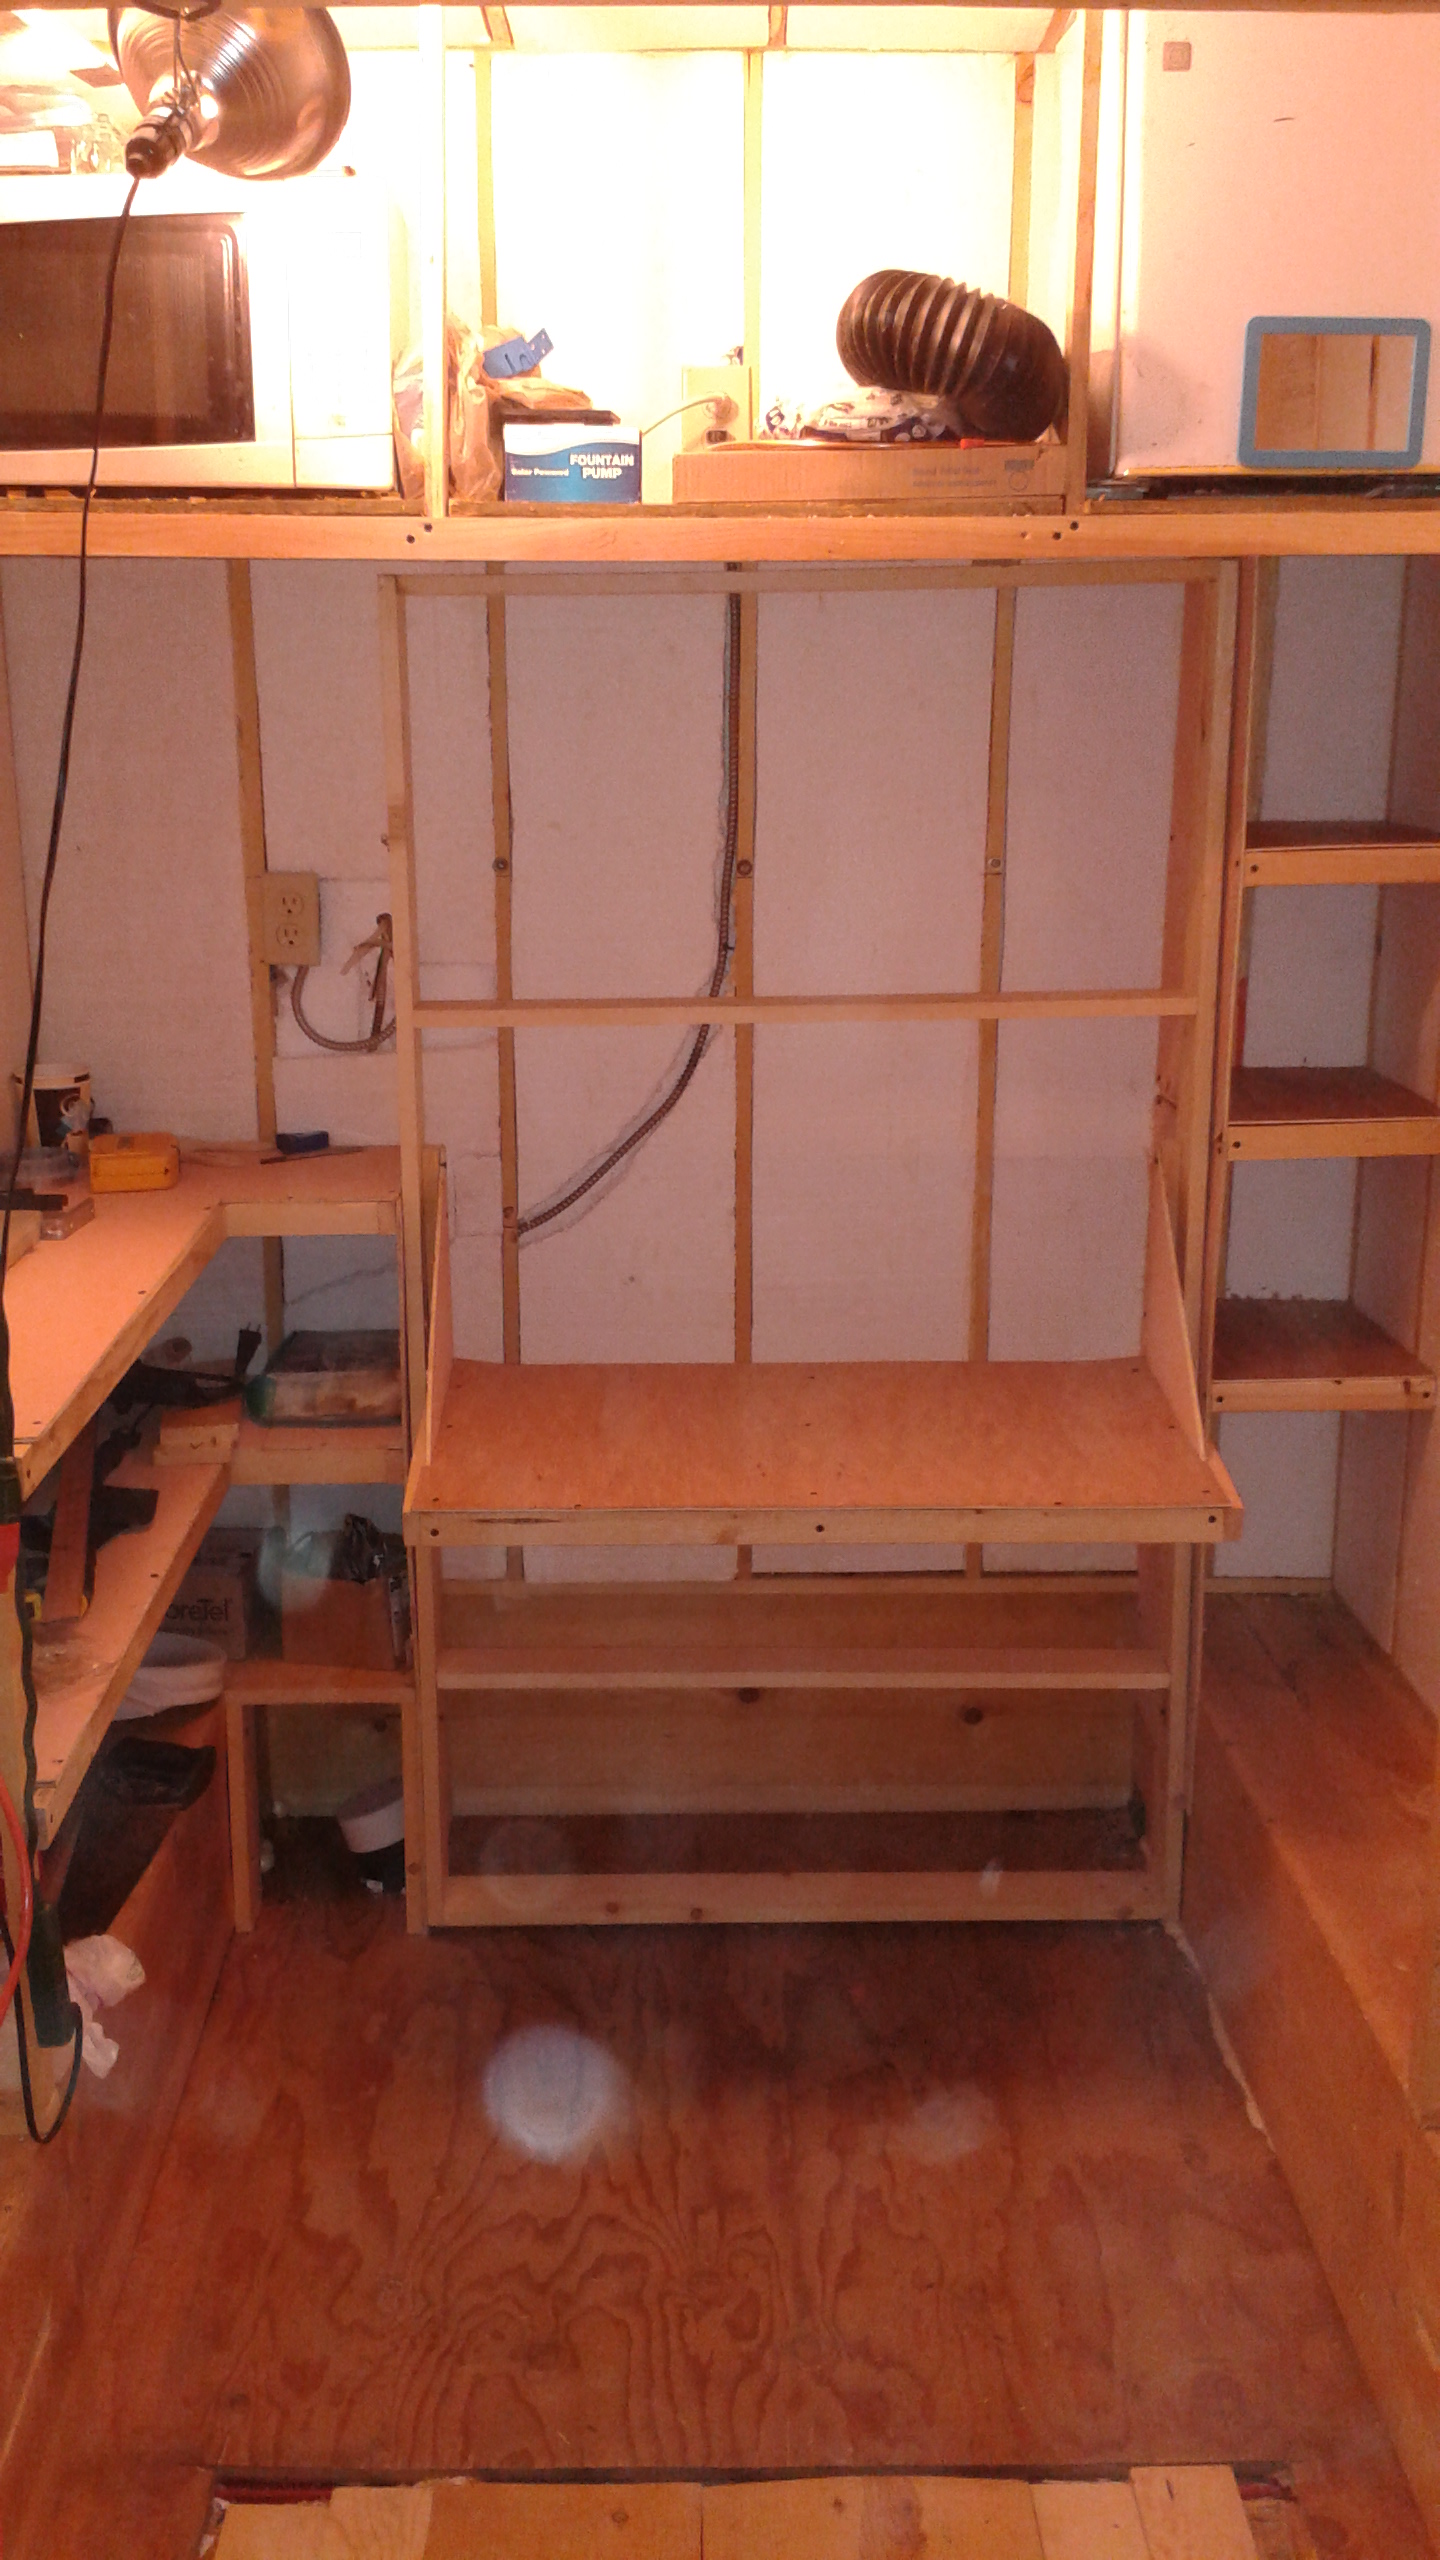
 It took a bit of thinking, and perusing the internet for some ideas, but I finally settled on a basic murphy-style setup for the bed. This would allow me to have a desk in the space while the bed is folded up. By making the desk itself turn into the supporting legs, I would be able to leave the contents of the desk “as is” while the bed folds down. Cool!
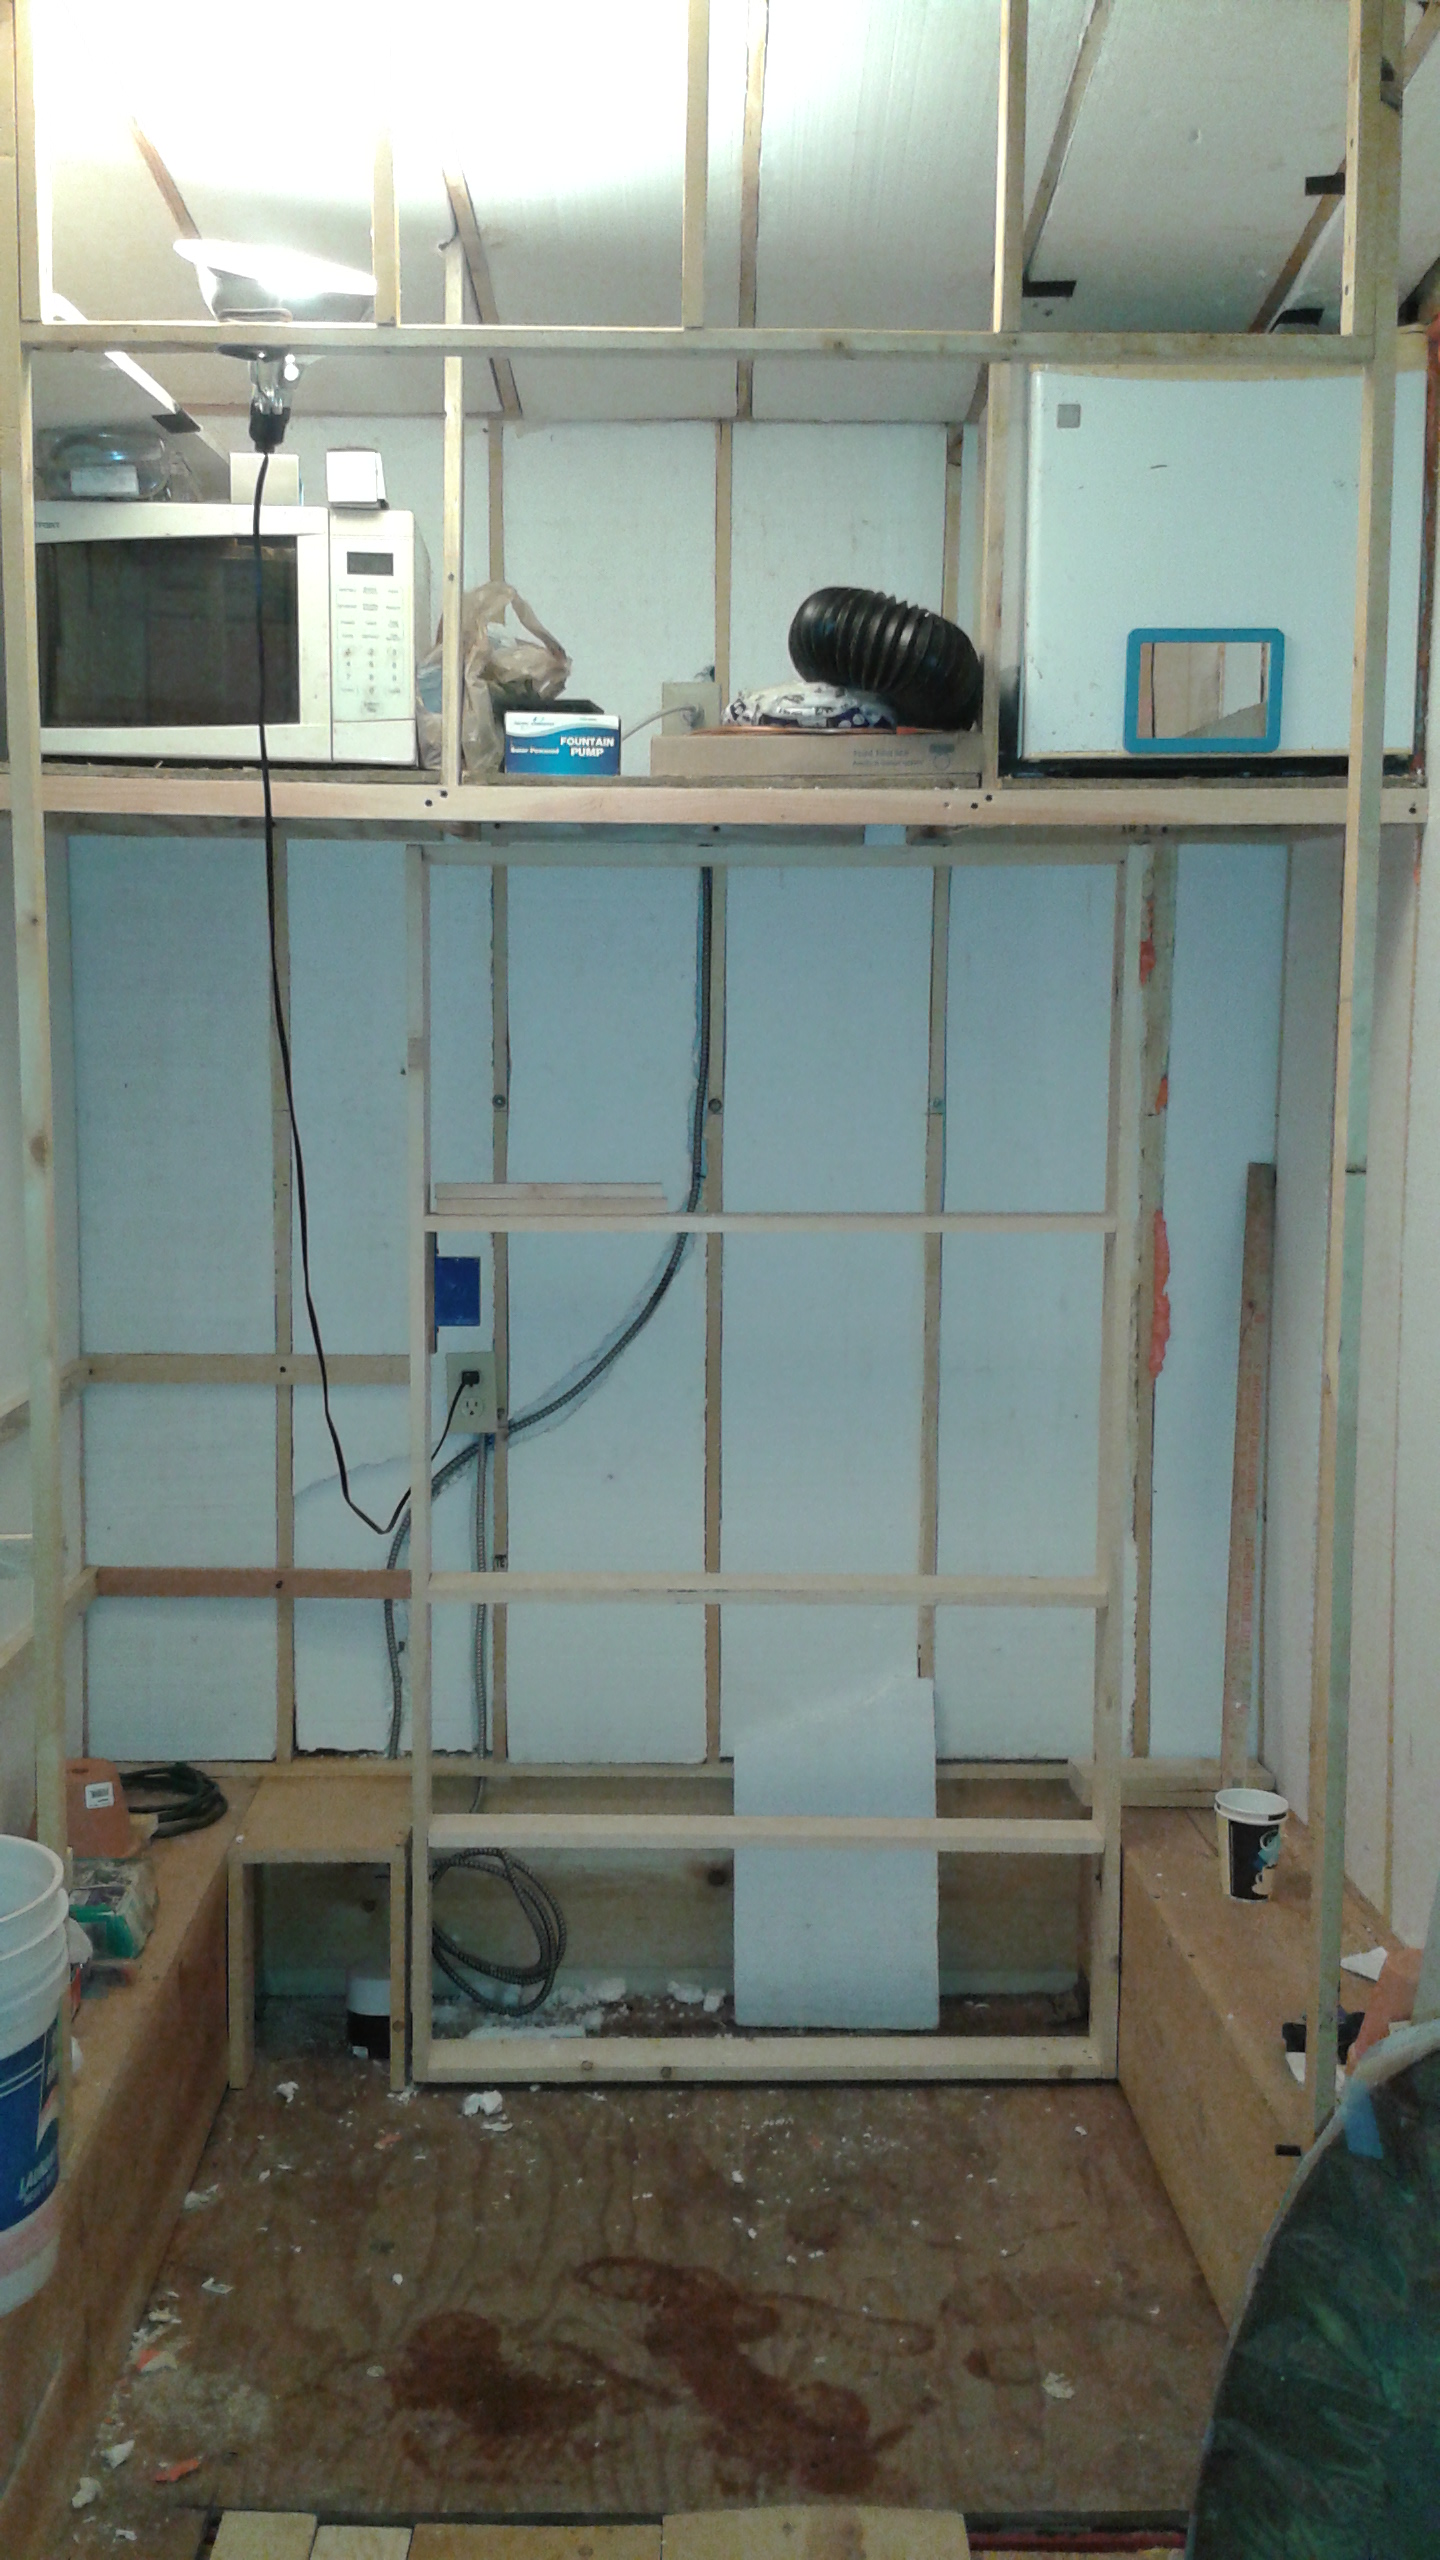
 Now you can see the cupboards are added on the right, the desk platform is in place, and the “kitchen” counter is built. If you look closely, you can trace the electrical cabling in the wall; and in the lower left the black pipe leading to the under-floor water storage is visible.
 And finally, I had to test out the functioning of the murphy-bed. Notice how the desk-shelf rests on the floor, without having to disturb its contents. Course, we’ll see how this works once the computer is installed, eh.
Until next time!