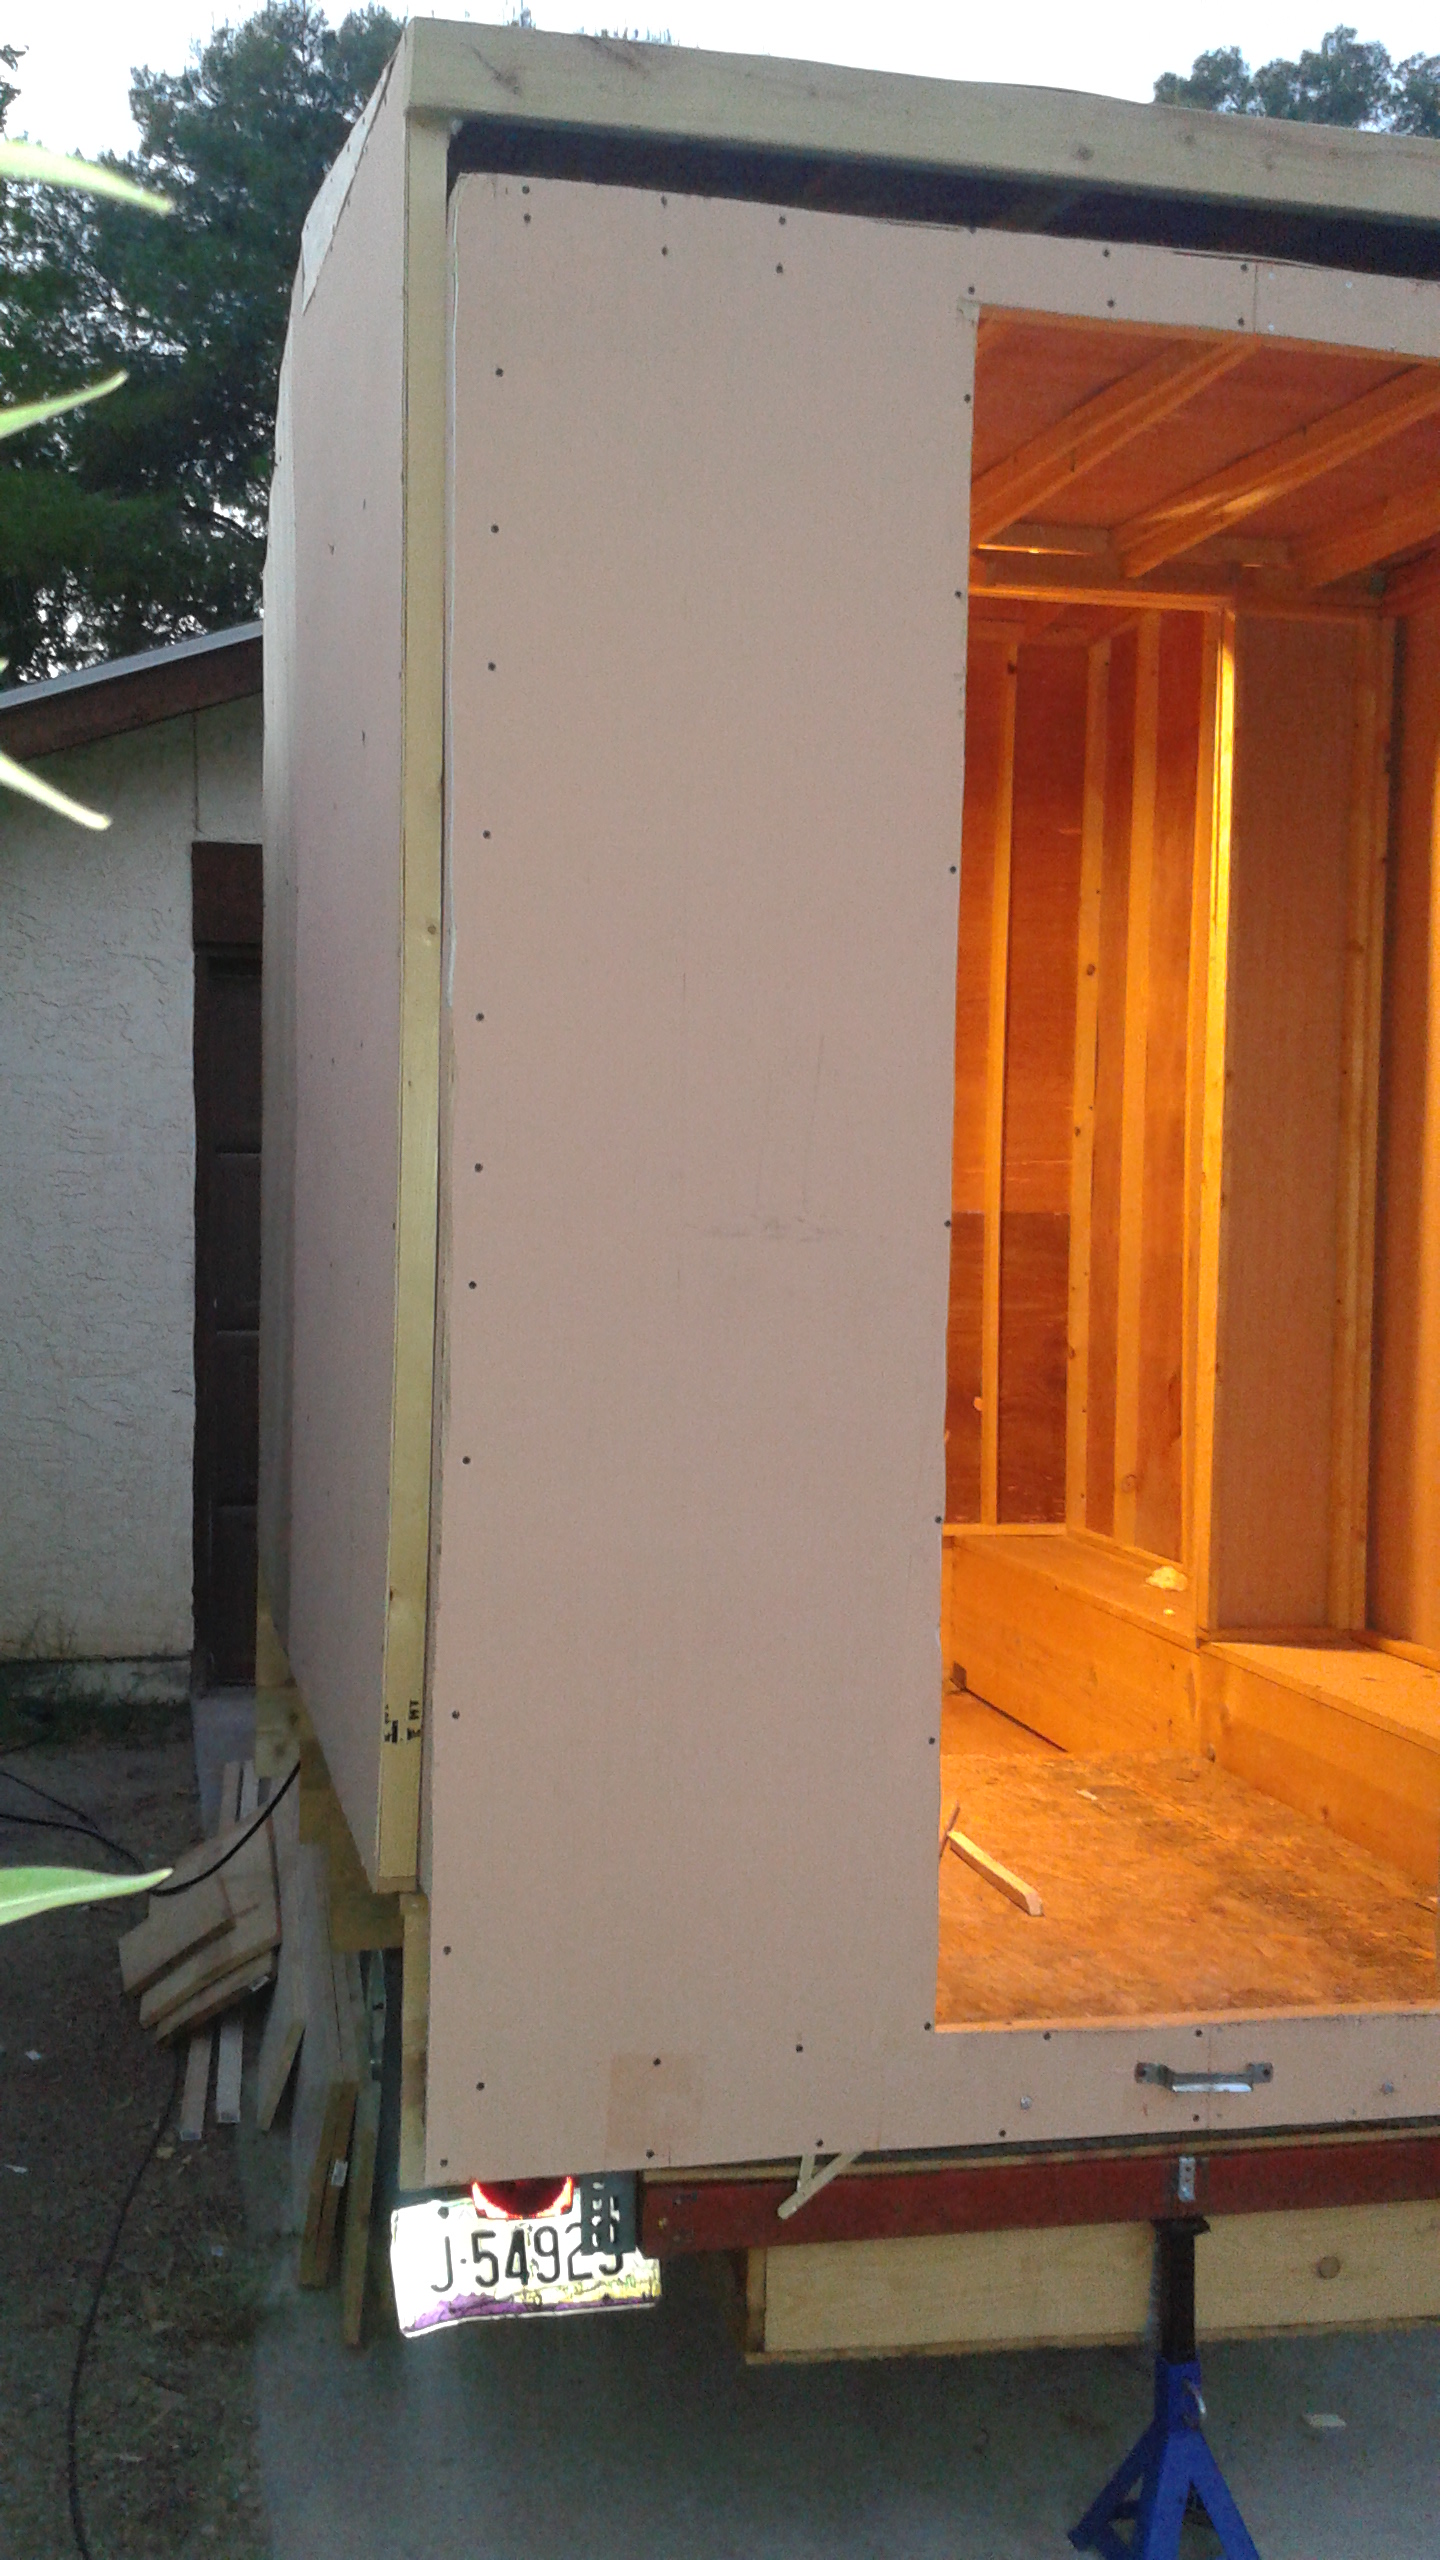
 With the exterior sheathing on, it’s time to add a door, and begin sealing the wood for the weather.
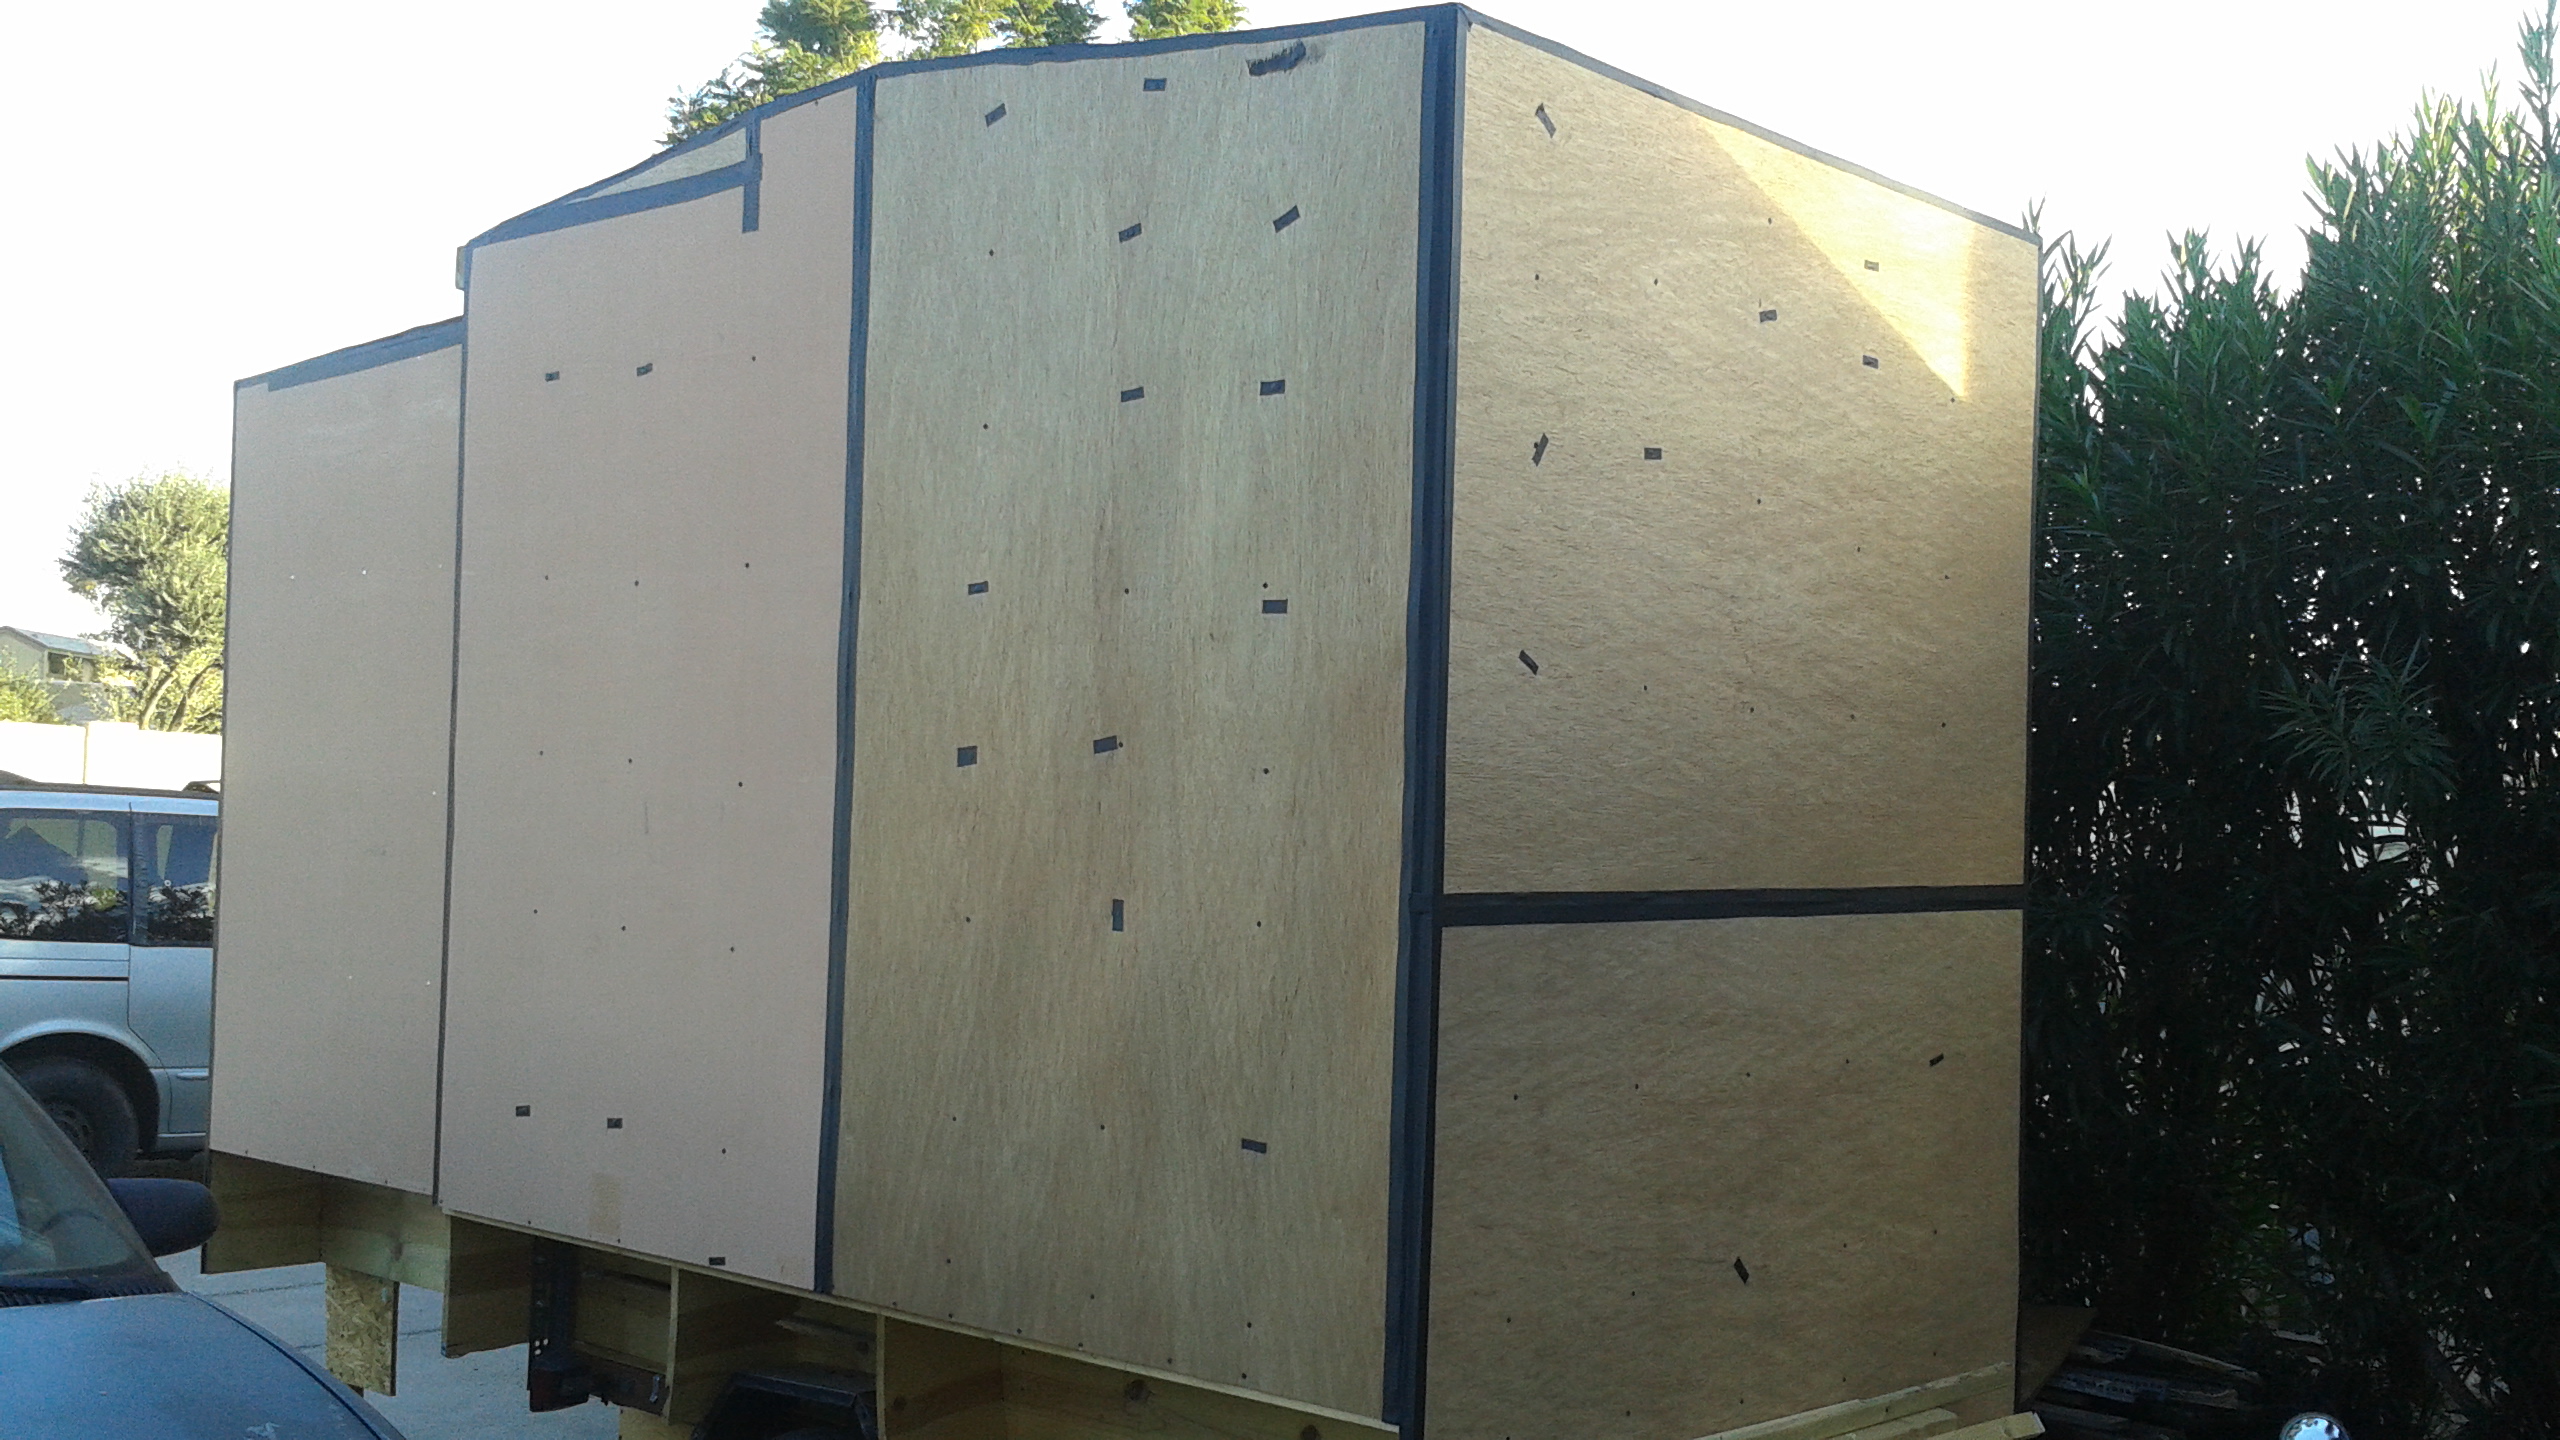 First, sealing the joints. I used an asphalt impregnated tape for all the seams. It is tedious work, but the benefit will assure solid joints at the seams. Not only did I apply the tape to the seams, but was sure to cover the screws holding the sheathing on. The tedium ended up taking several weeks (evenings and weekends are tough as winter rolls in).
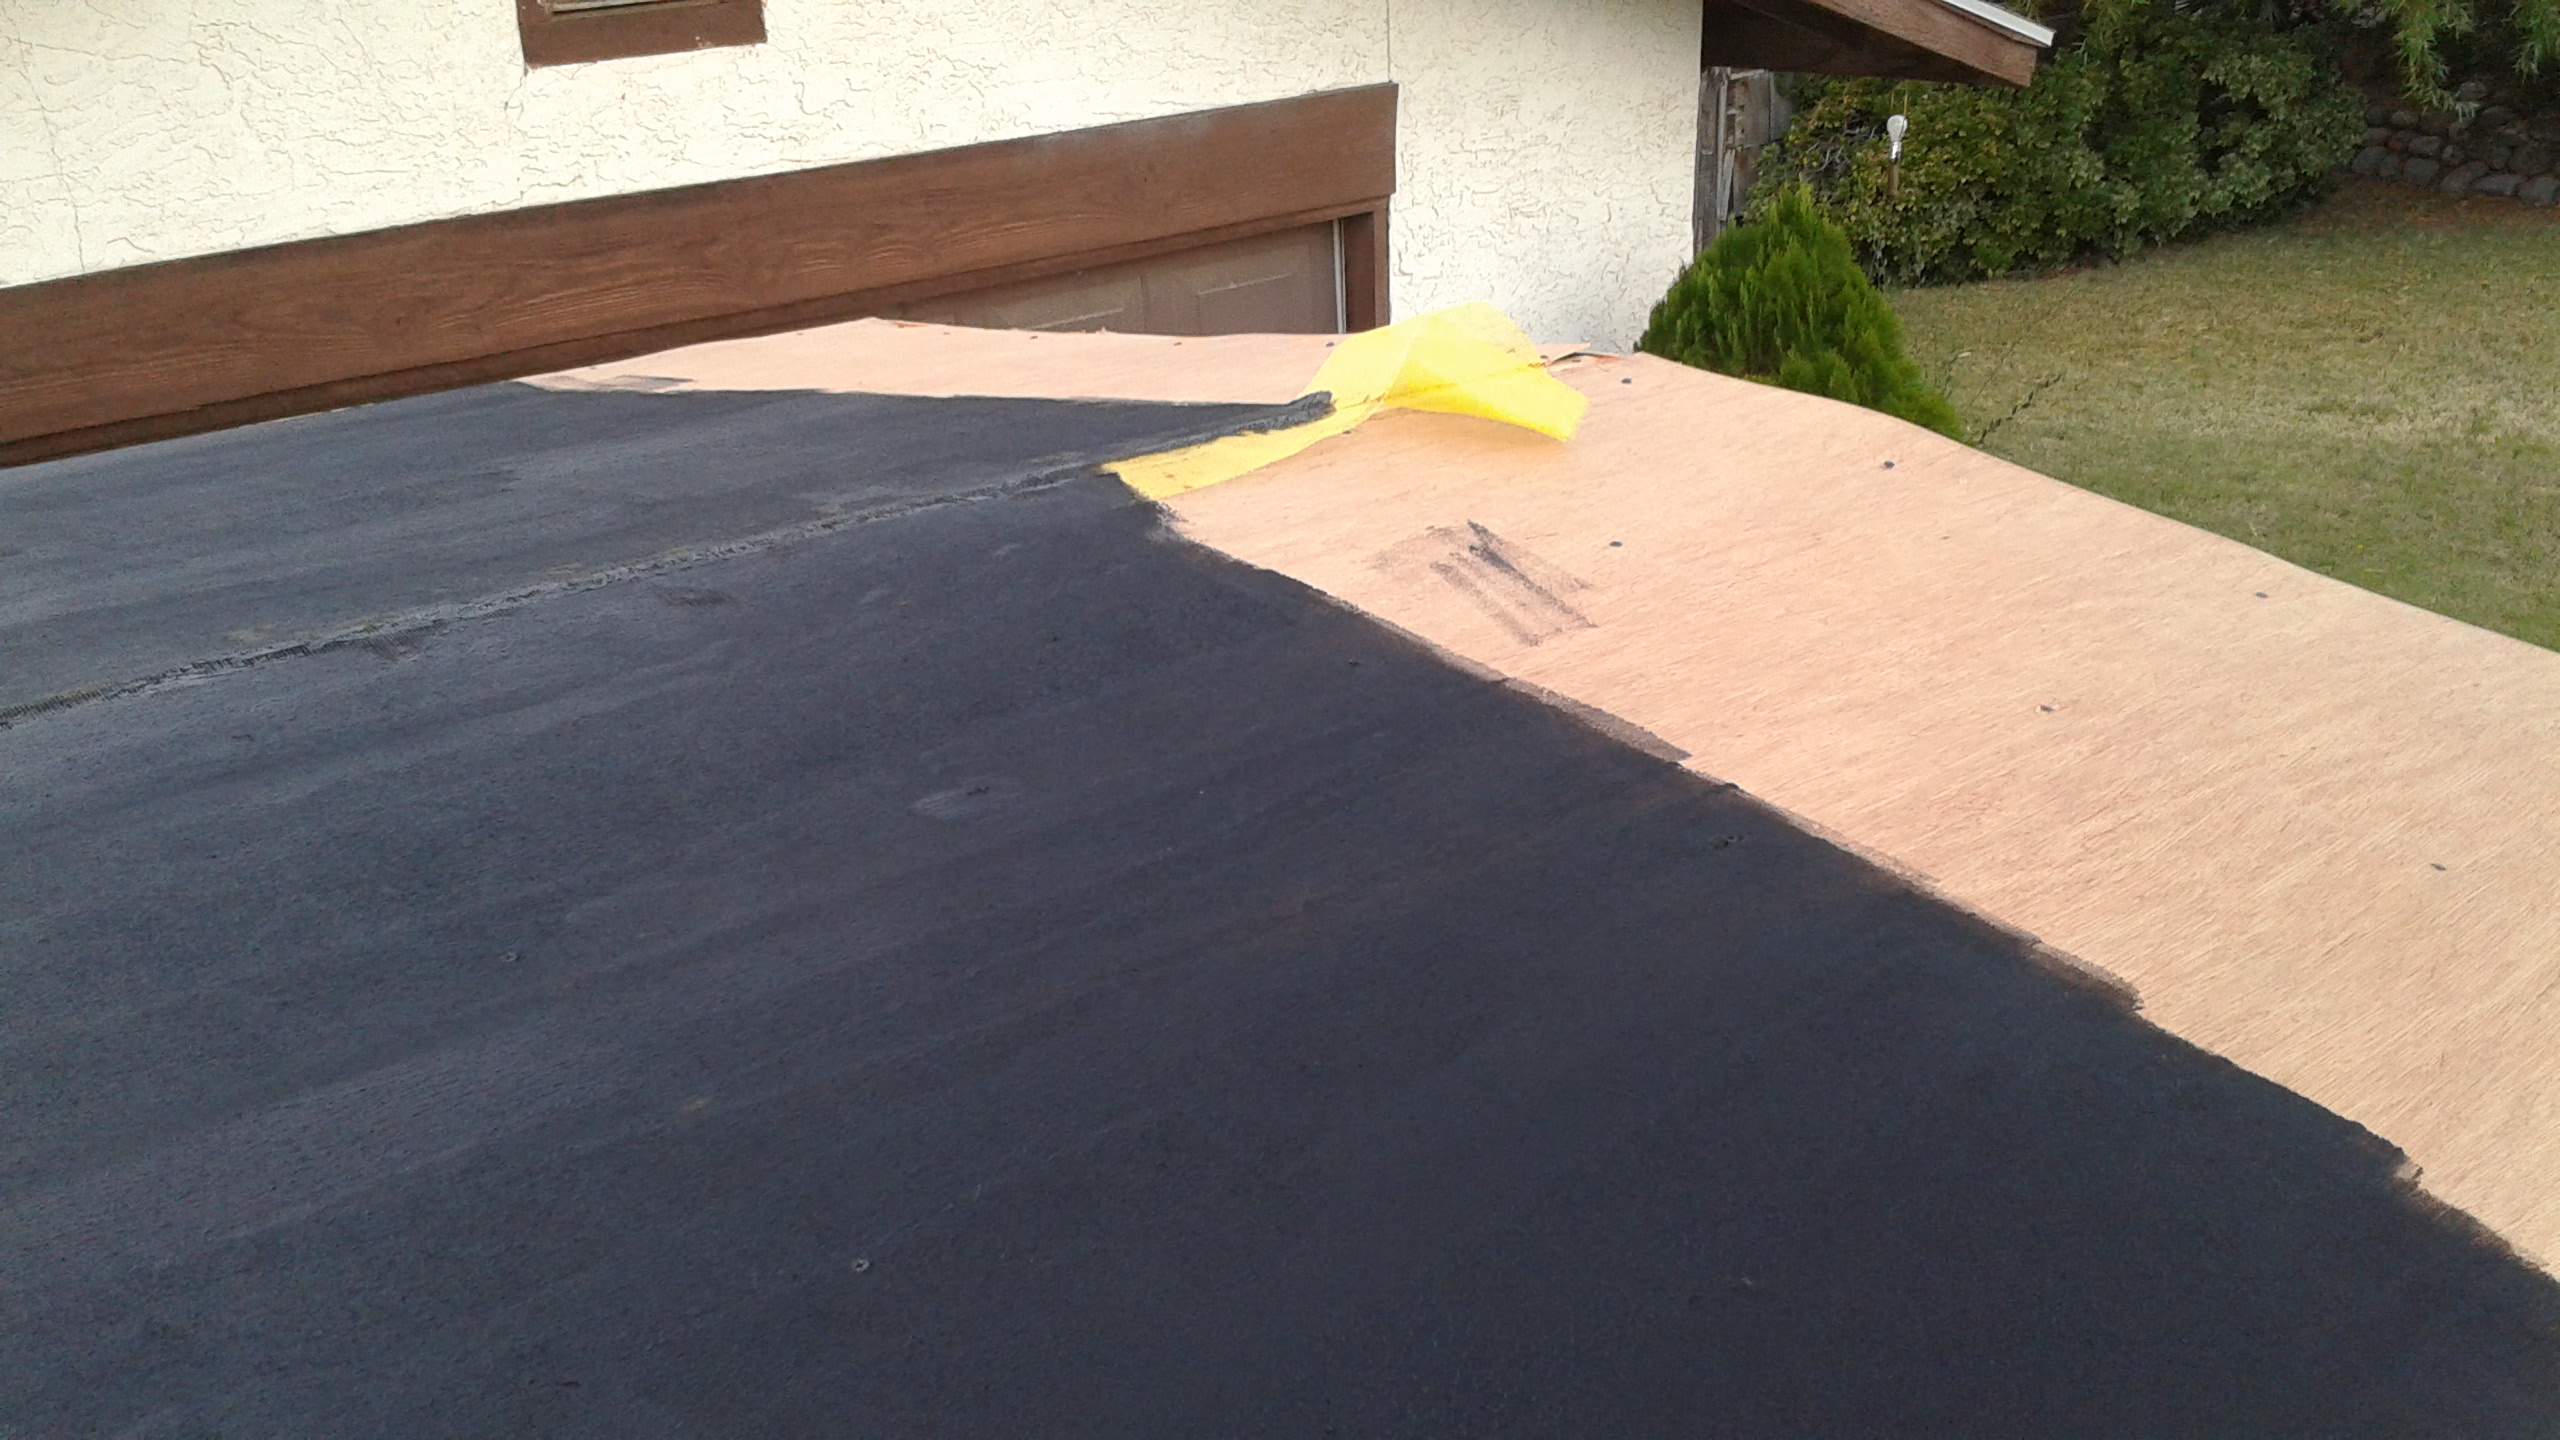 With the joints and screws covered, it was time for the sealer. Ieichth! Nasty stuff. But I brushed on the corners, then followed by rolling the larger spaces on. Now keep in mind, I’m not a professional at this, but read up on it to try to understand the process. I realized after a storm or two that a single coat was just not going to to the job, so I ended up with four separate coats of the asphalt coating all the way around.
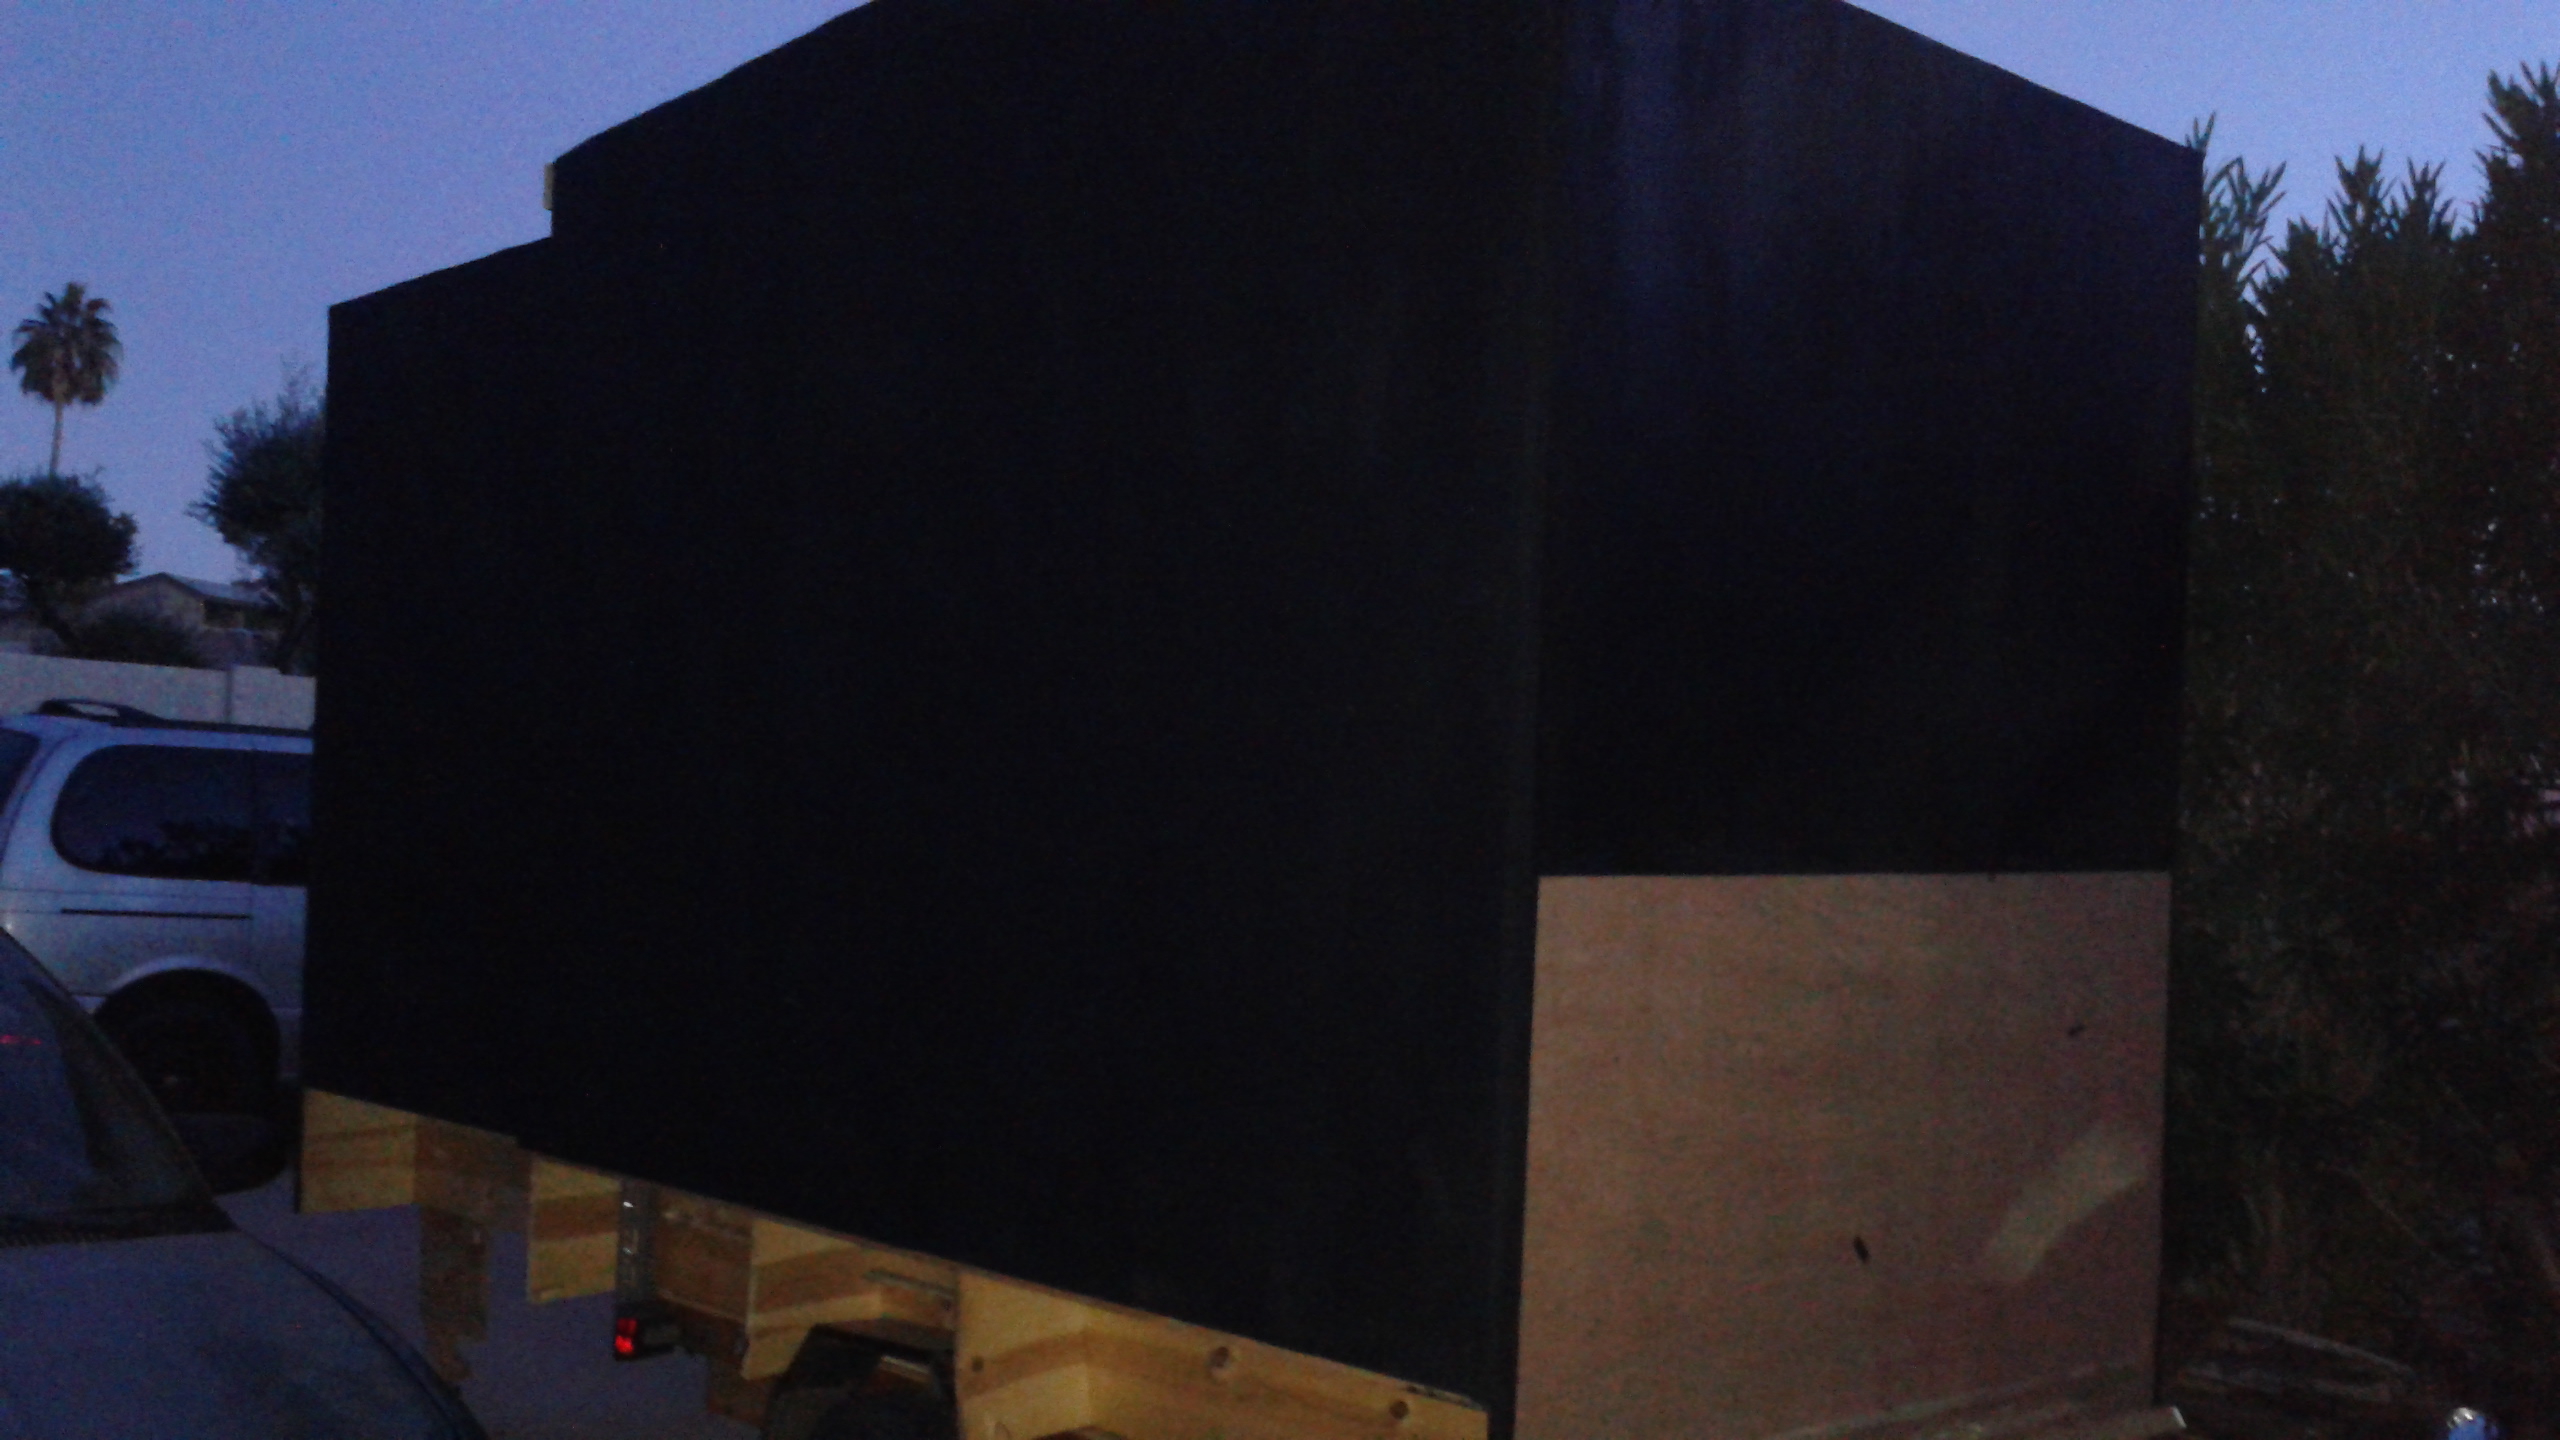 With the sealer in place, I stood back and marvelled at my handiwork. Inspecting, checking and double checking just didn’t seem to be enough, so that final fourth coat had to go on. Then I wanted to be sure, …. so I decided on a test.
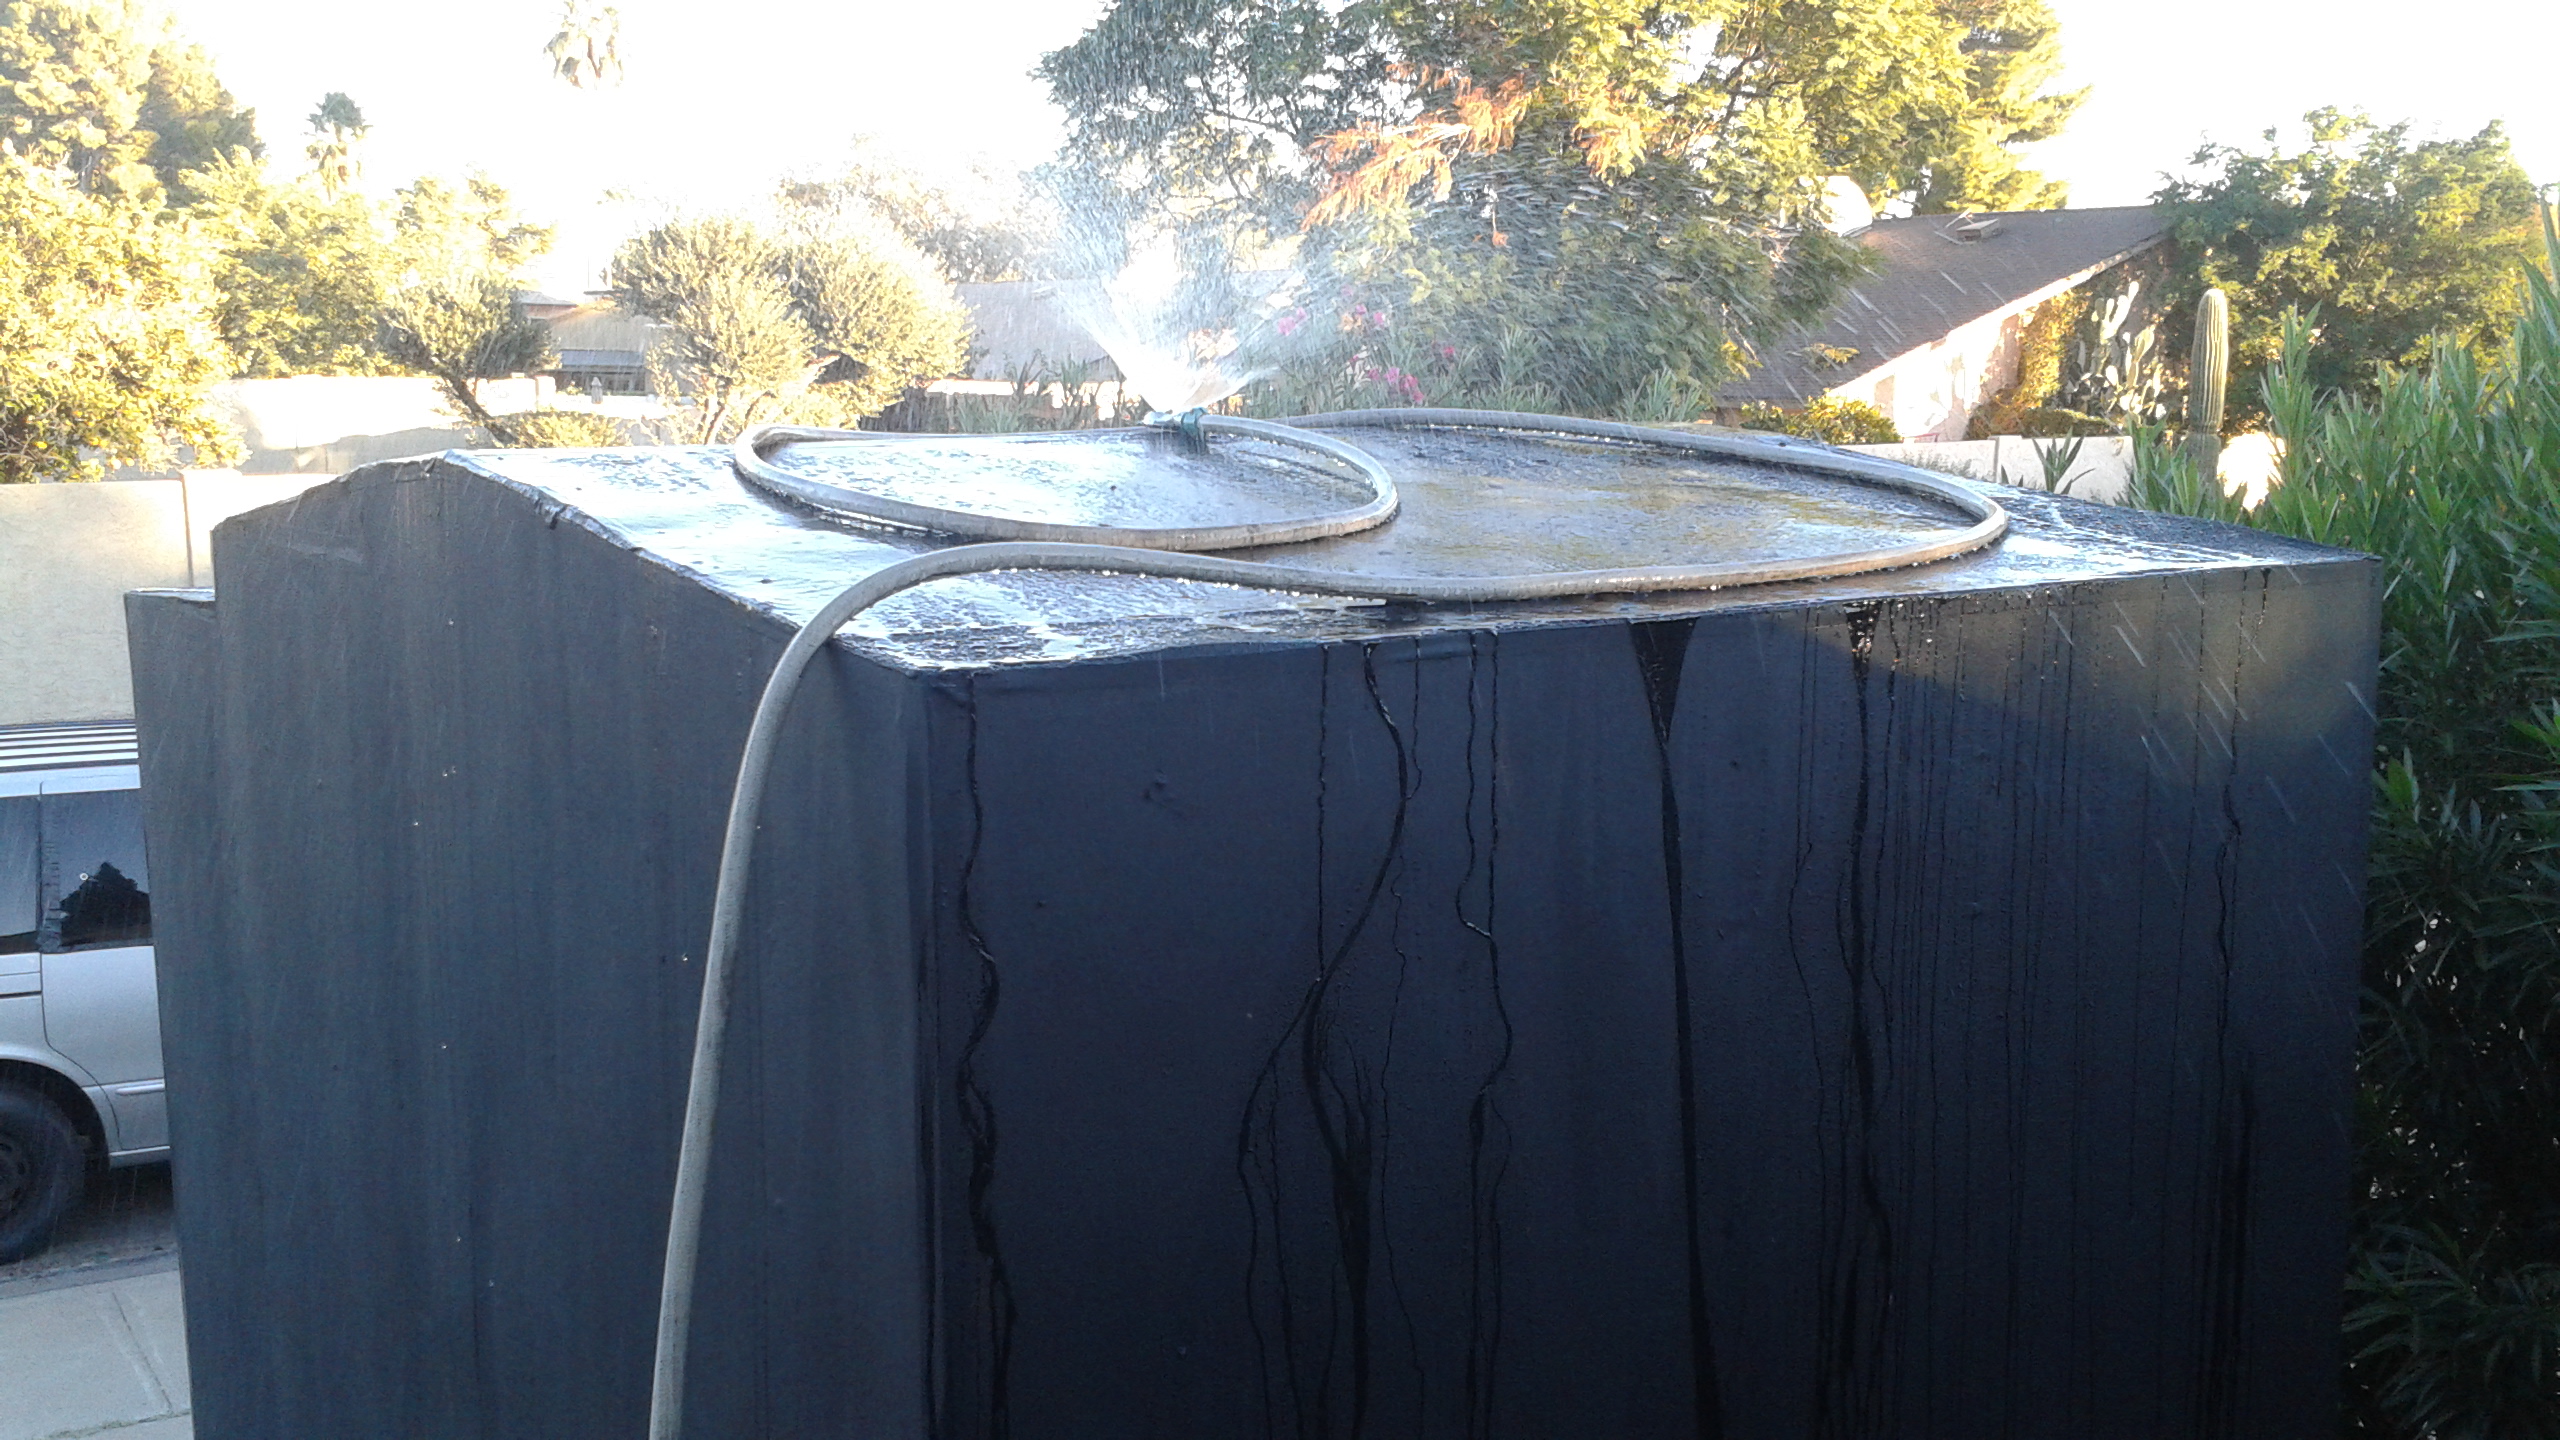 The water hose was easy to get up there, let it run for nearly 1/2 an hour, watching both inside and outside of the box for any leaks. Sadly, there are a few. Though they are minor, and some patches should do the trick.
Next time … the utility shed to be built over the tounge!