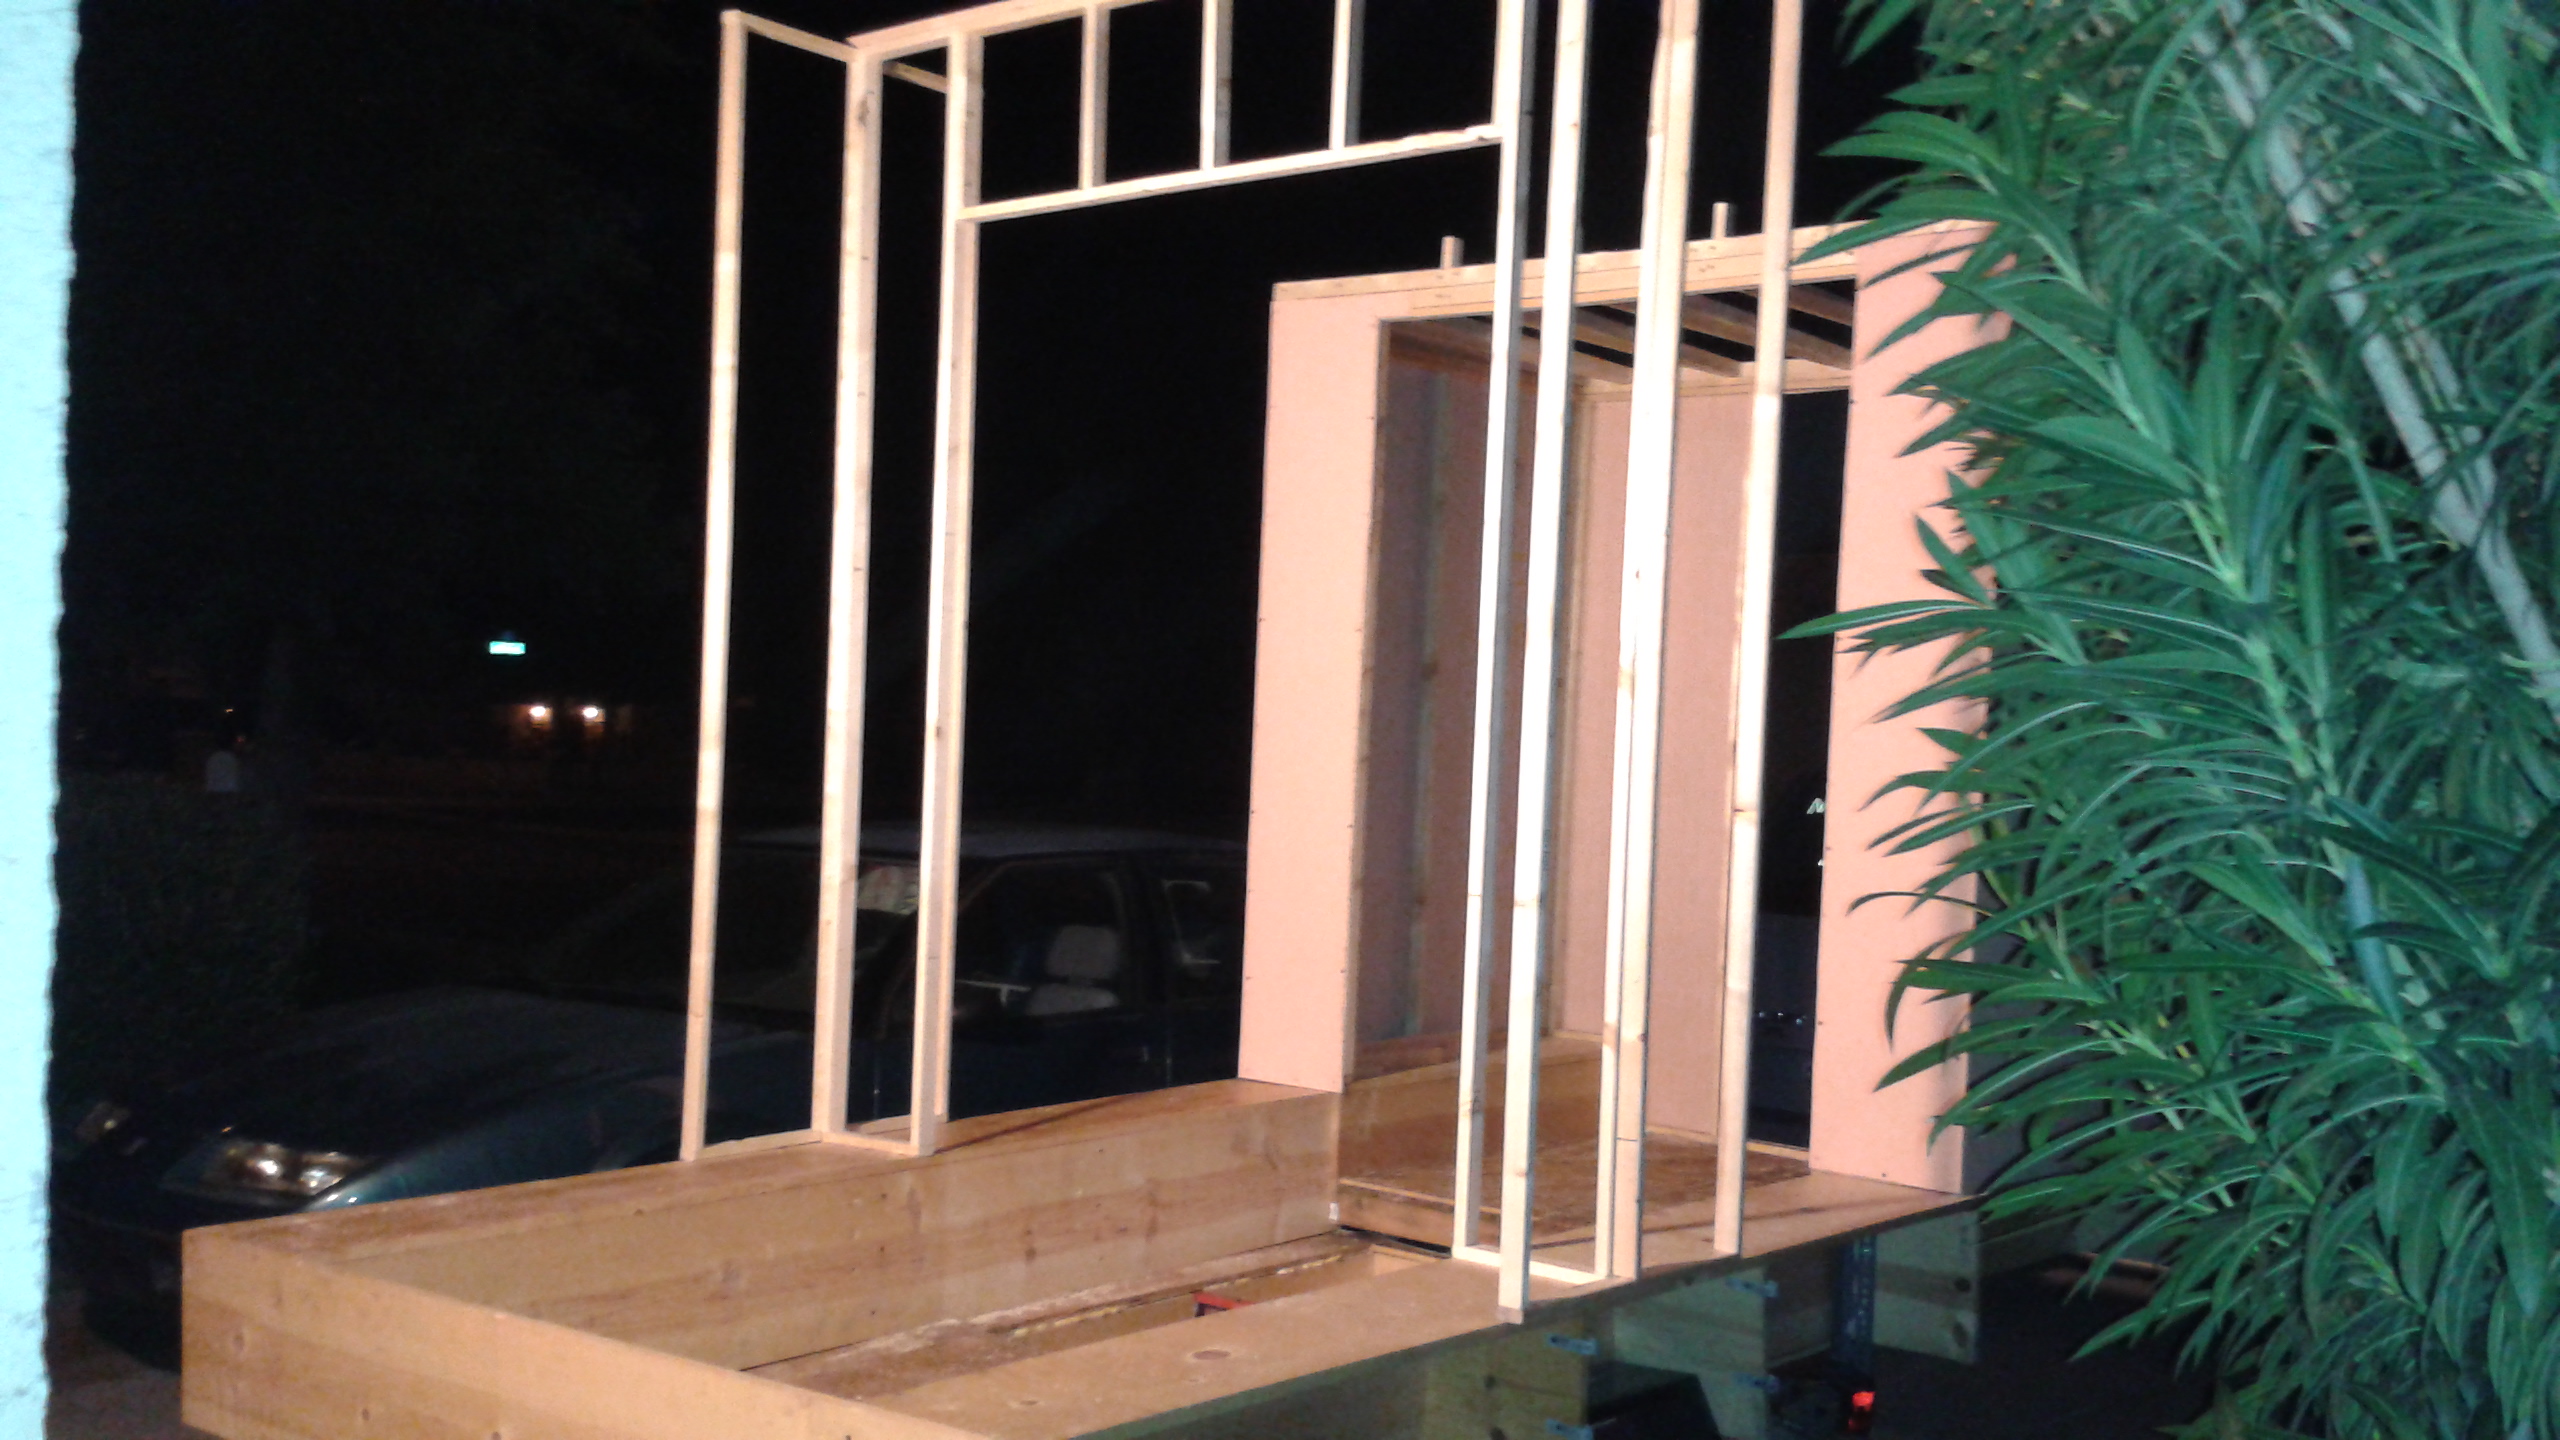
A first issue was that I didn’t know just how tall to make the roof line. Even if I measured and calculated for the slide-out, I hadn’t thought far enough ahead to factor a pitch, or curve to let rain roll off. So, … I had to take some time and figger this out.
Center Wall
Ok, start with the height of the slide-out, plan for a light slope from center to front, and center to rear to facilitate runoff.
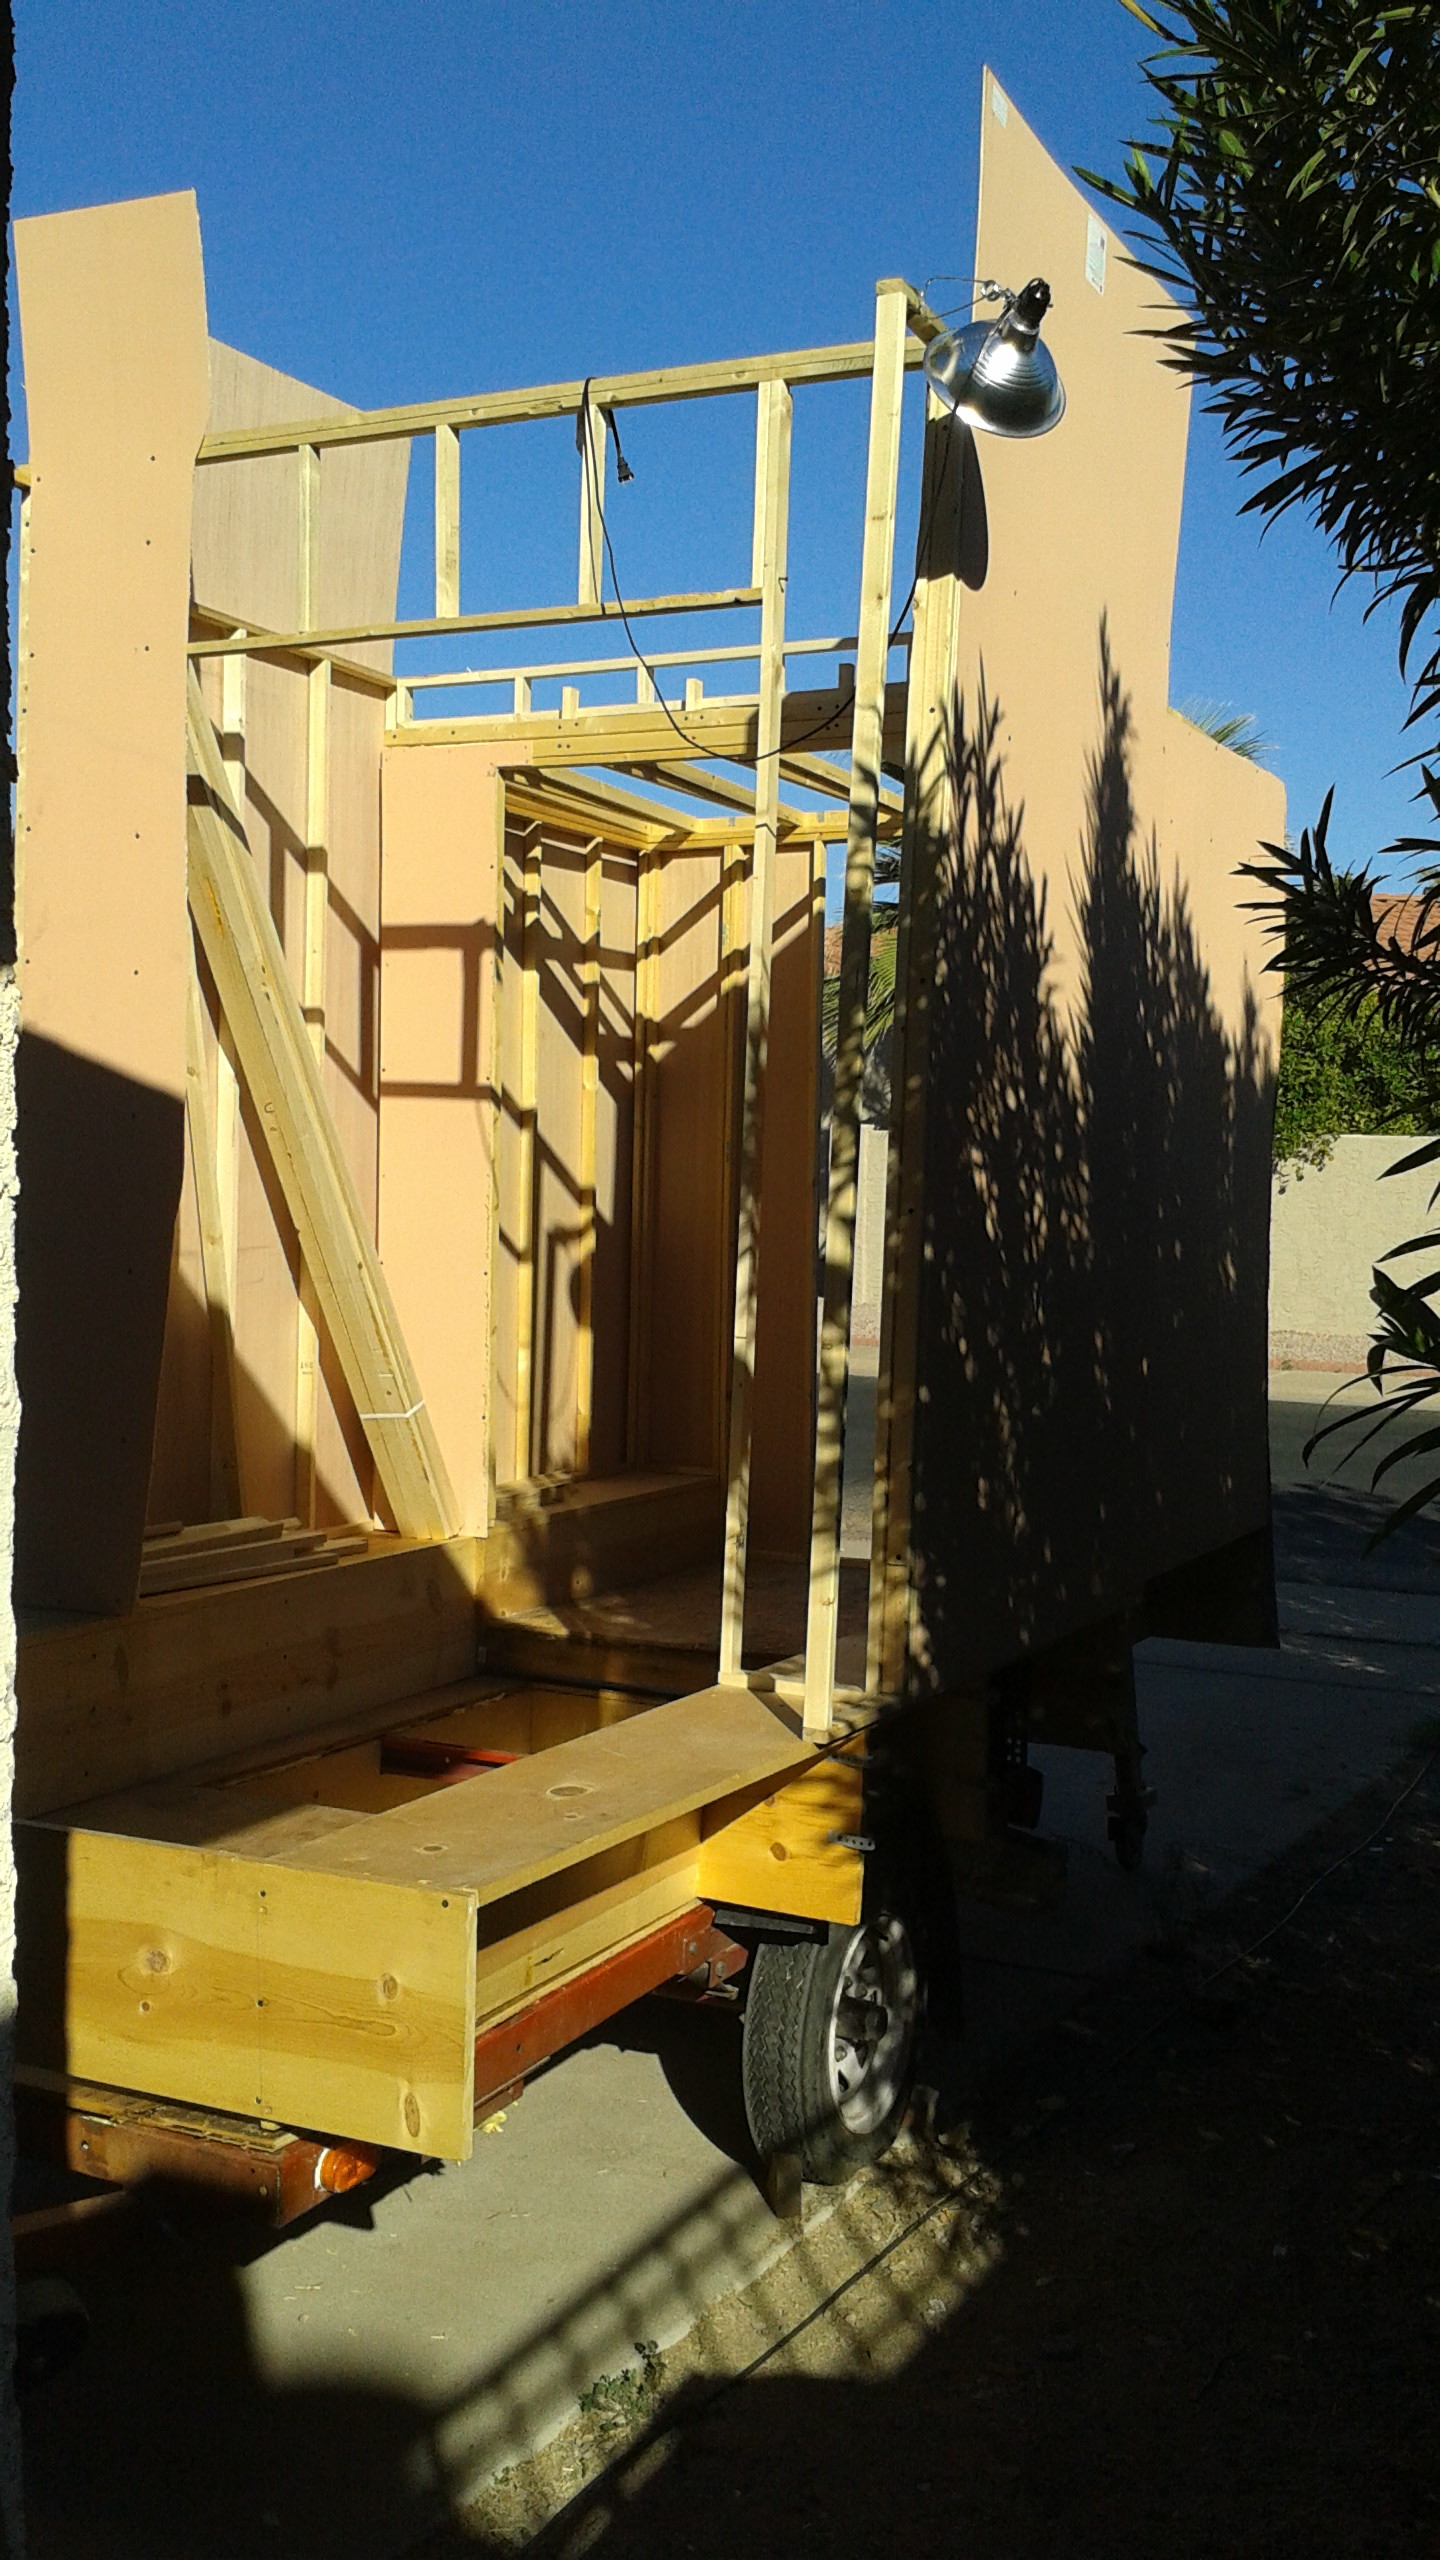
Well … I built a center spar, and framing to support it. This will be my peak. Add framing, then sheathing from the rear to the peak.
Rear Half
Then frame and sheath the front half. And finally, apply the roof sheath.In constructing the framework,iI used screws, rather than nails. I wanted to reduce the chances of joints coming loose while driving. The decision made, it became clear that it was necessary to pre-drill each hole in order to prevent splitting and assuring that each screw went in straight. This added much more time and tedium to the task, though I suspect it also resulted in less waste and the structure does seem sturdier.
Over the weeks, as I completed the framing and sheathing, I found my thoughts turning towards the next steps. The aspect of where to store my tools, where the kitchen stuff would go, and what form my bed will take. What it meant was that I needed to plan structure for counters, shelves, and all the other things I’ll need.
Now, I’ve finished the framing and sheathing, and best of all the slide-out still functions well.

Right Side Extended
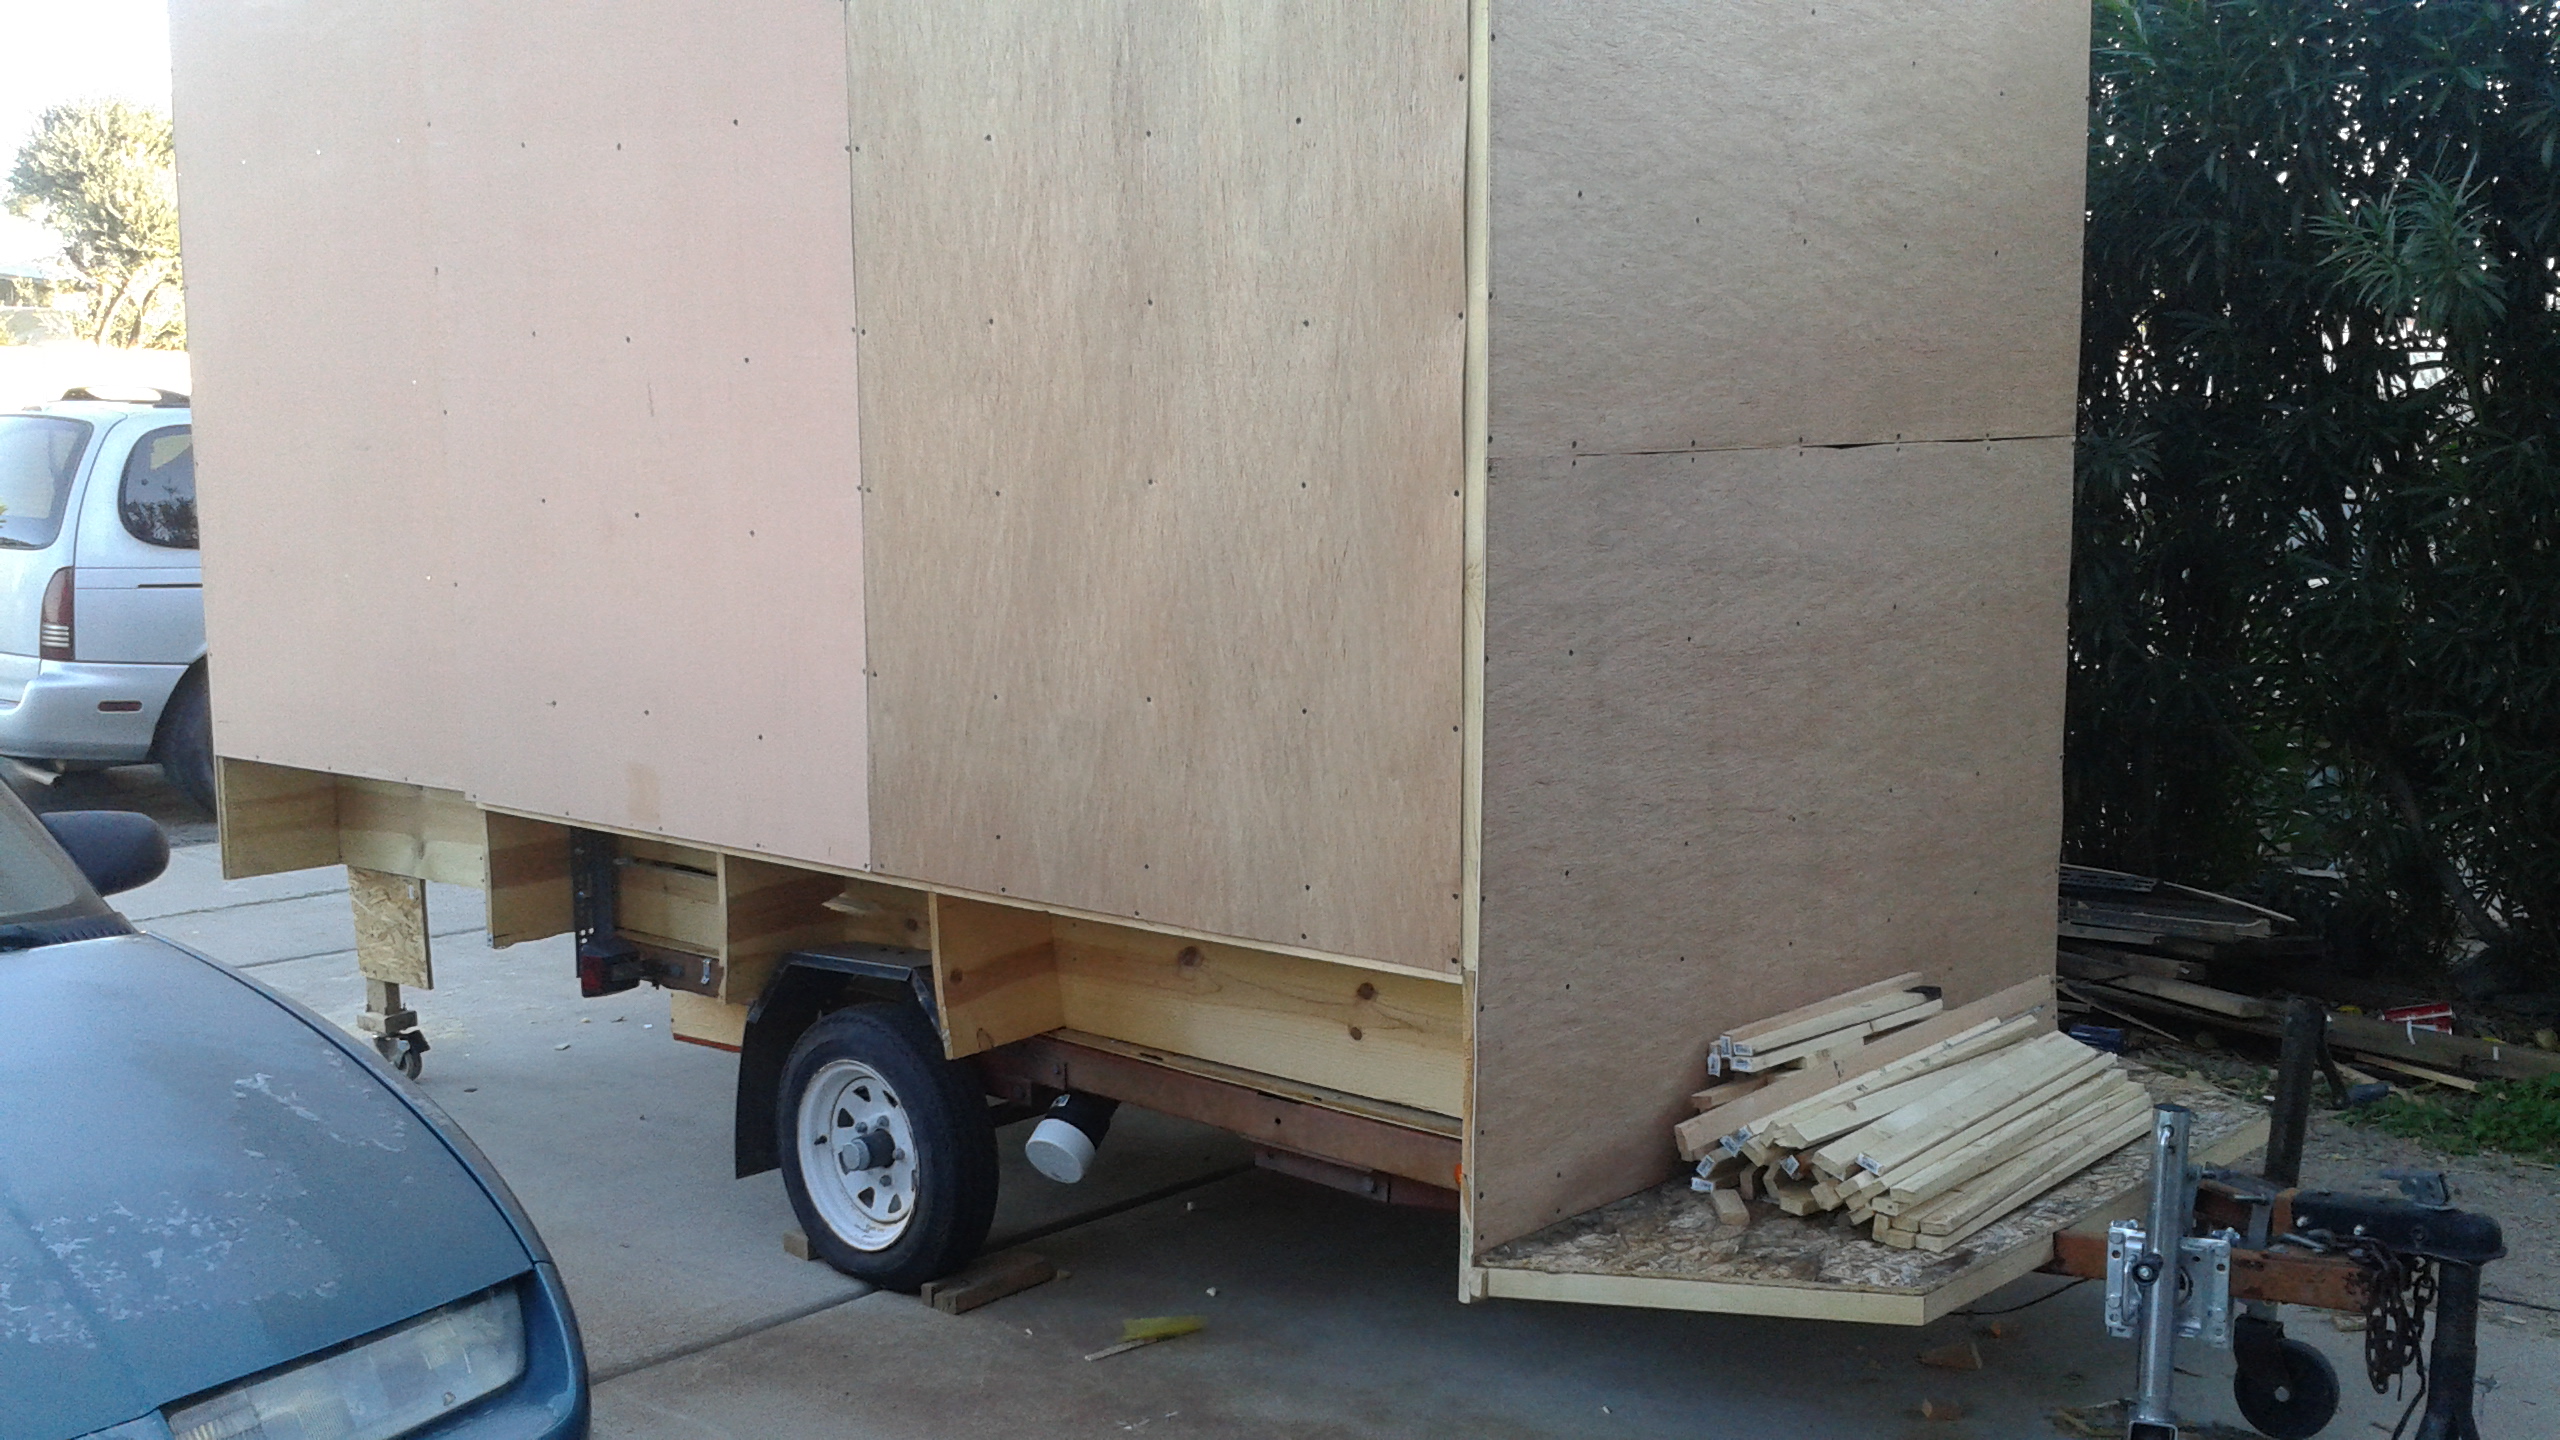
Right Side Extended
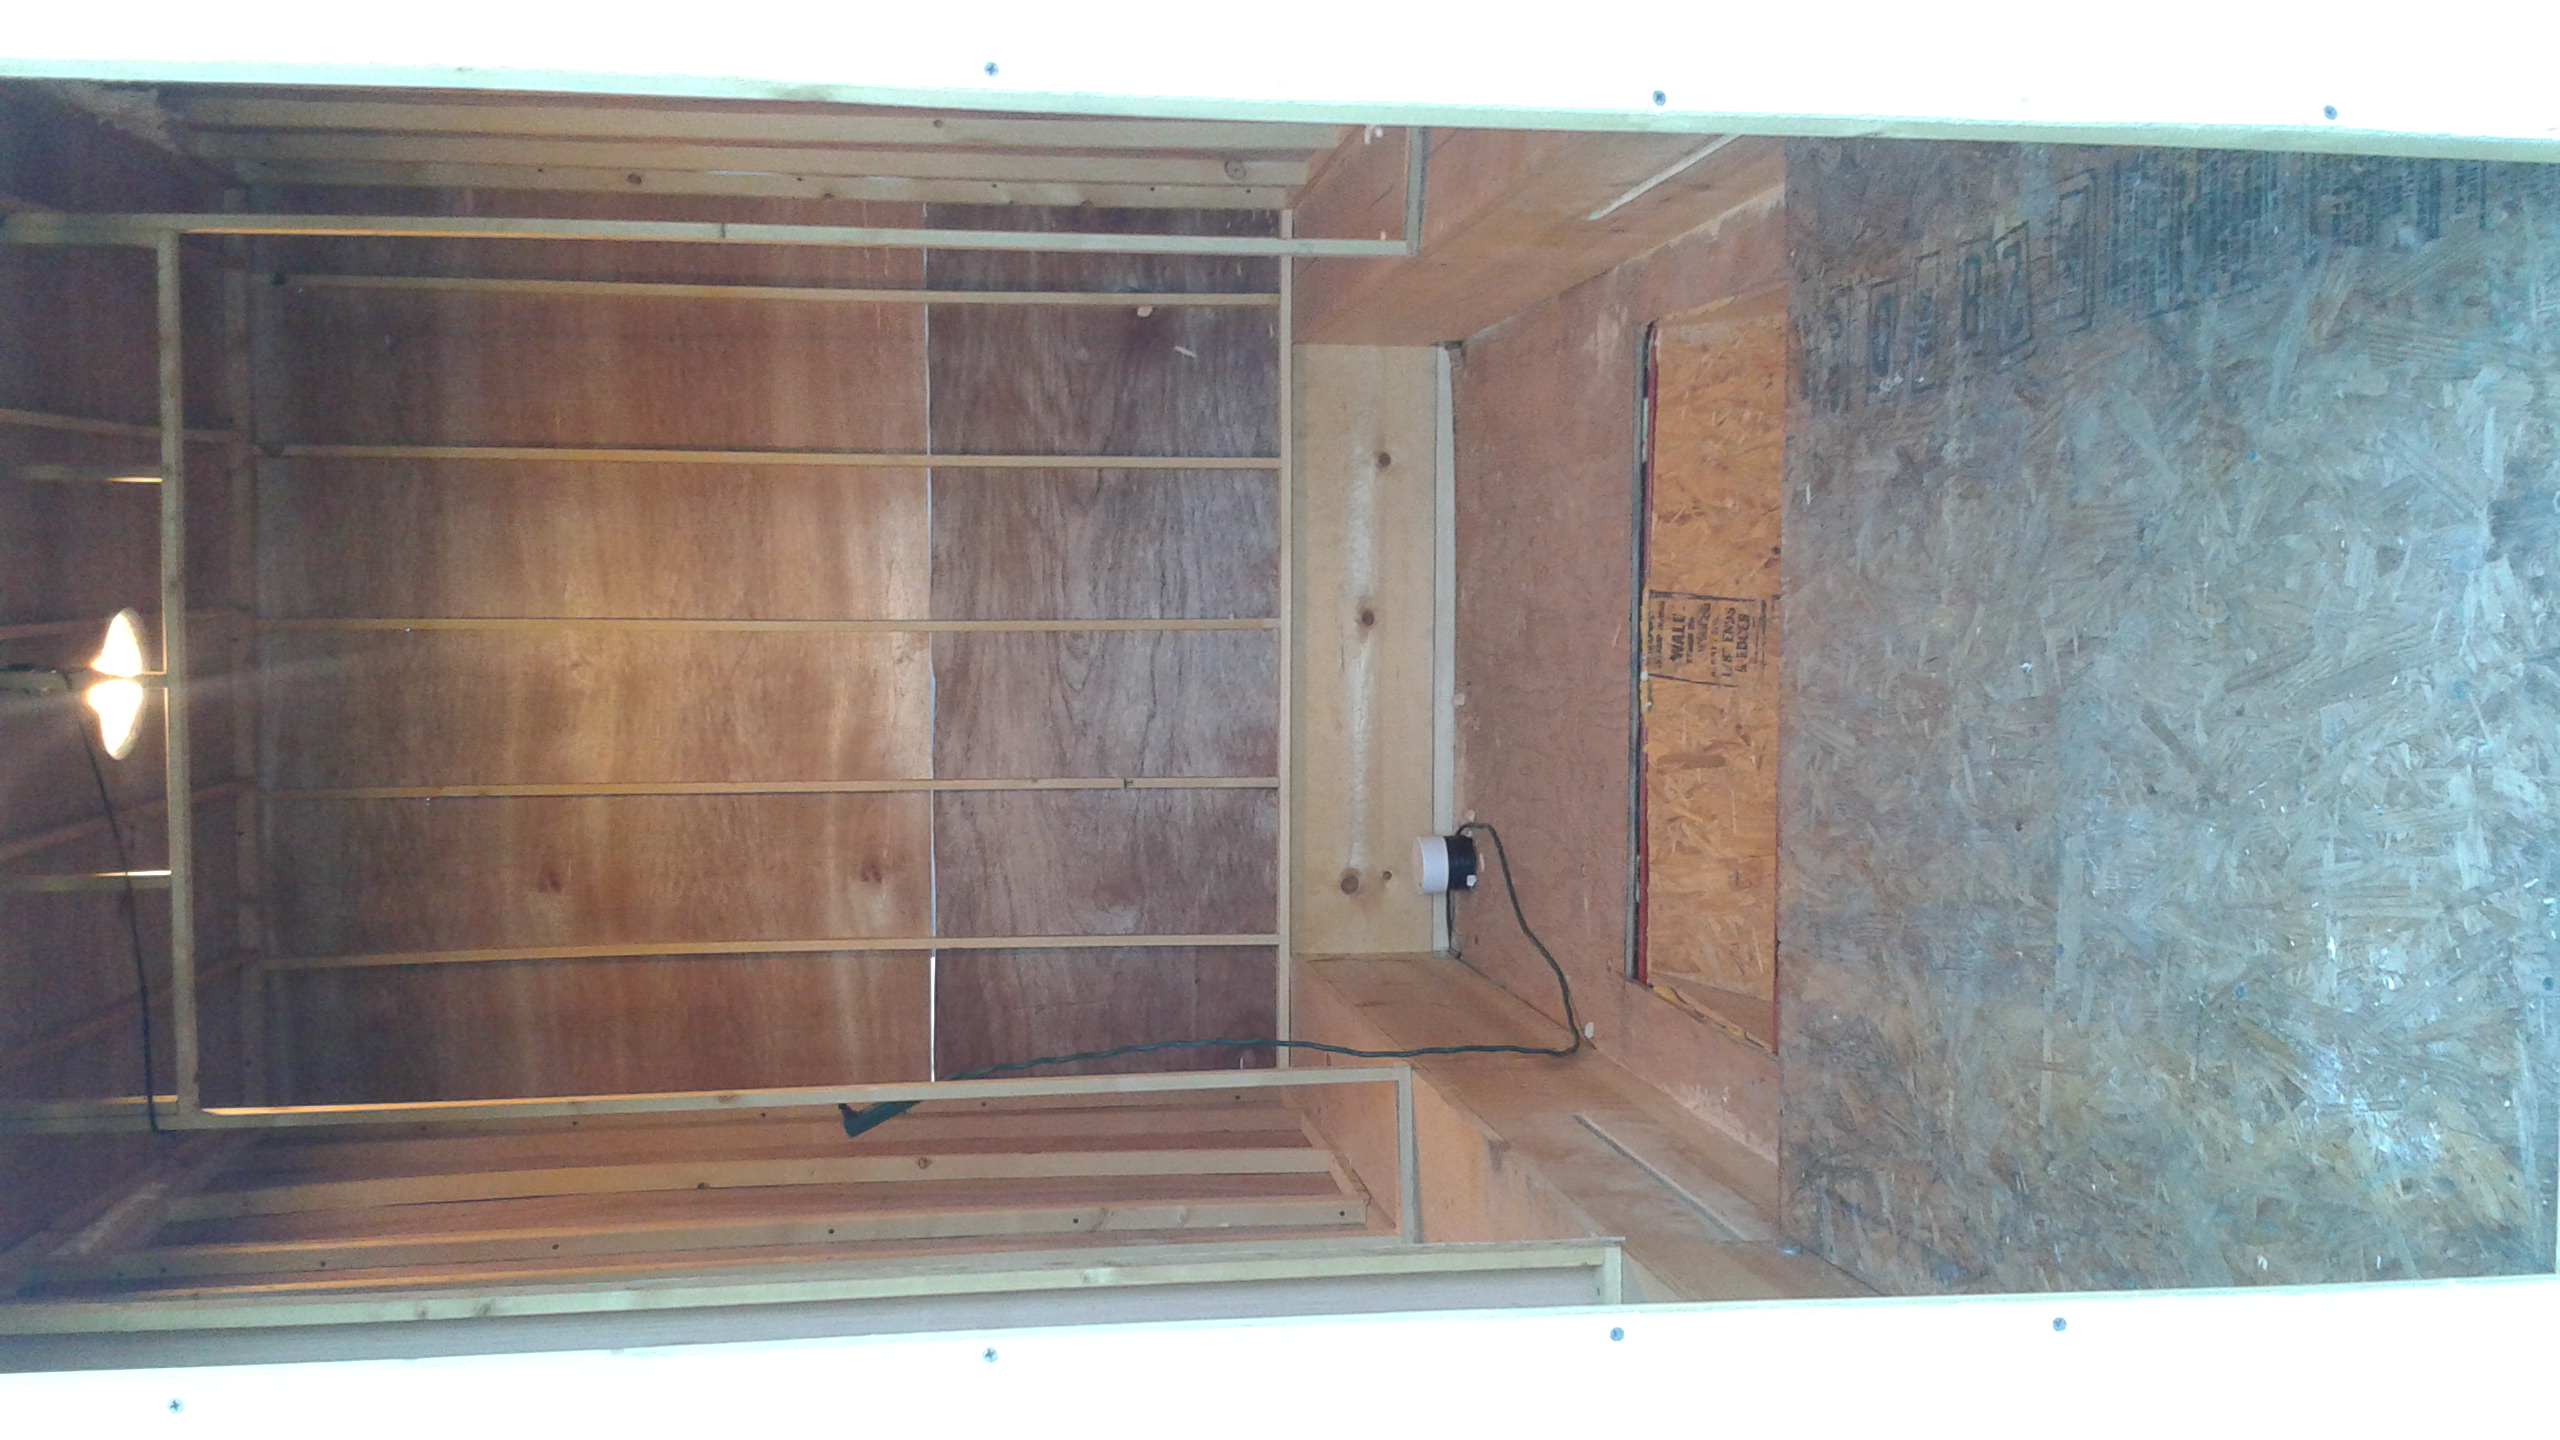
Interior