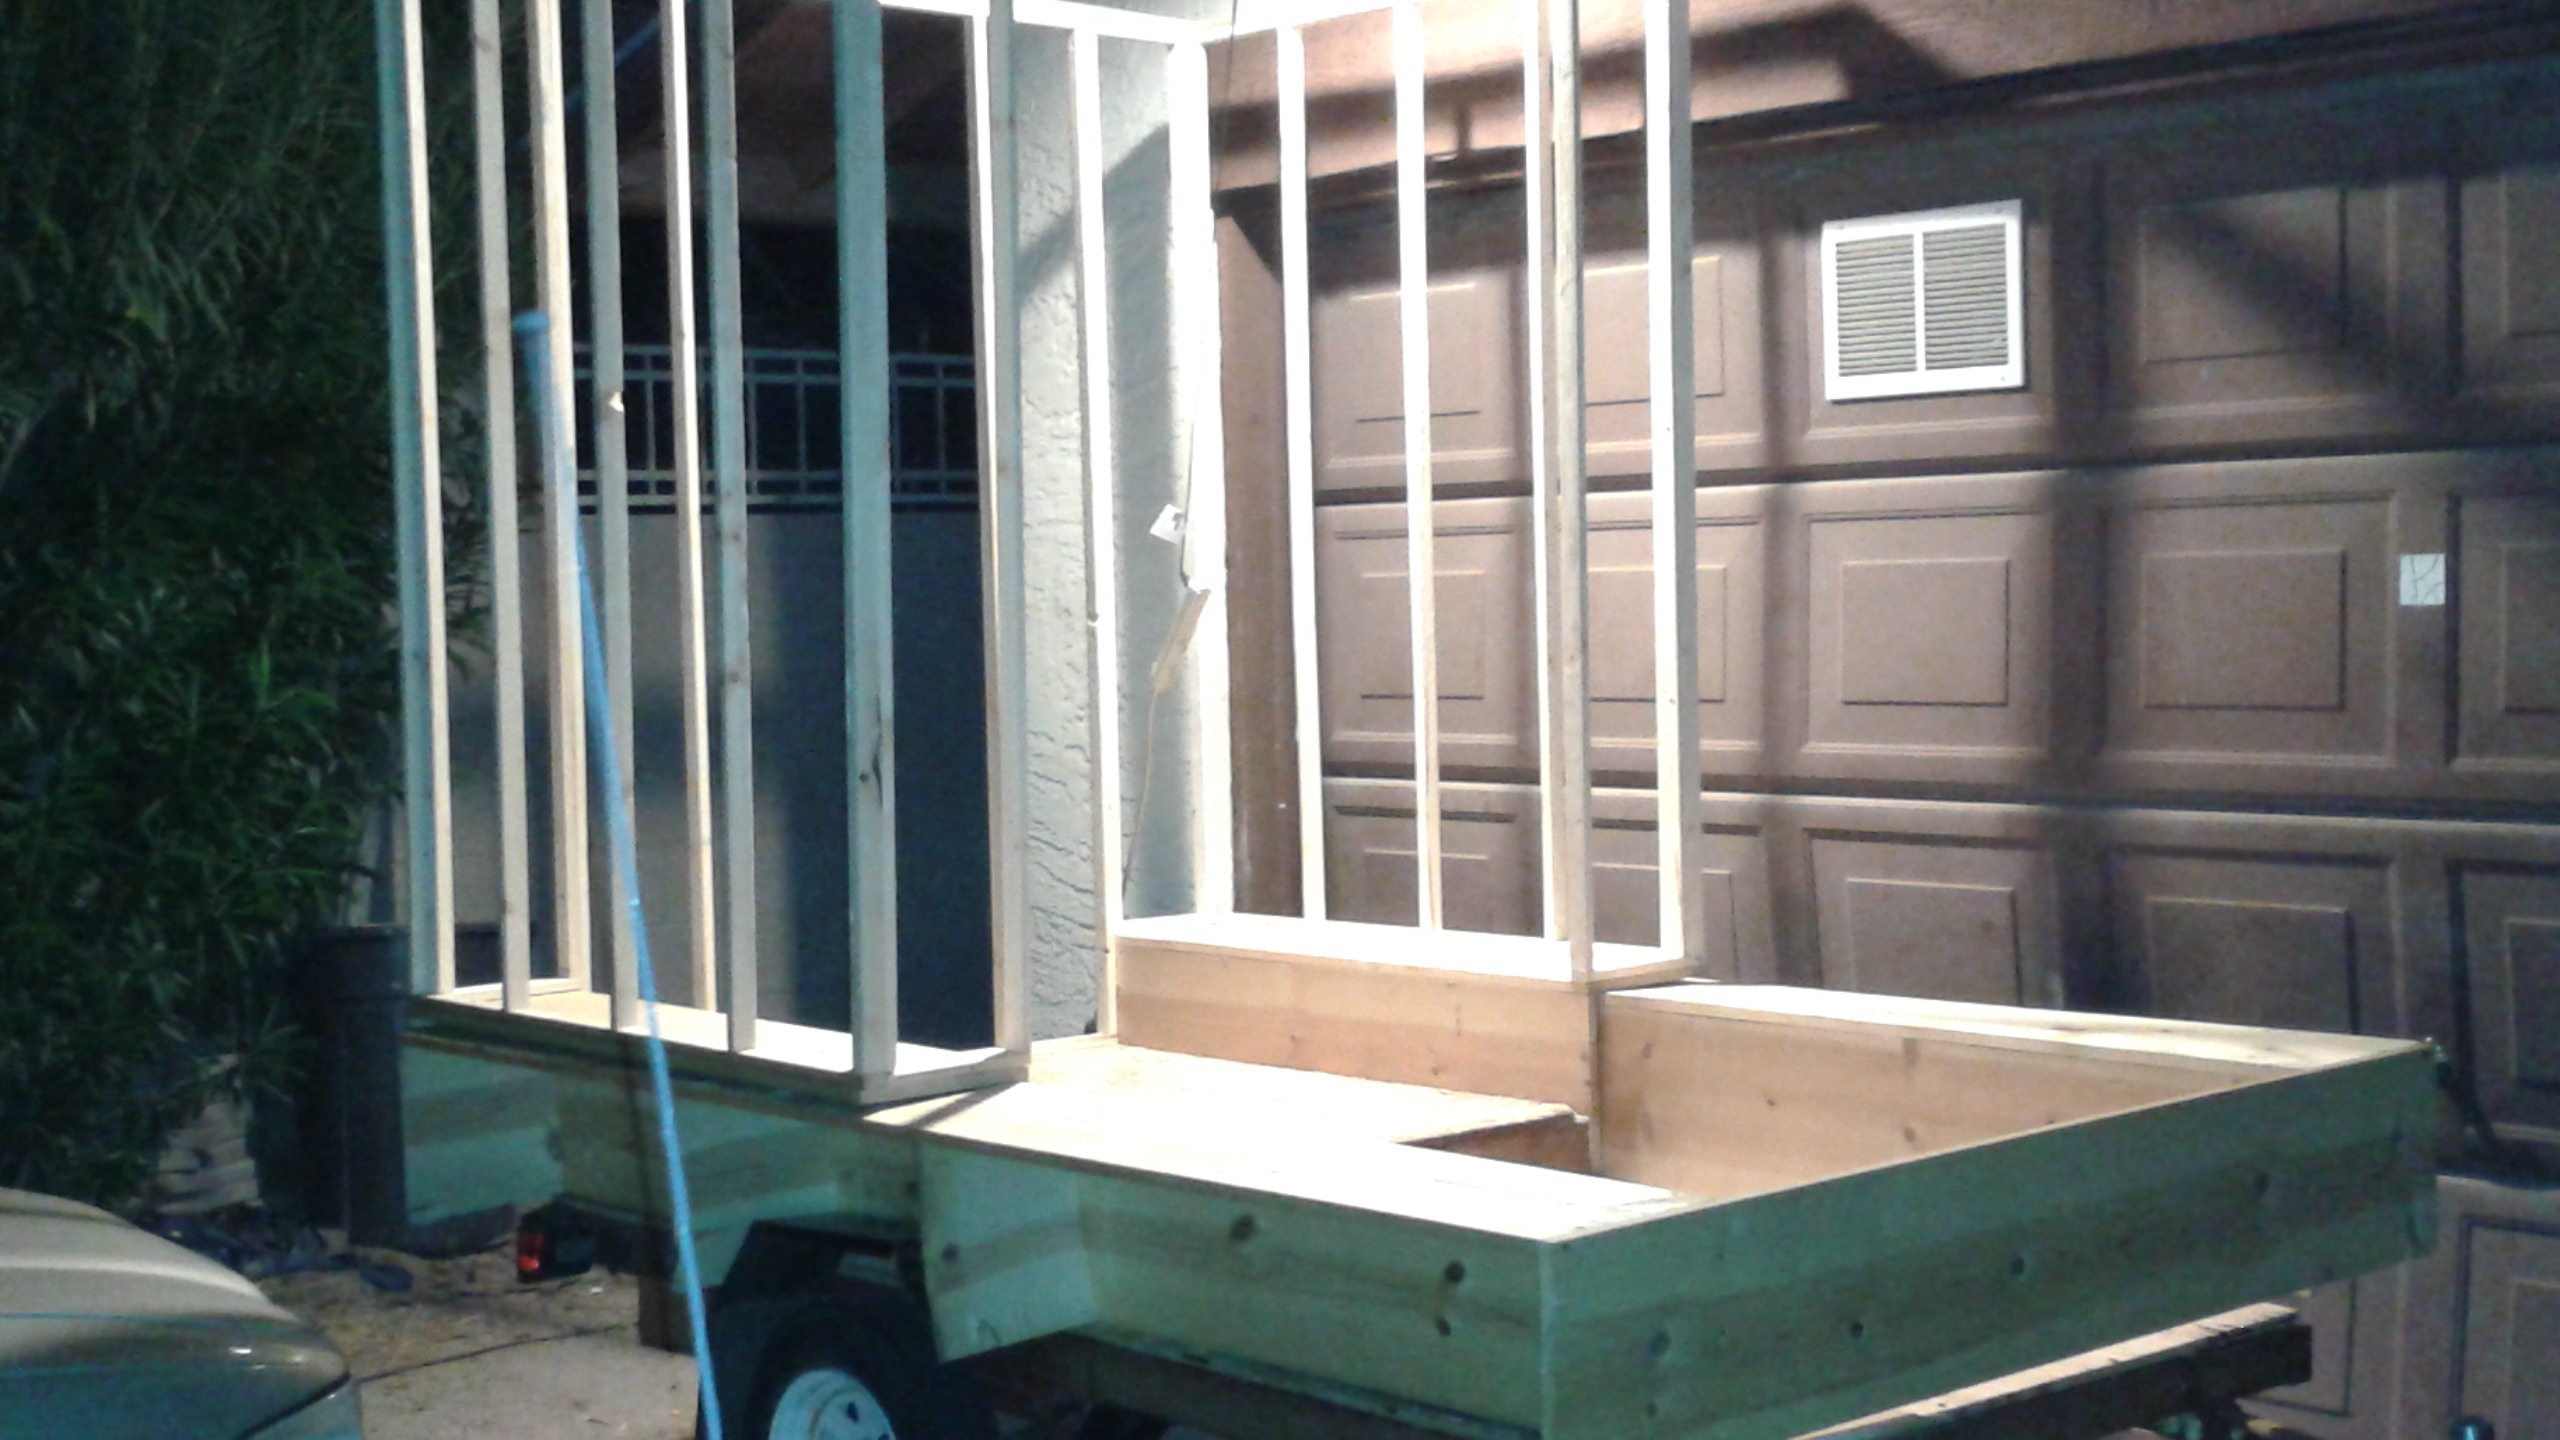
Slide Out Frame
With the framing figured out, and adjusted, getting the cuts right and screwed into position was tedius, but worth it. The framework is solid, light, and the slide-out still slides!
Now, the thin plywood panels will be cut and fitted to the wall framing. Doing the slide out first has to do with the idea that it seems that it will be easier to verify the exterior wall positions and the “over-frame” that the slide-out rides into with the slide-out in position. This way, I can be sure that there is sufficient clearance as the walls go into place. You see, I never was very good at “measure-once-cut-once”; I tend to have to measure-thrice-cut-once, and occasionally have to do a do-over. Well, so far, so good.
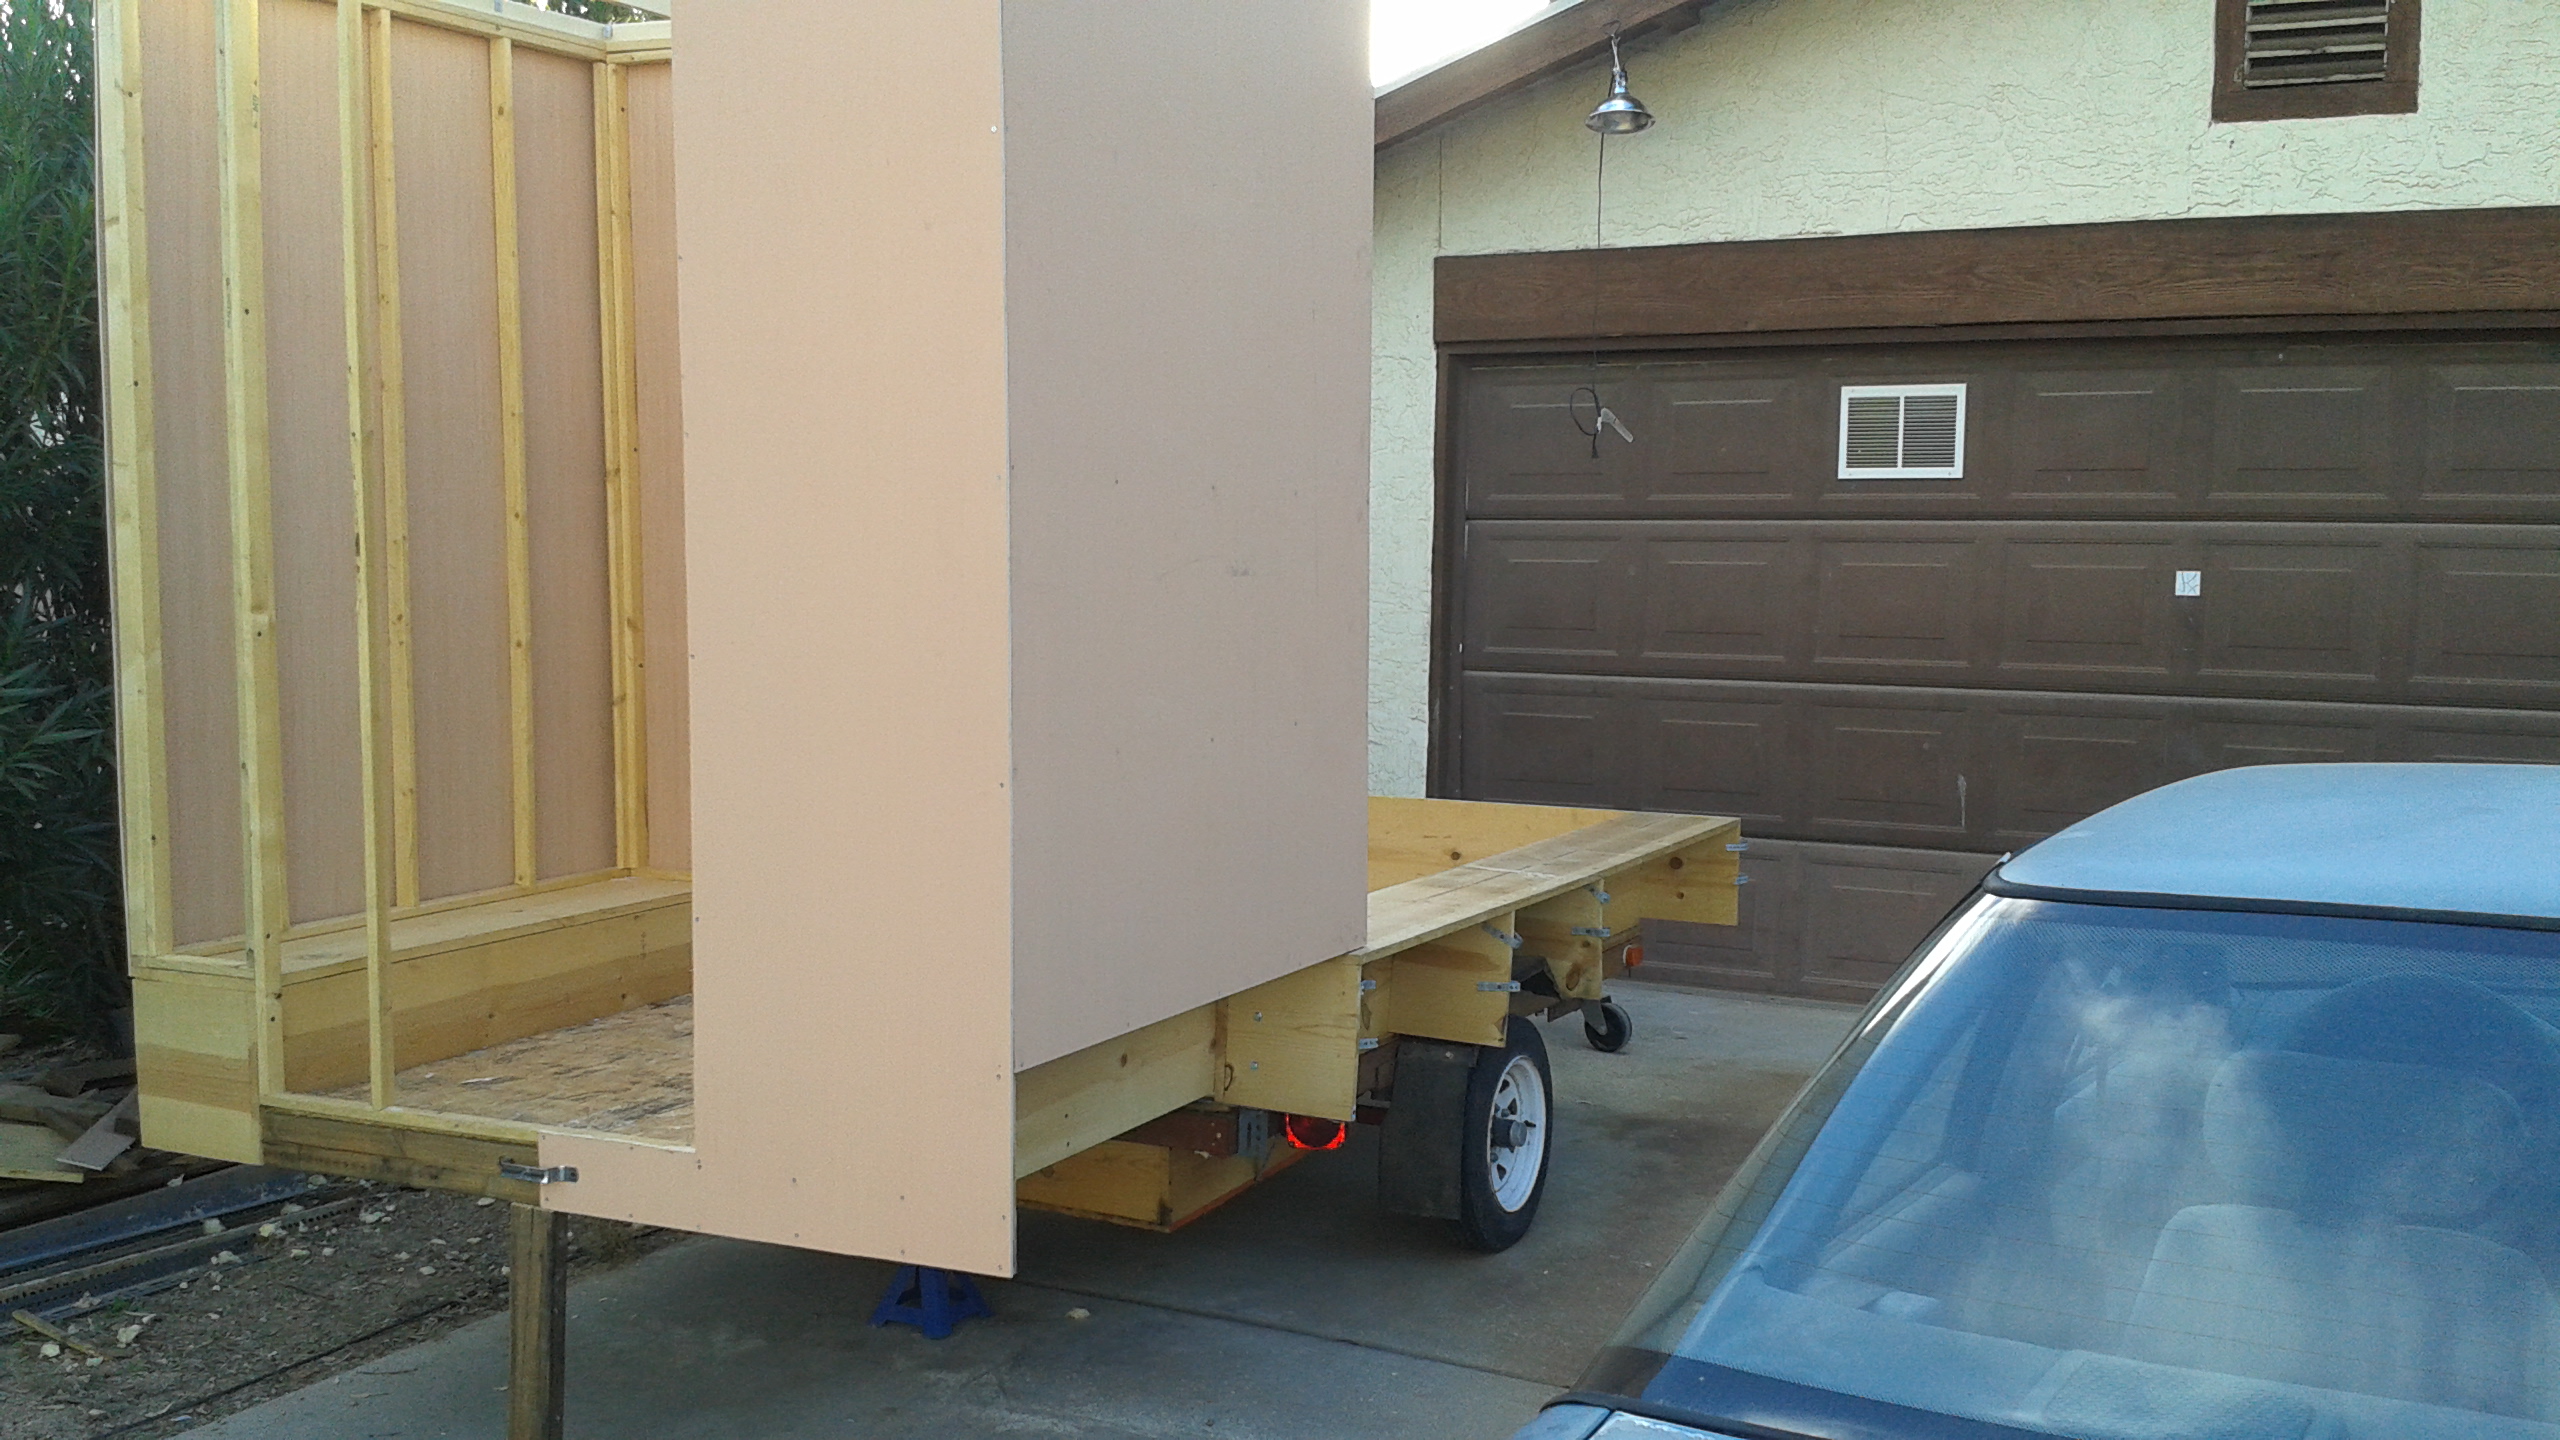
Slide Out Sheathing
This next picture shows some of the details of the construction I haven’t mentioned yet. For one, if you look at the top of the walls, you’ll notice I used some of the strapping to further secure the ceiling framing to the walls. While I seriously doubt the trailer might survive a direct hit from a tornado, the extra support should help during transport at least. Also you can see on the right bottom one of the end-cap-buttresses, the 12x12x1 inch piece to provide solidity to the foundation. At the bottom center you can also see the handle I installed to facilitate occasional testing of the sliding operation. Once extended, I am placing a 2×4 underneath to support it. When the sheathing’s done, it will be time for the main walls. But first, I thought it would be cool to get a cool shot from the front of the trailer all the way back to the fully extended slide-out, with the fish pond in view. Cool.
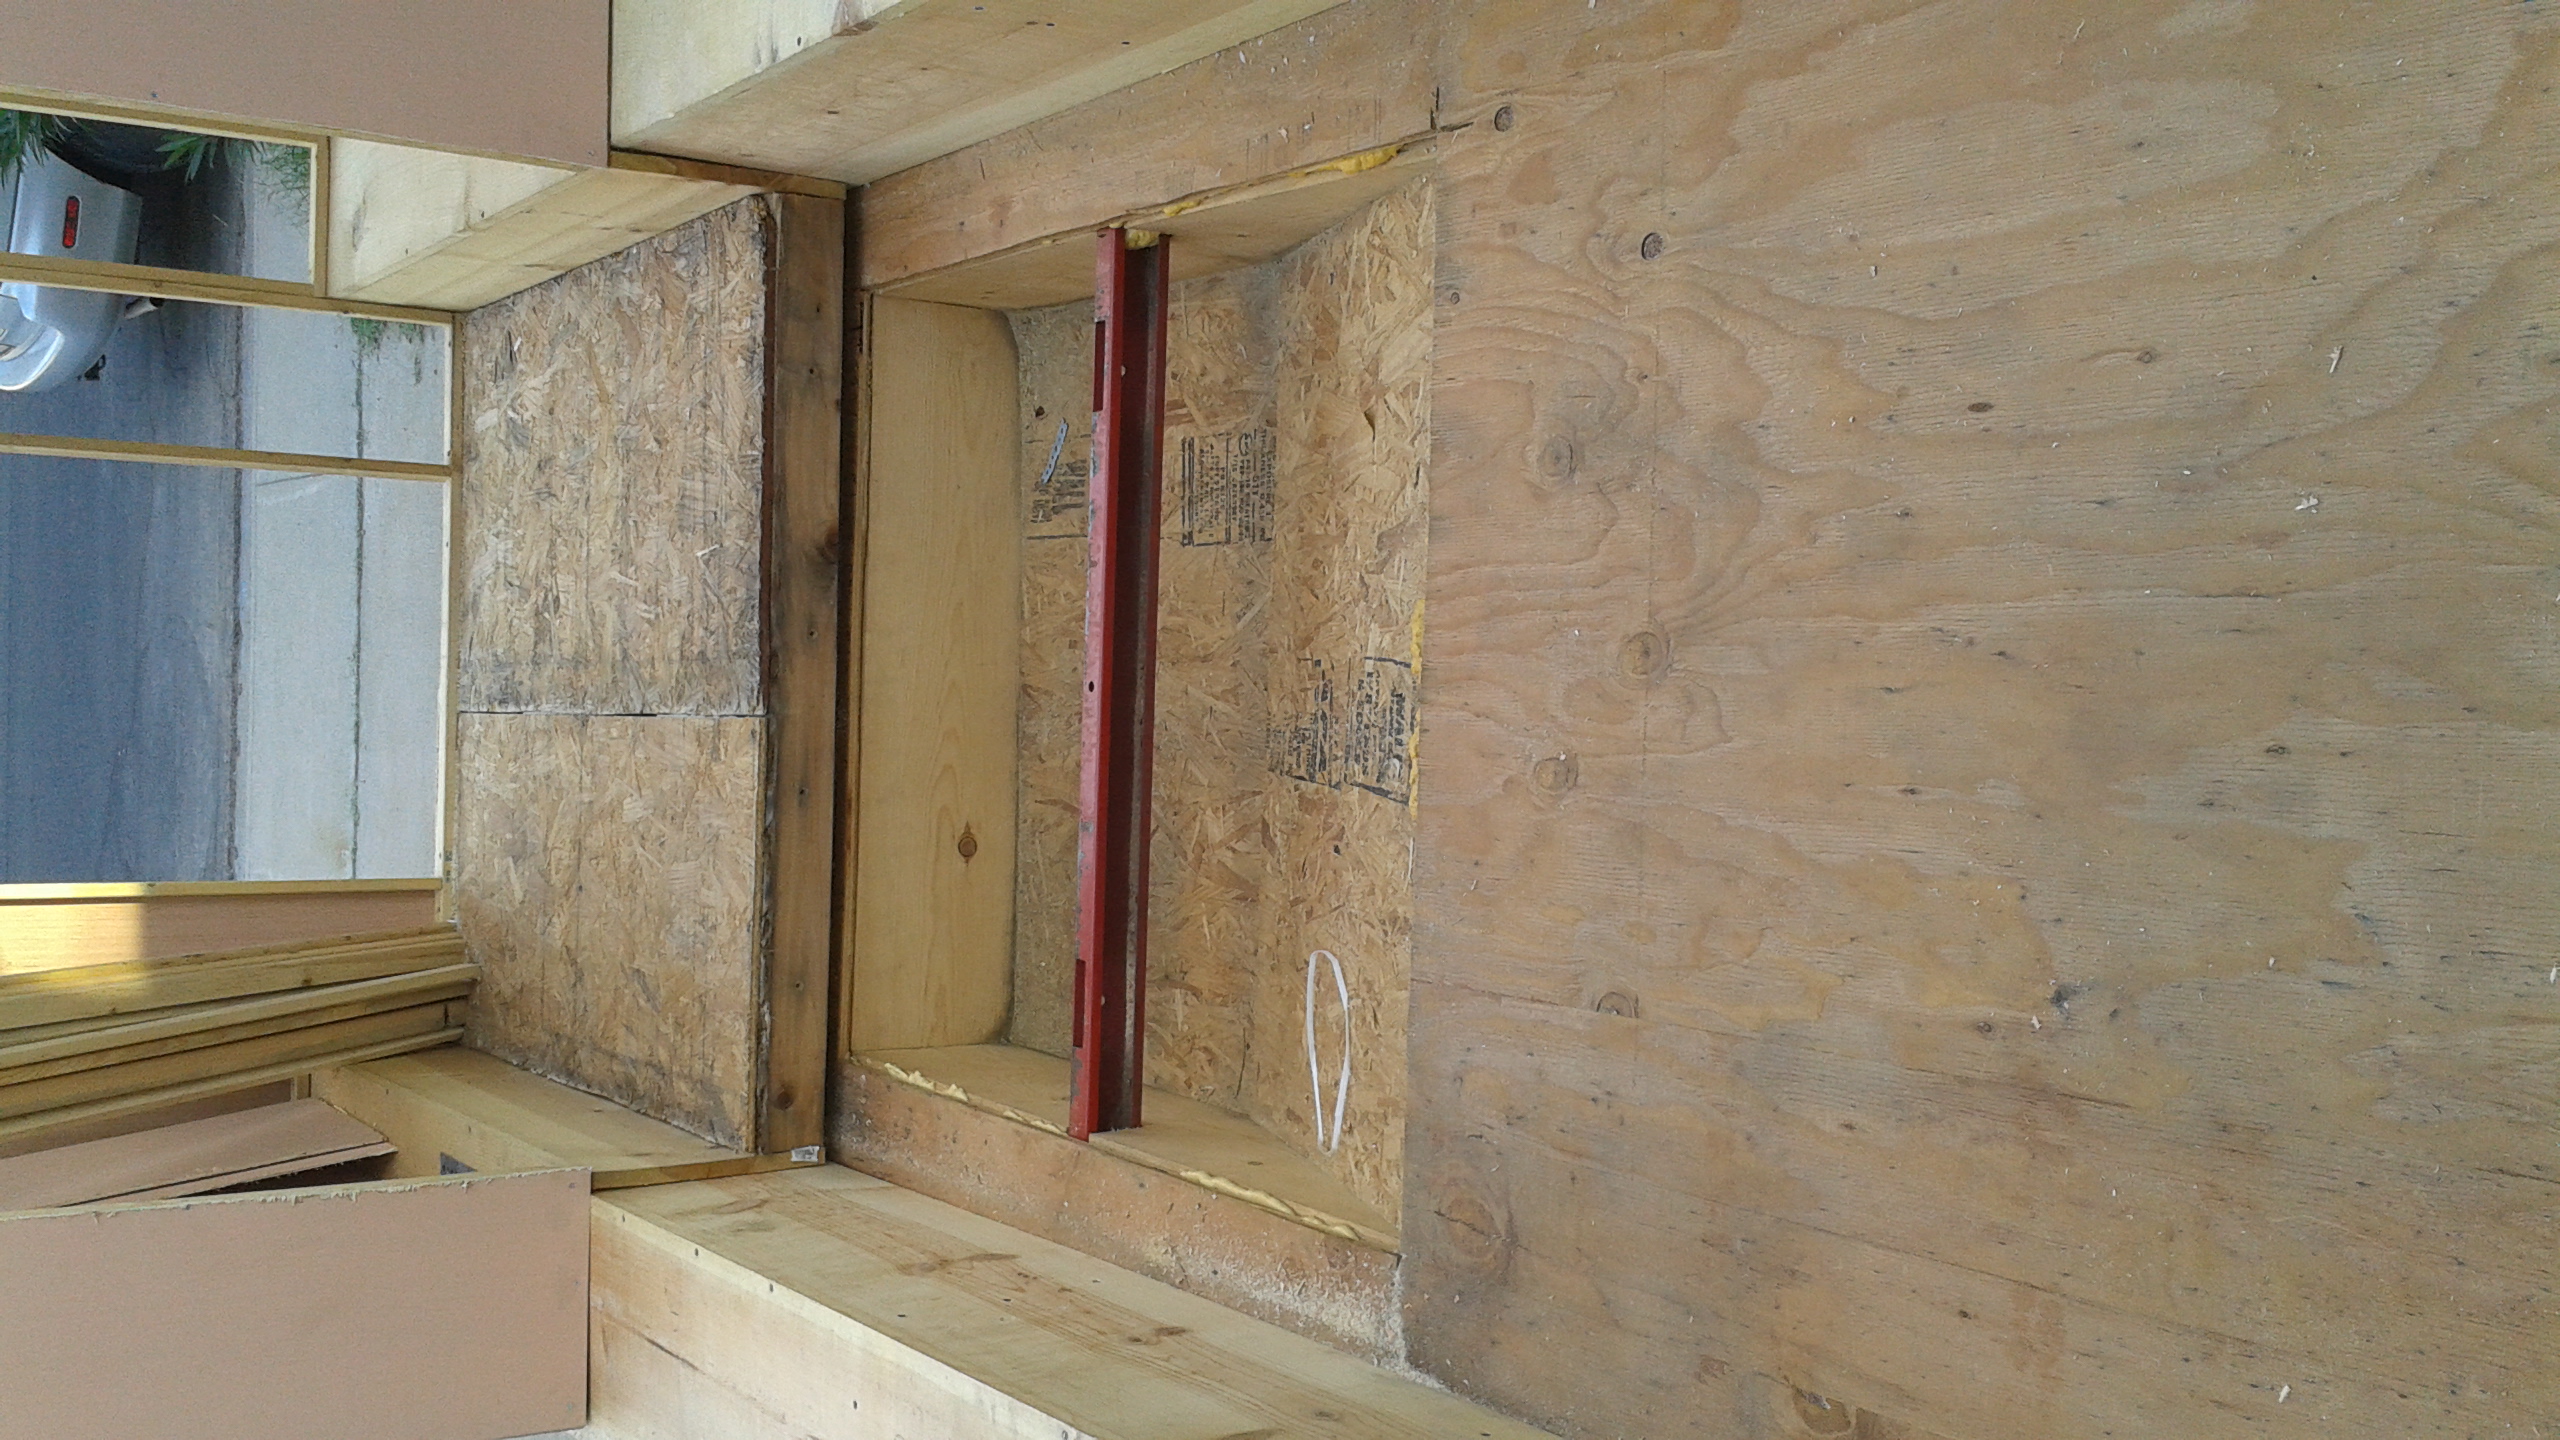
Full Floor Front 2 Rear
Next Time: Main Walls